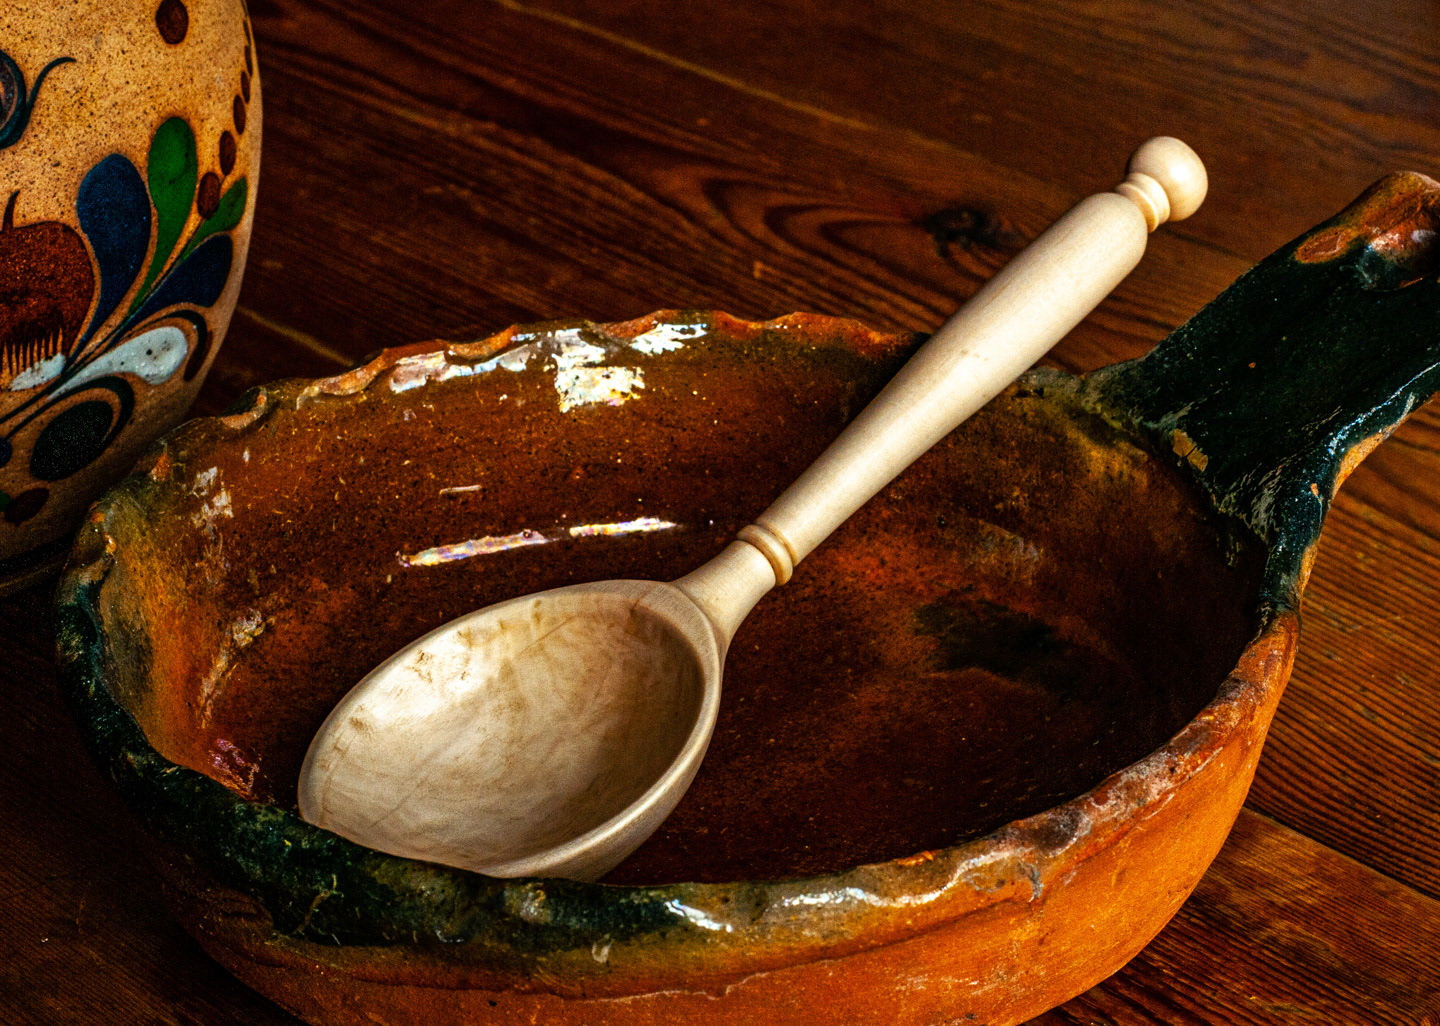
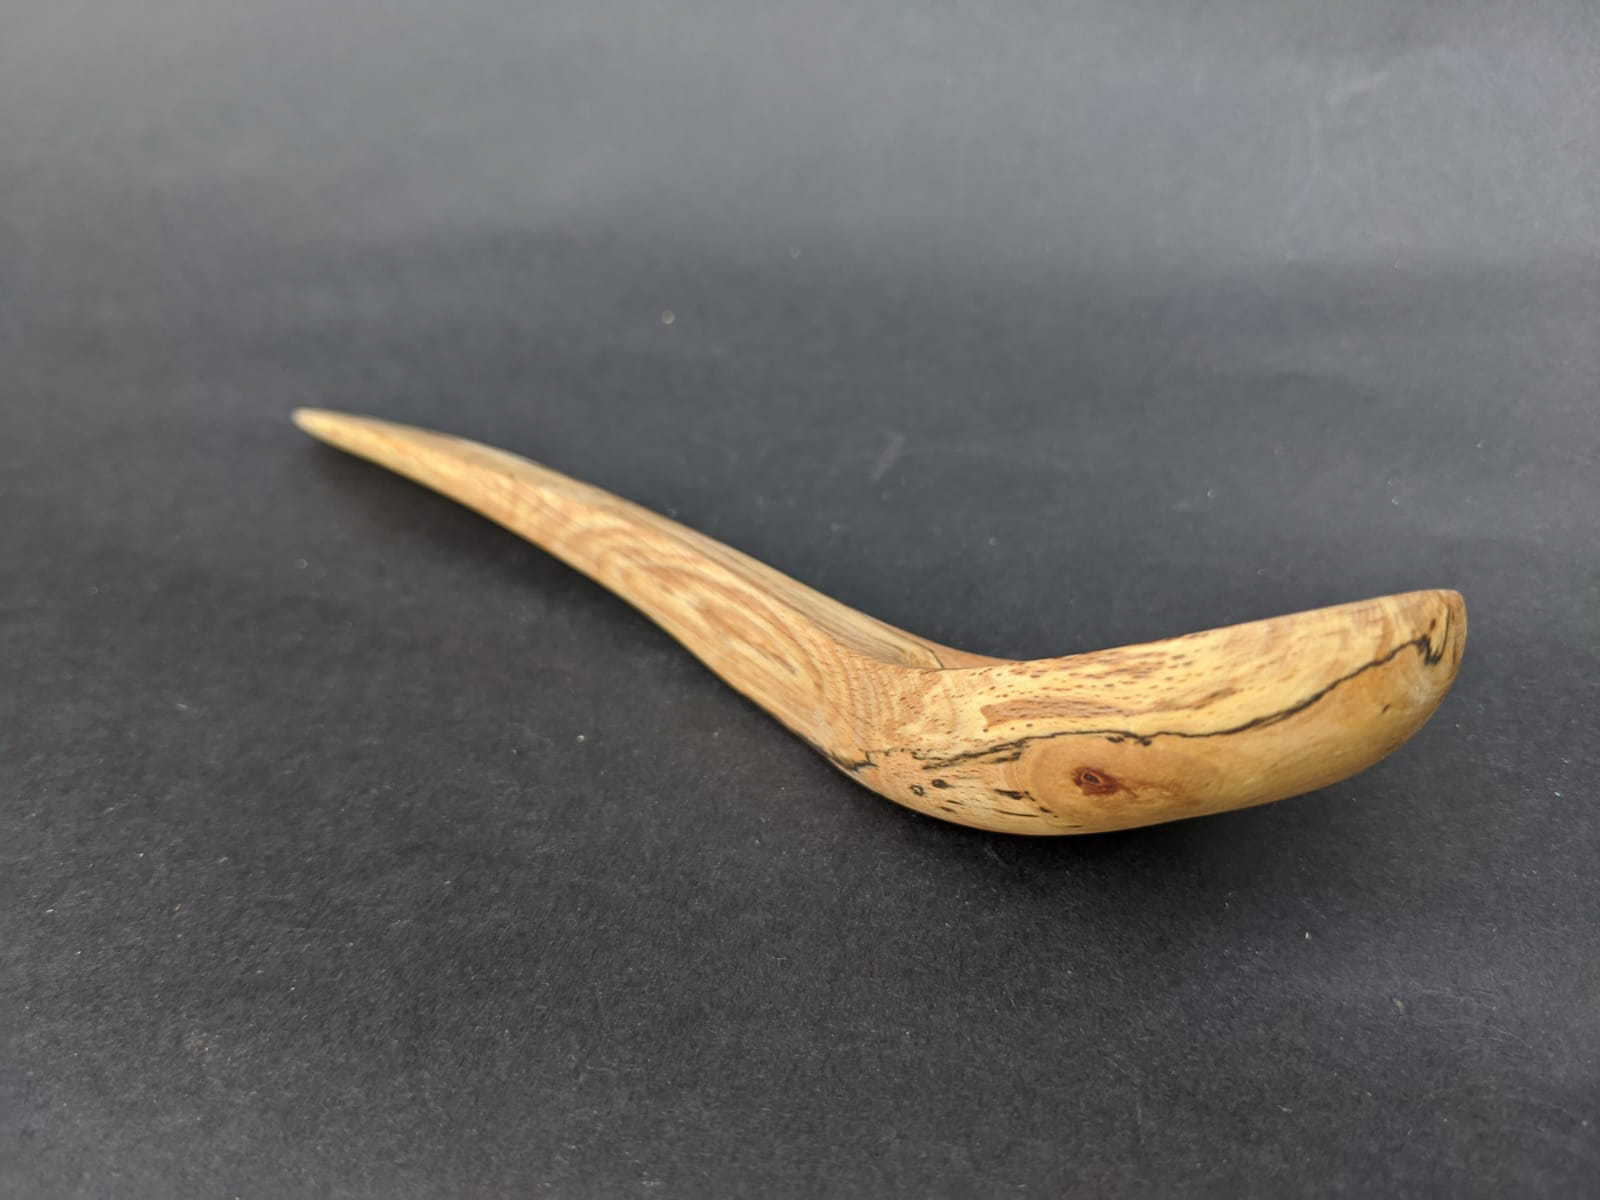
Spoon carving is one of those relaxing crafts that enables you to stop from the busy world. It's a chance to sit with a knife and a piece of wood and create something that was once a daily necessity. However, it is not just a step back in time, its a way to clear you mind from the daily pressures of life, sit quietly alone or with friends, using hand tools, listen to birds sing and refresh your mental capacity to take on the world once more. It's the chance to add the perfect compliment to that wooden bowl you made and enjoy using at home or at the campsite. One thing is for sure, once you carve your first spoon, you will want to do it again. There are different ways to carve spoons and all are equally valid. Green wood, or fresh cut, is the easiest to carve, almost like cutting soap. However, it has draw backs; time needs to pass to complete it so it drys etc. Often when collecting wood to carve it will dry in the workshop so requires a different approach. Sometimes exotic woods are use and these can be very hard so some additional power tools are required. It does not matter how you get to the end product, what matters is that you create what you see in you mind or piece of wood and enjoy it for years to come.
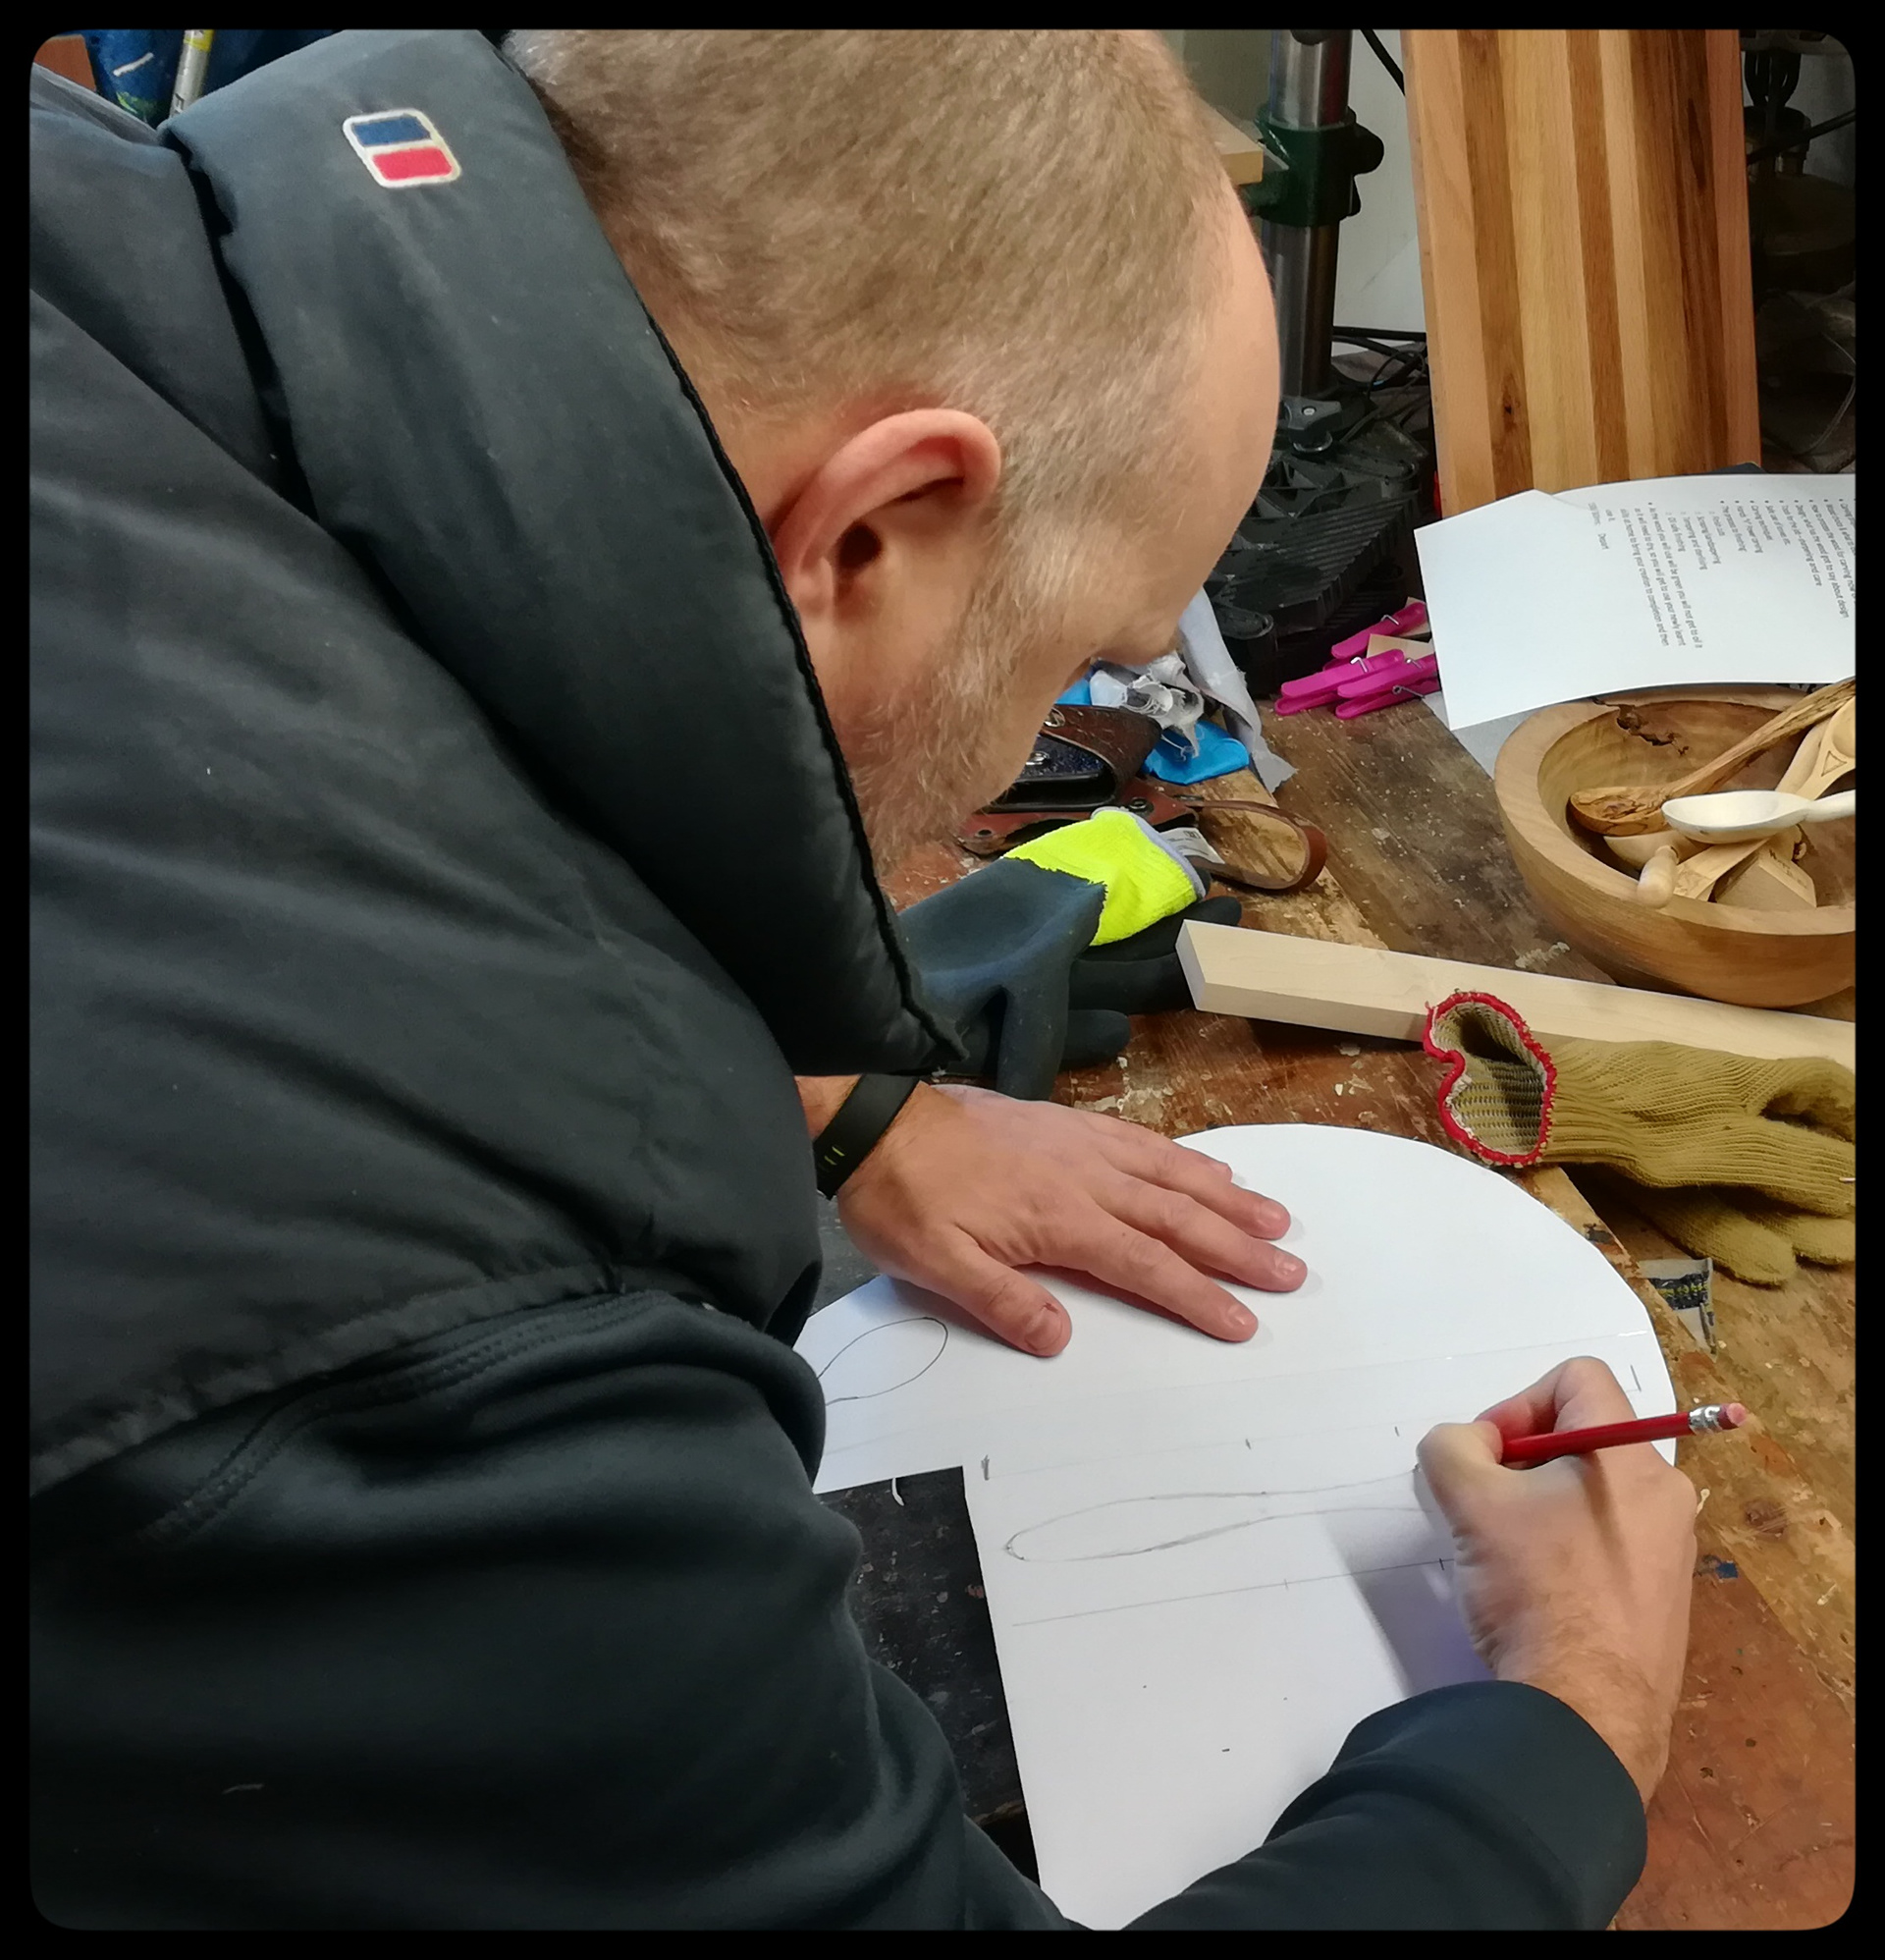
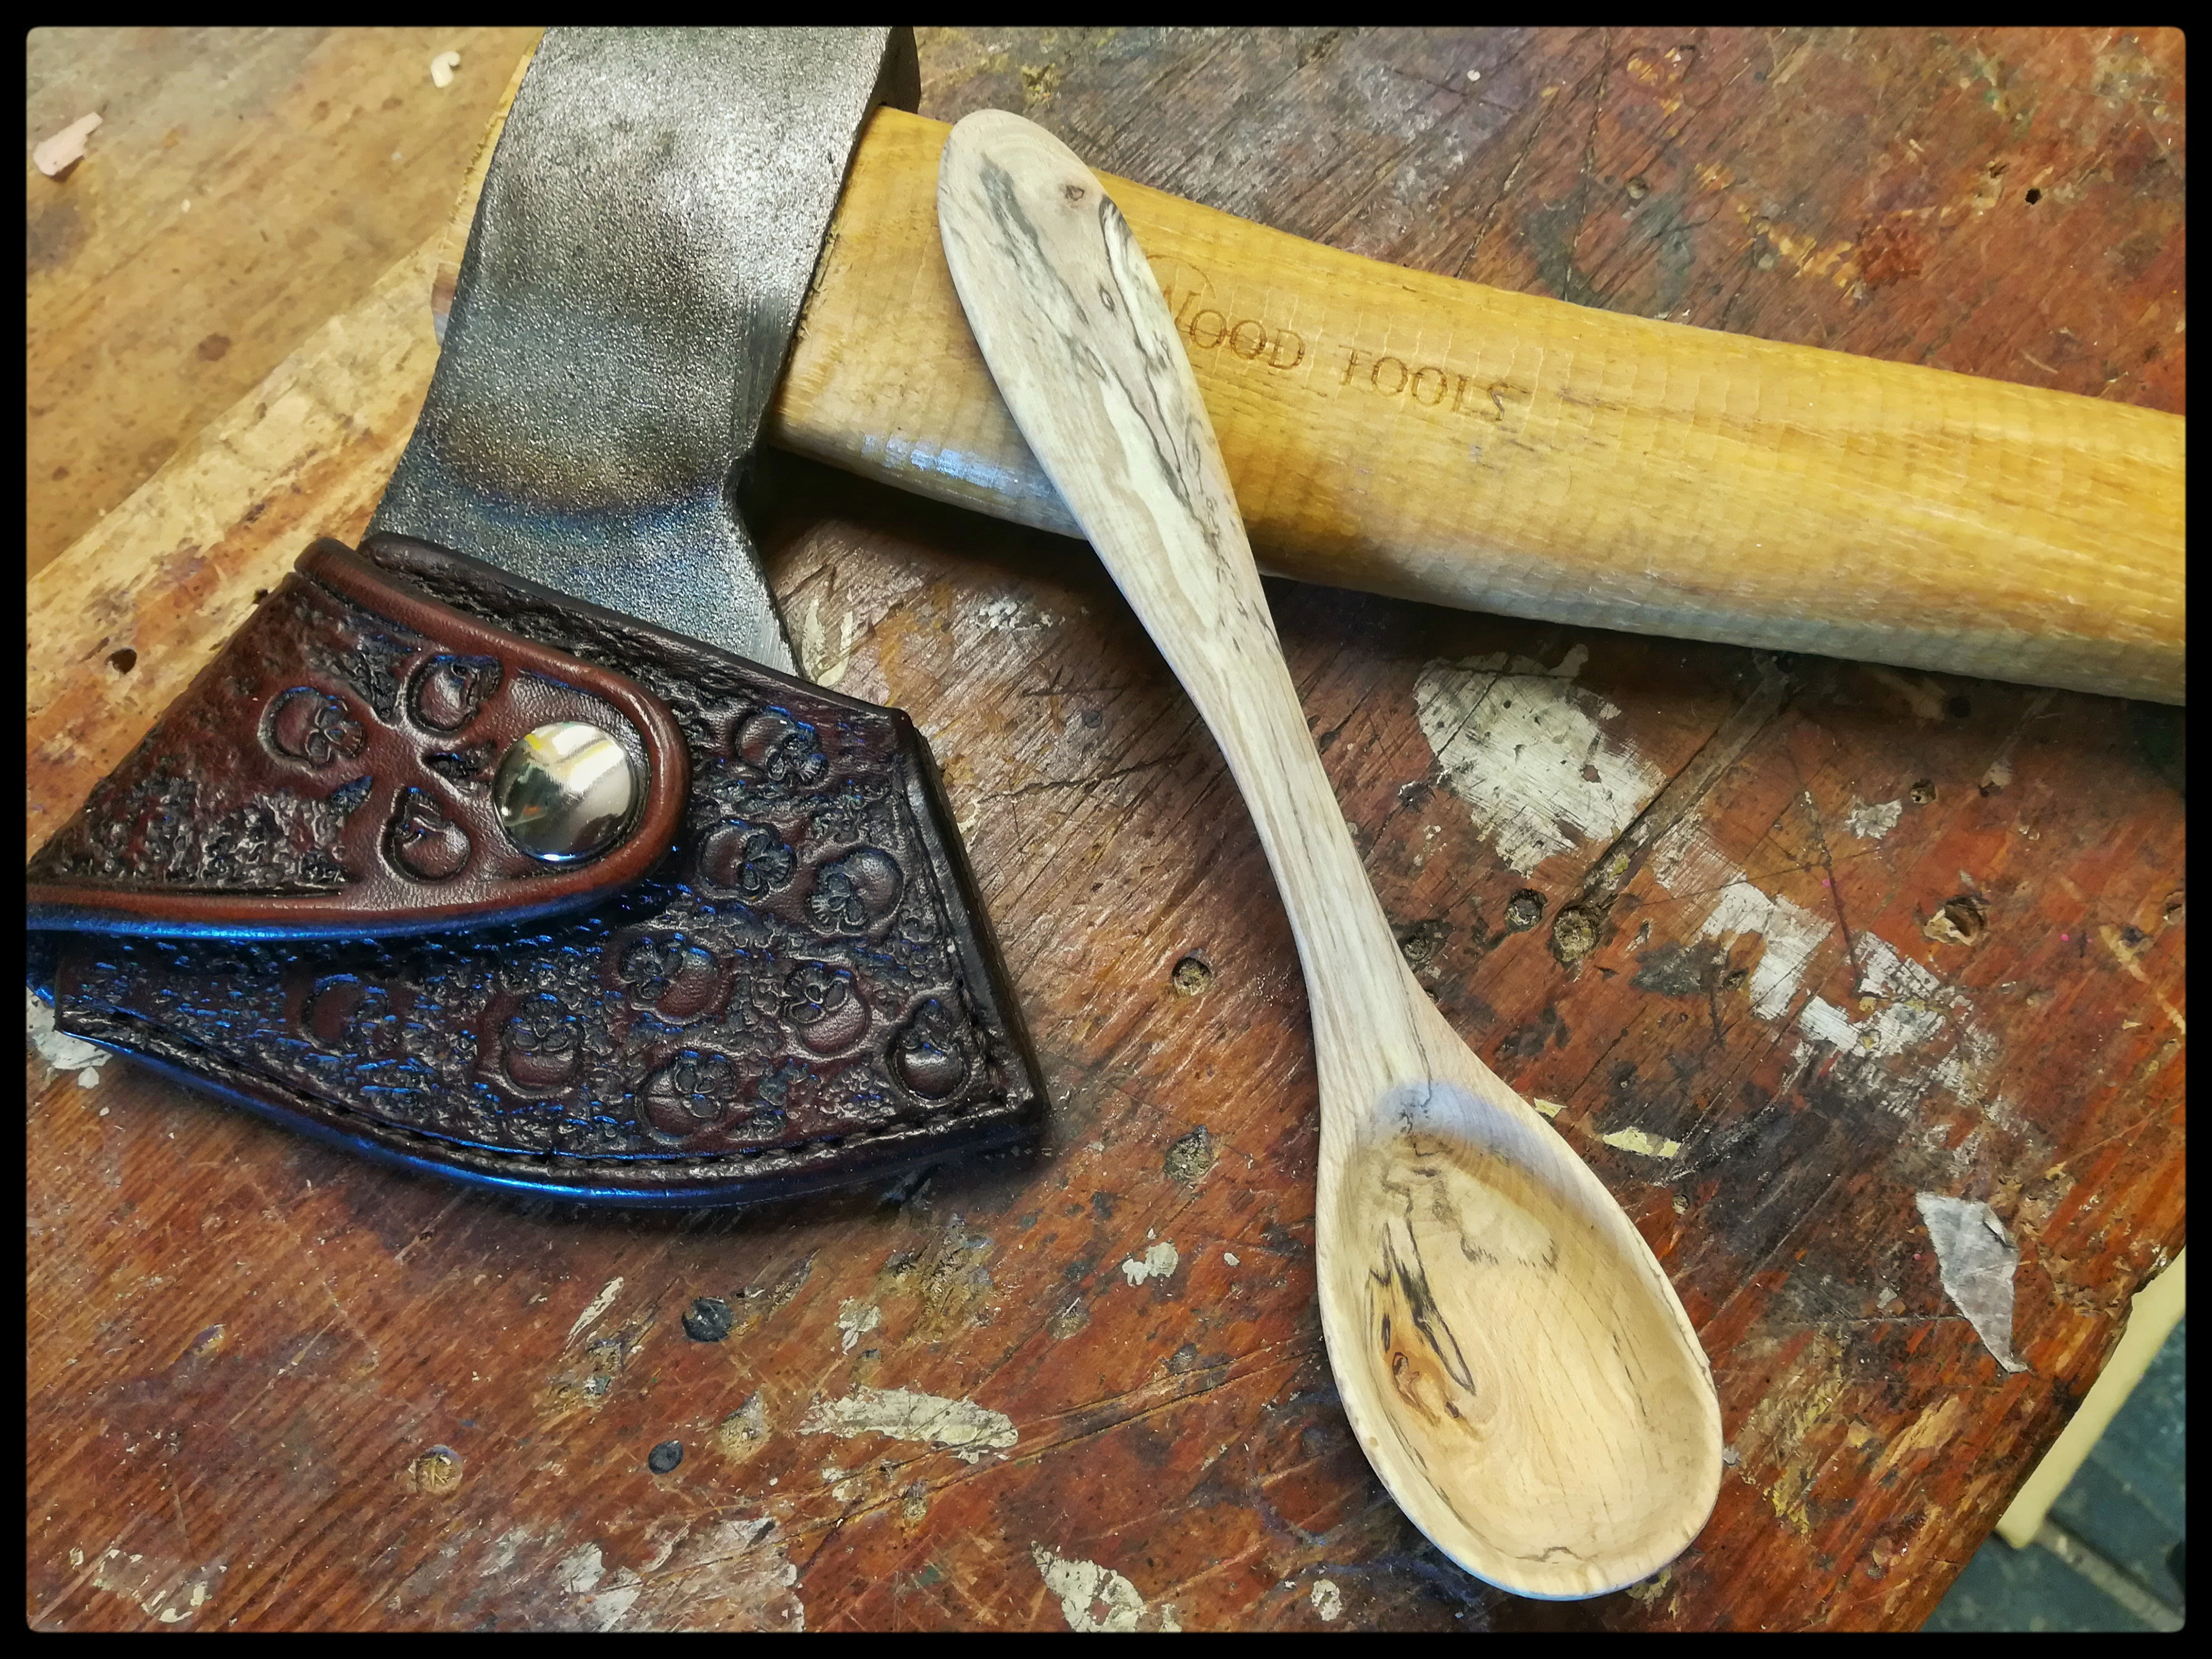
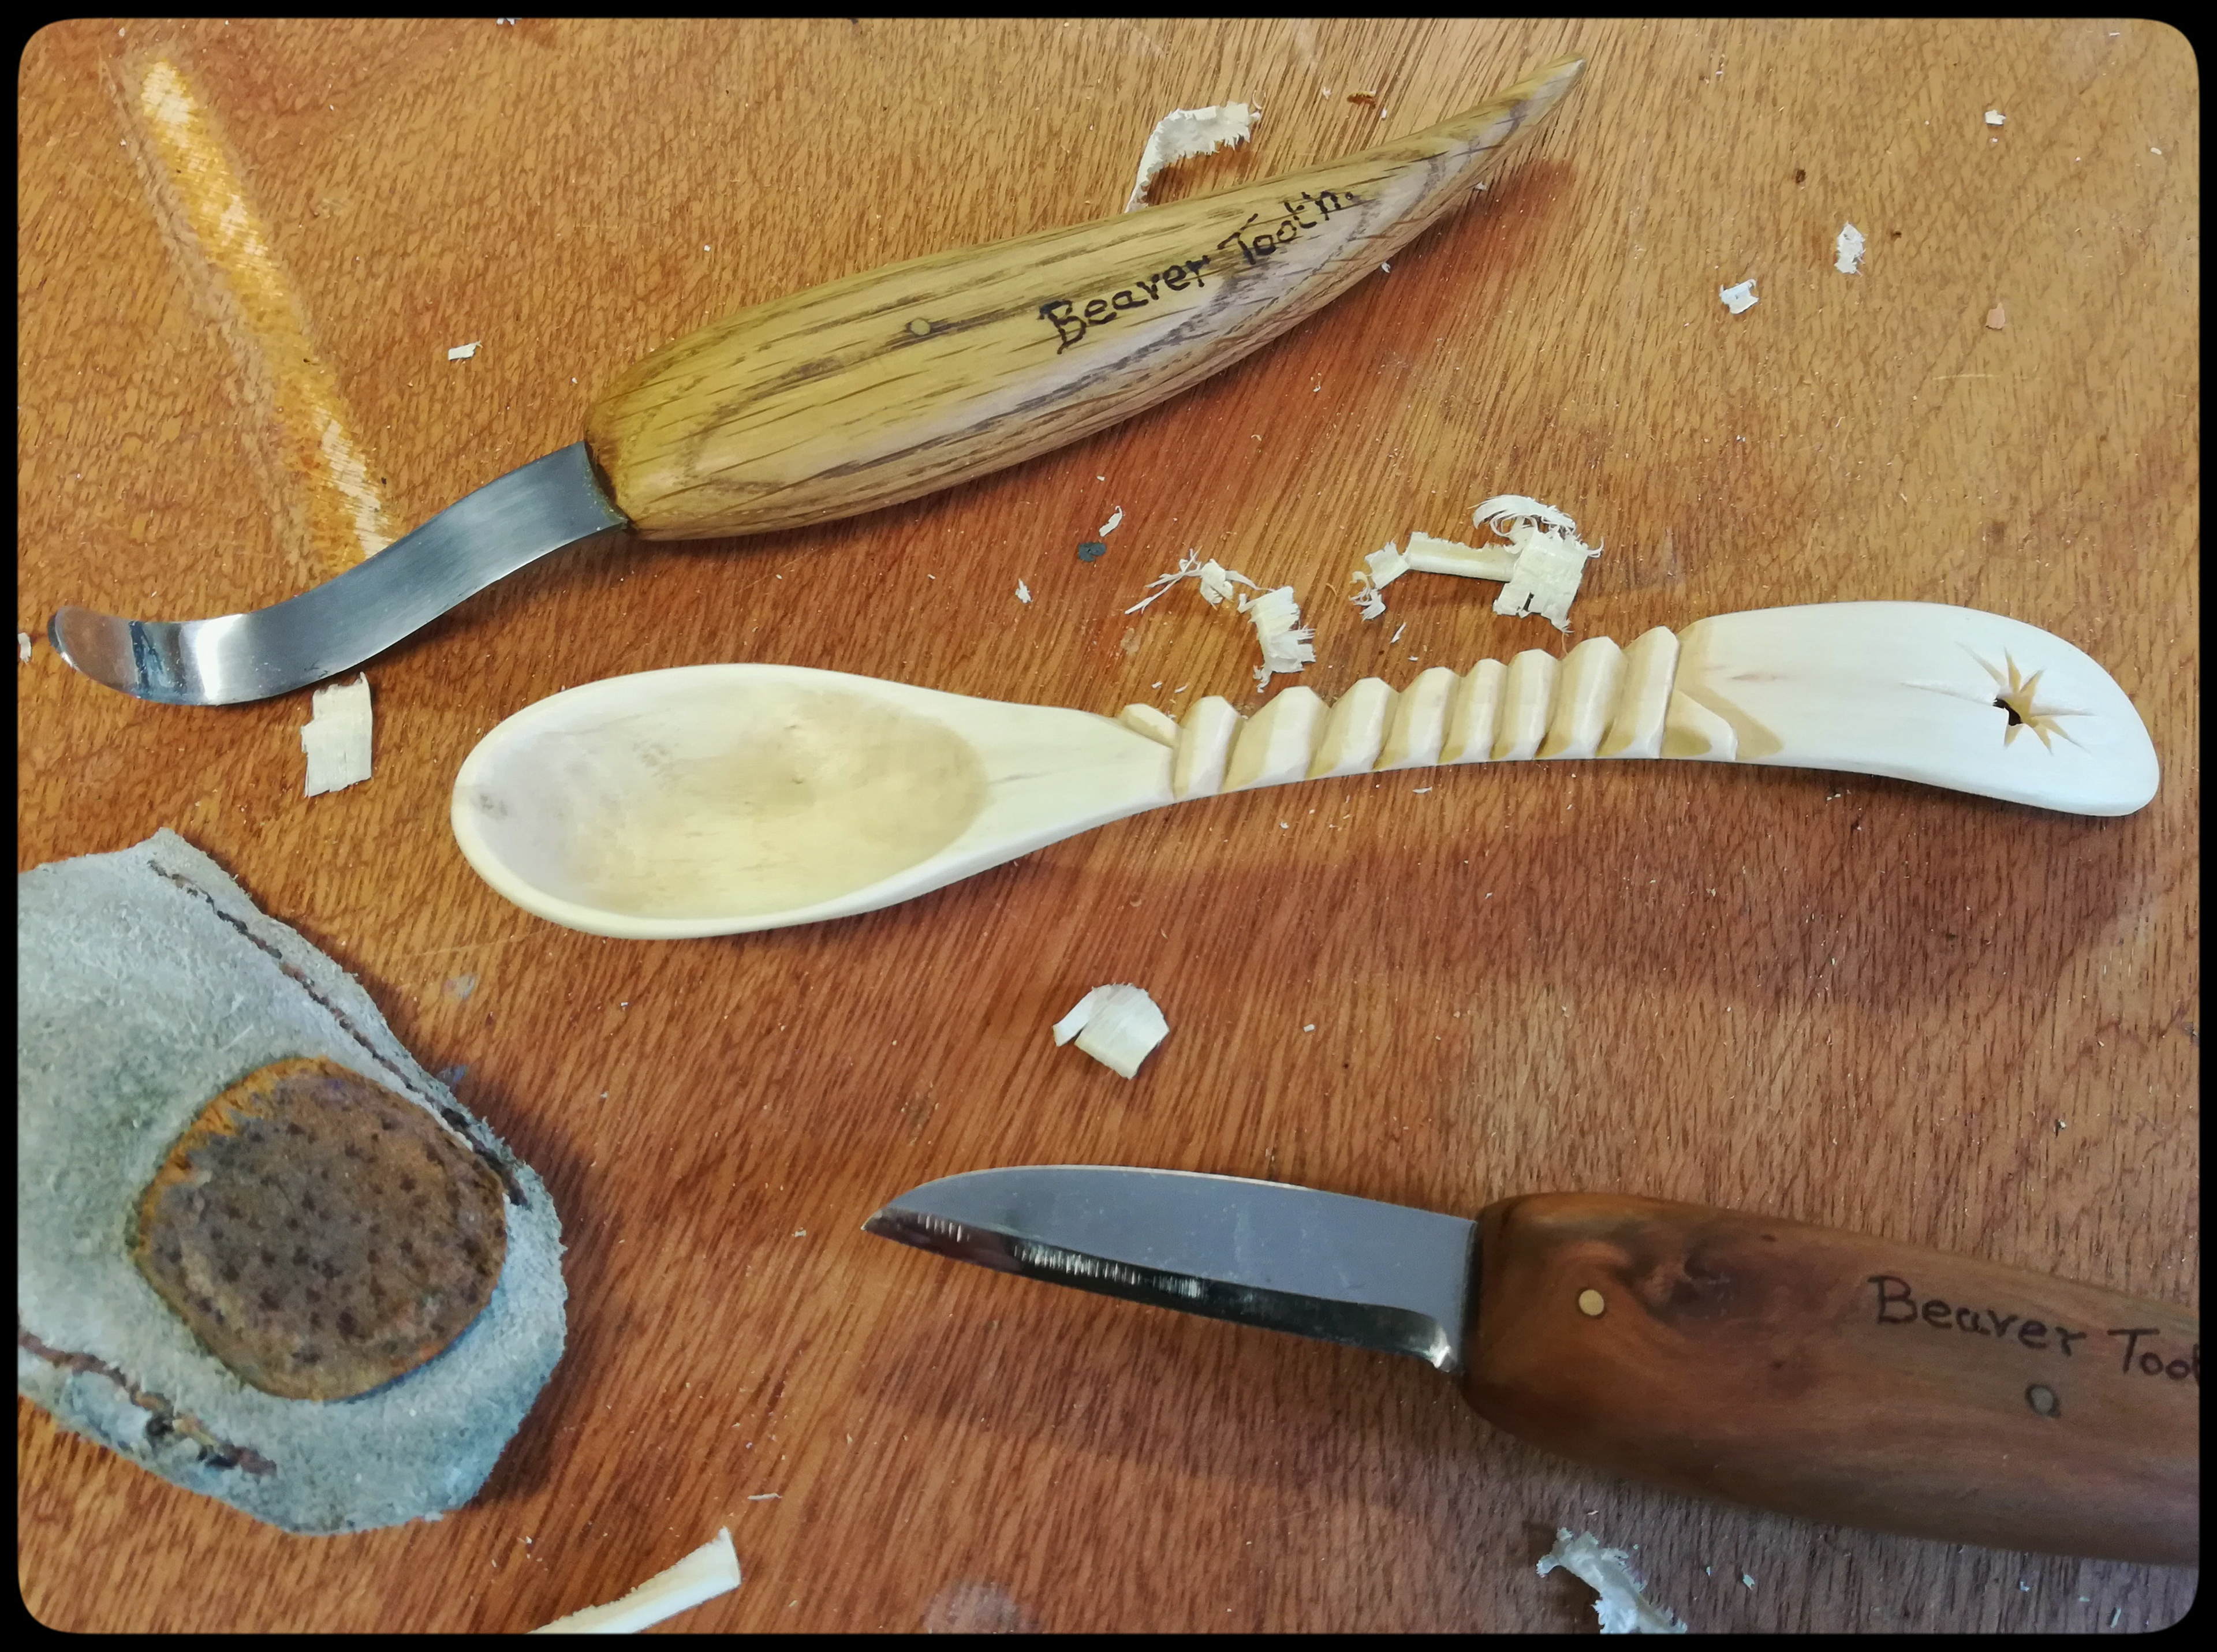
Below are just some on my spoons, processing the raw wood supplies and the day Paul spent in my workshop learning to carve a spoon. All have been carved with spoon carving knives, but other tools were use too, can you tell which ones?
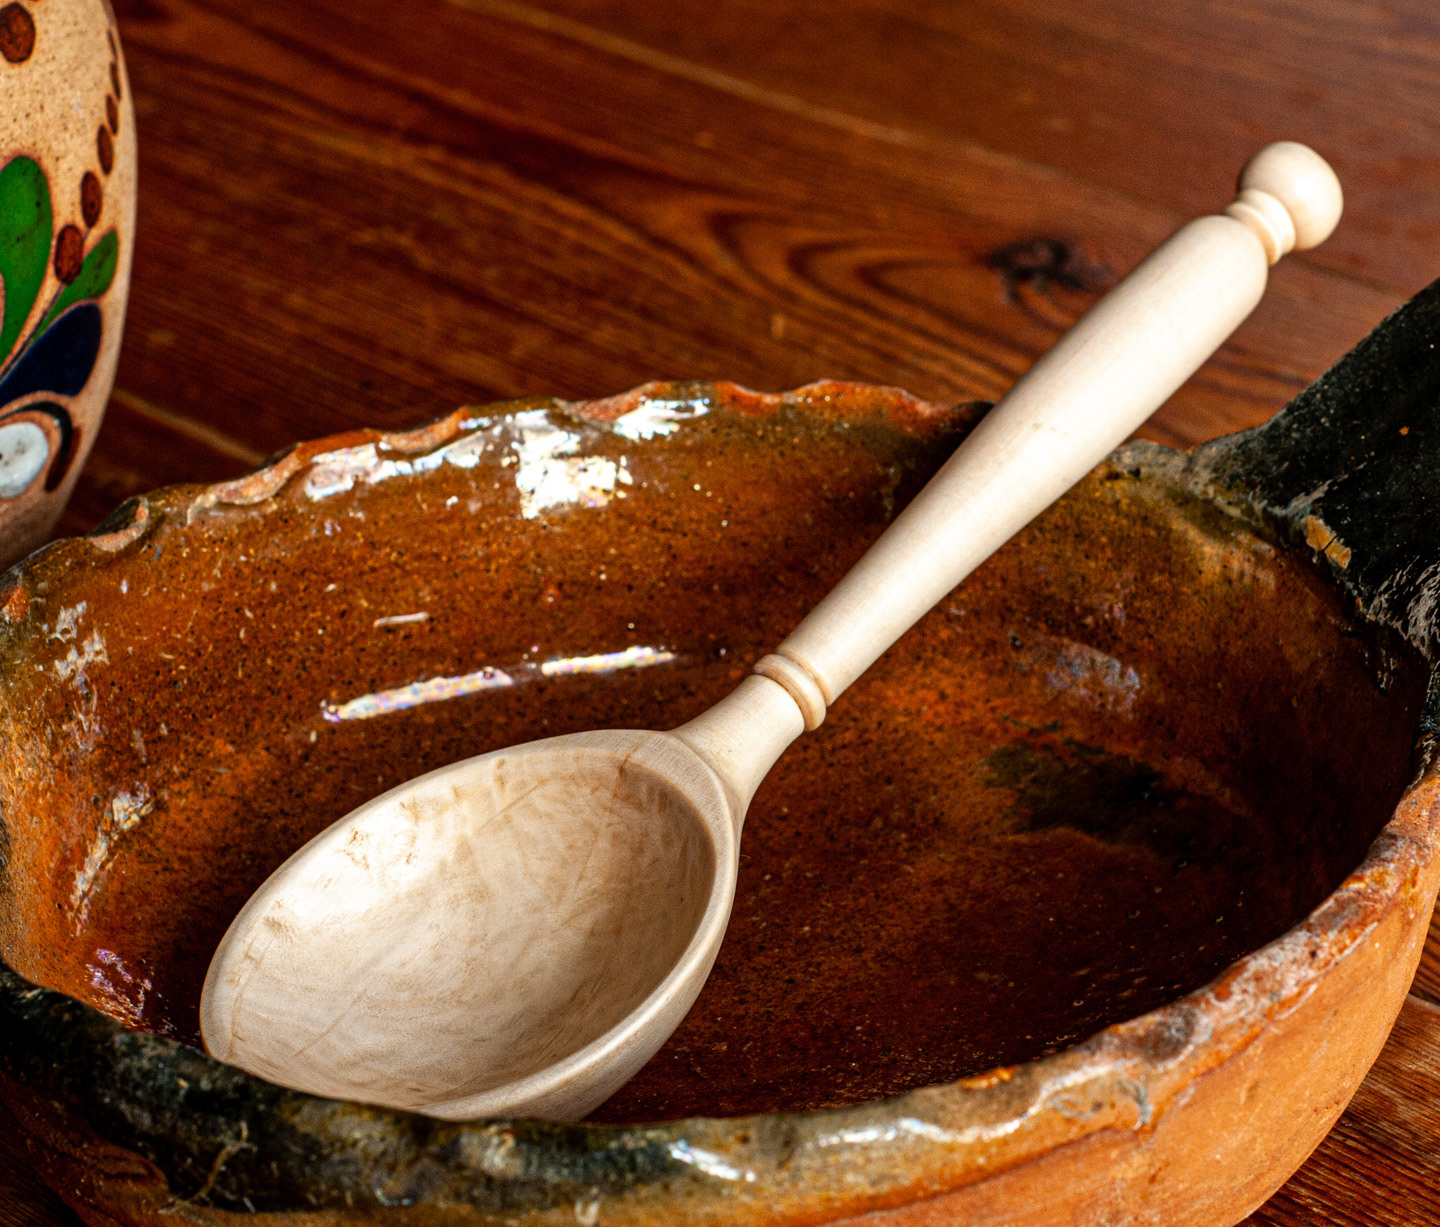
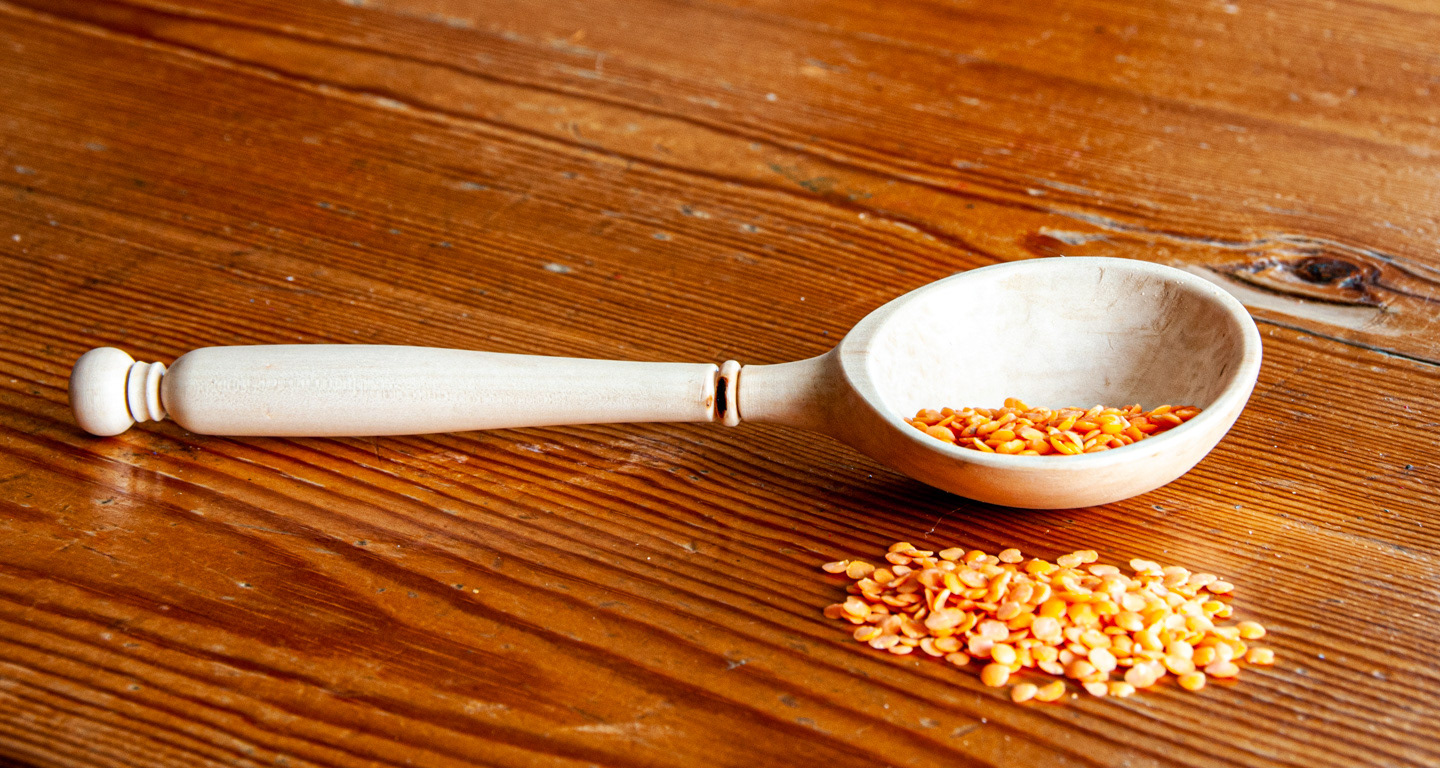

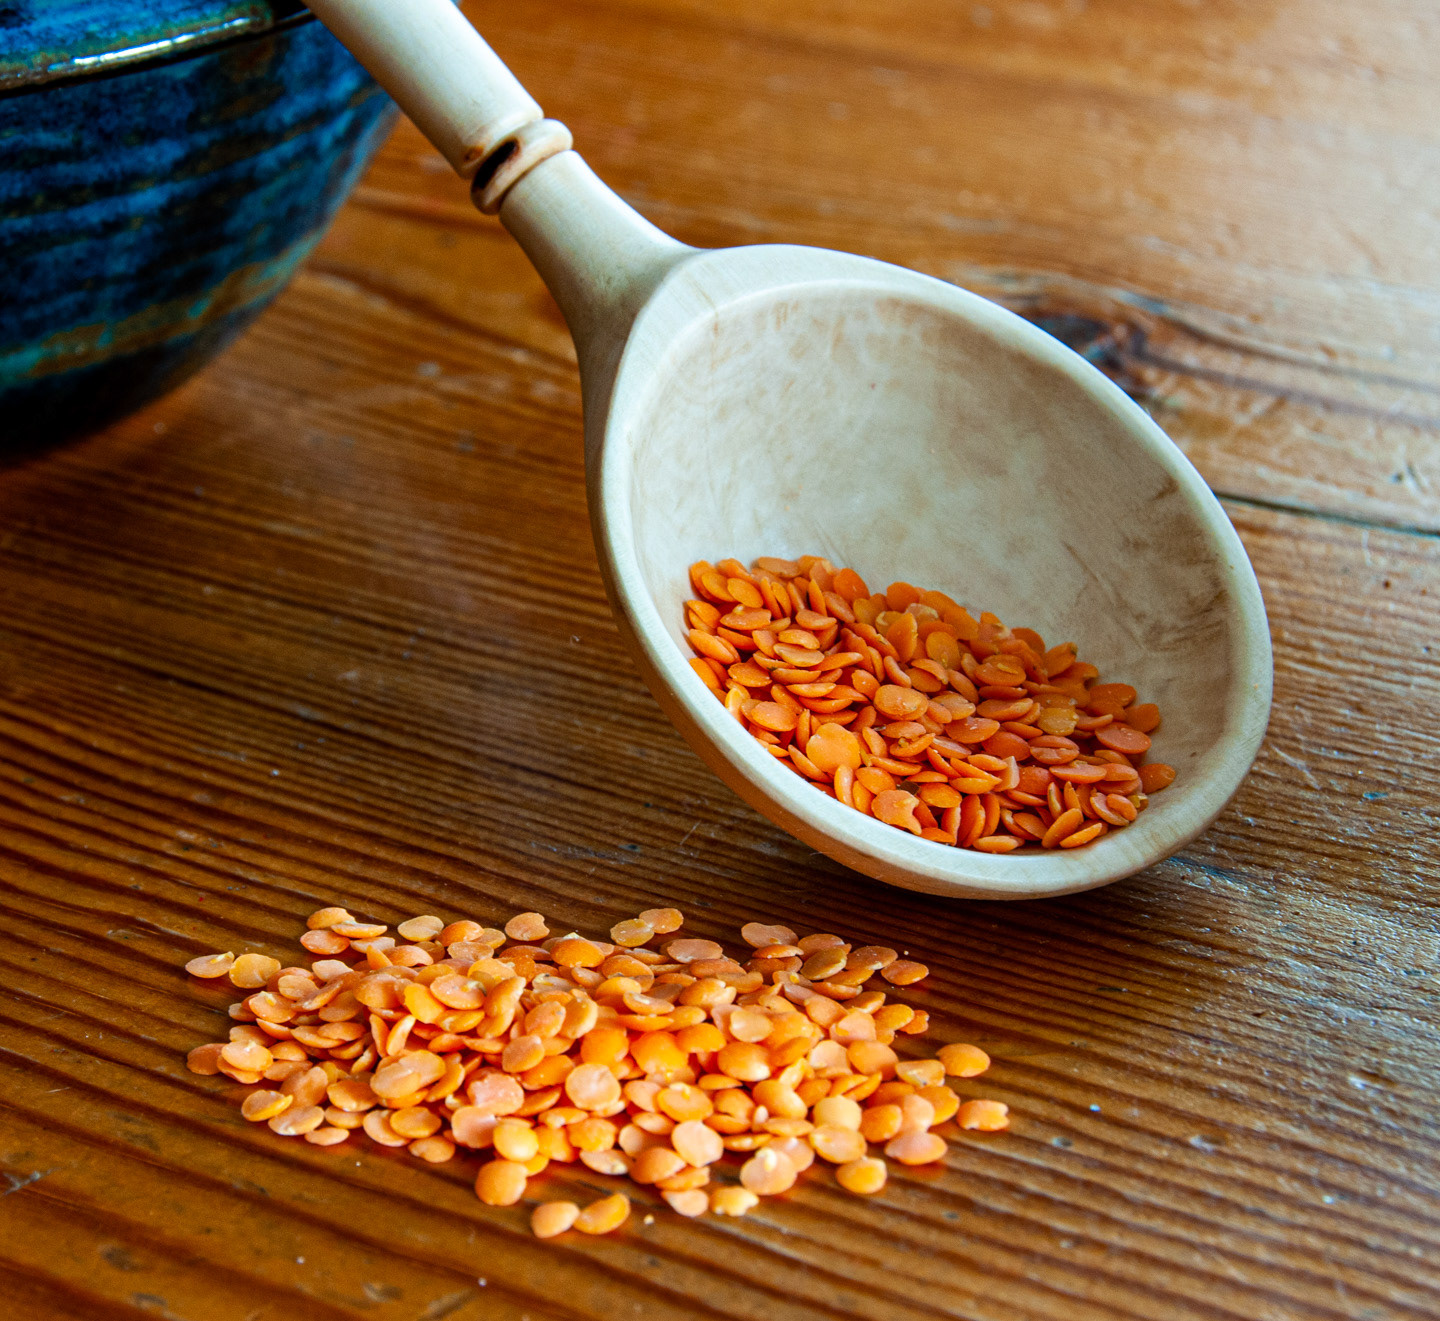
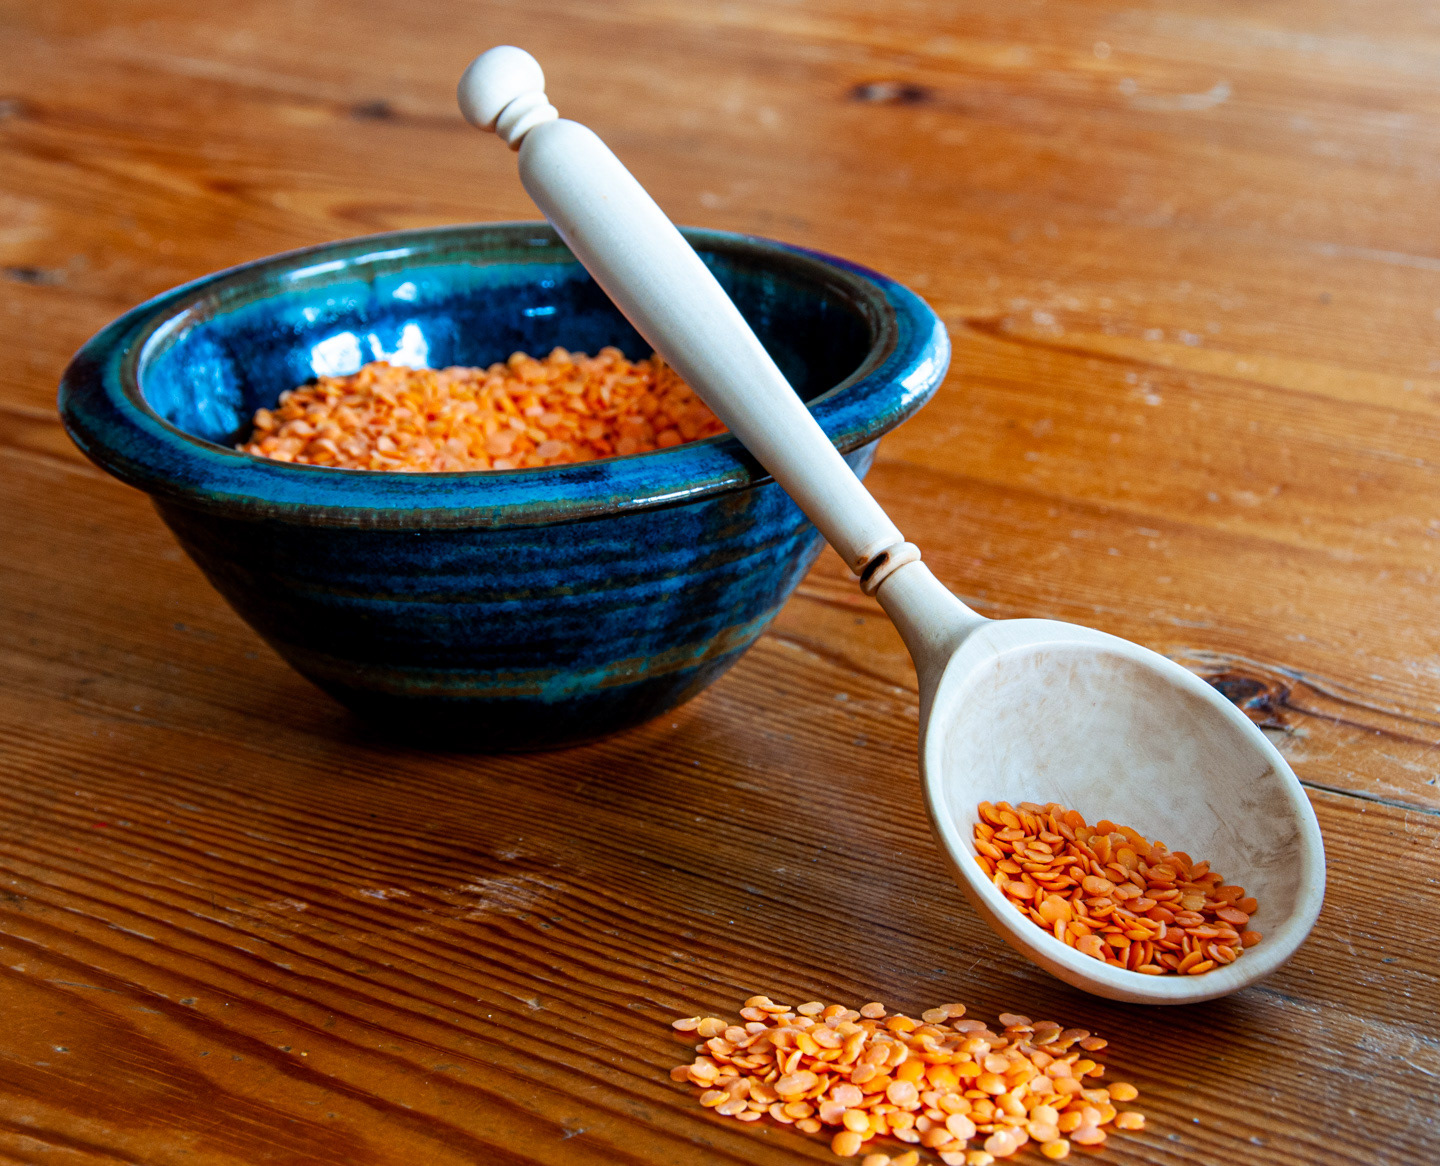
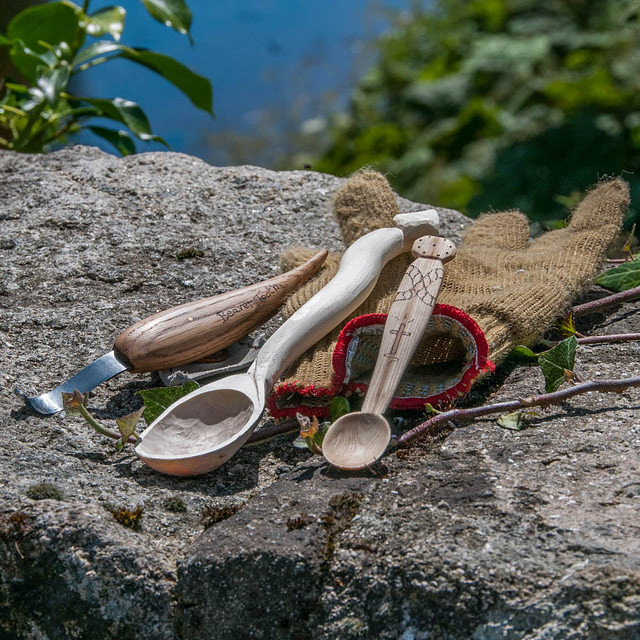
This lovely spoon was carved from Hawthorn. This wood is under valued, I think it is beautiful, but also a hard wood and takes a lot of detail. The spoon is all one piece but the spoon's bowl is slightly raised above the stem and the stem was turned on my woodlathe. So some planning was required to address all these features. I think this is a nice piece. Spoons like this can be made to exact measures so precise amounts can be spooned out into recipes etc. They make a nice item for the kitchen or table.
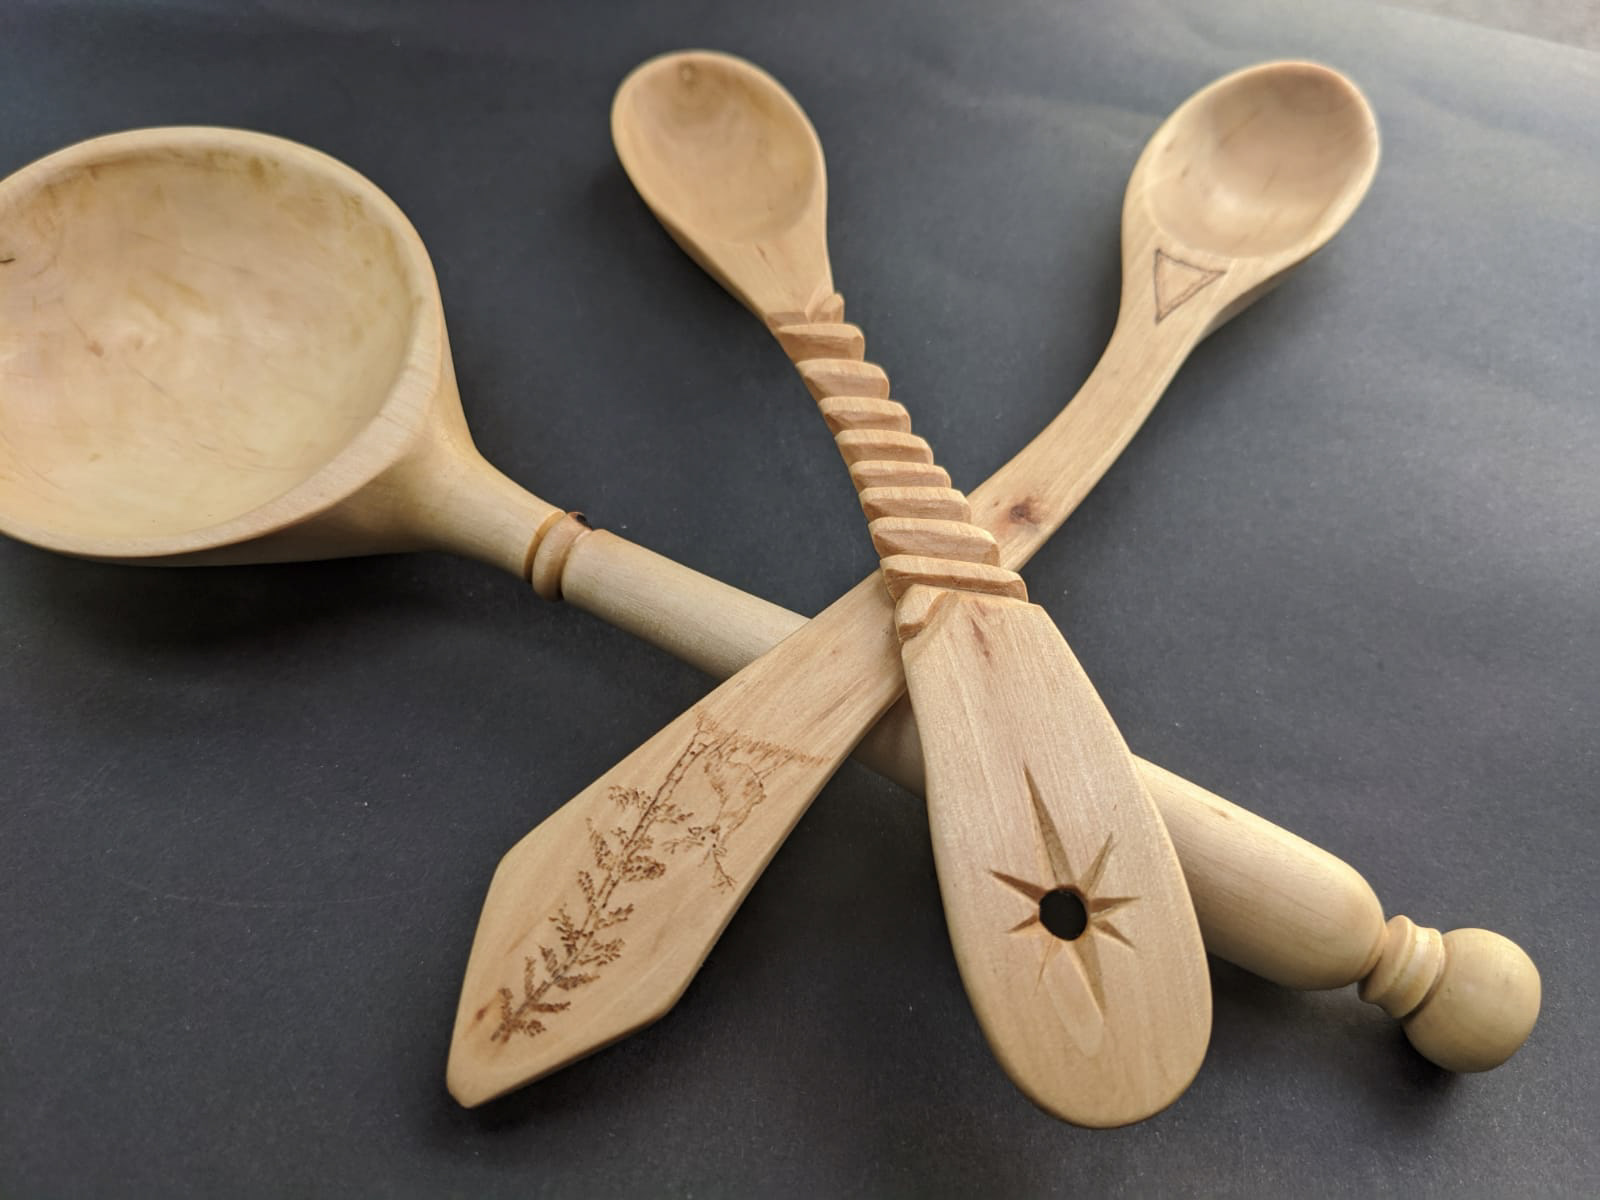
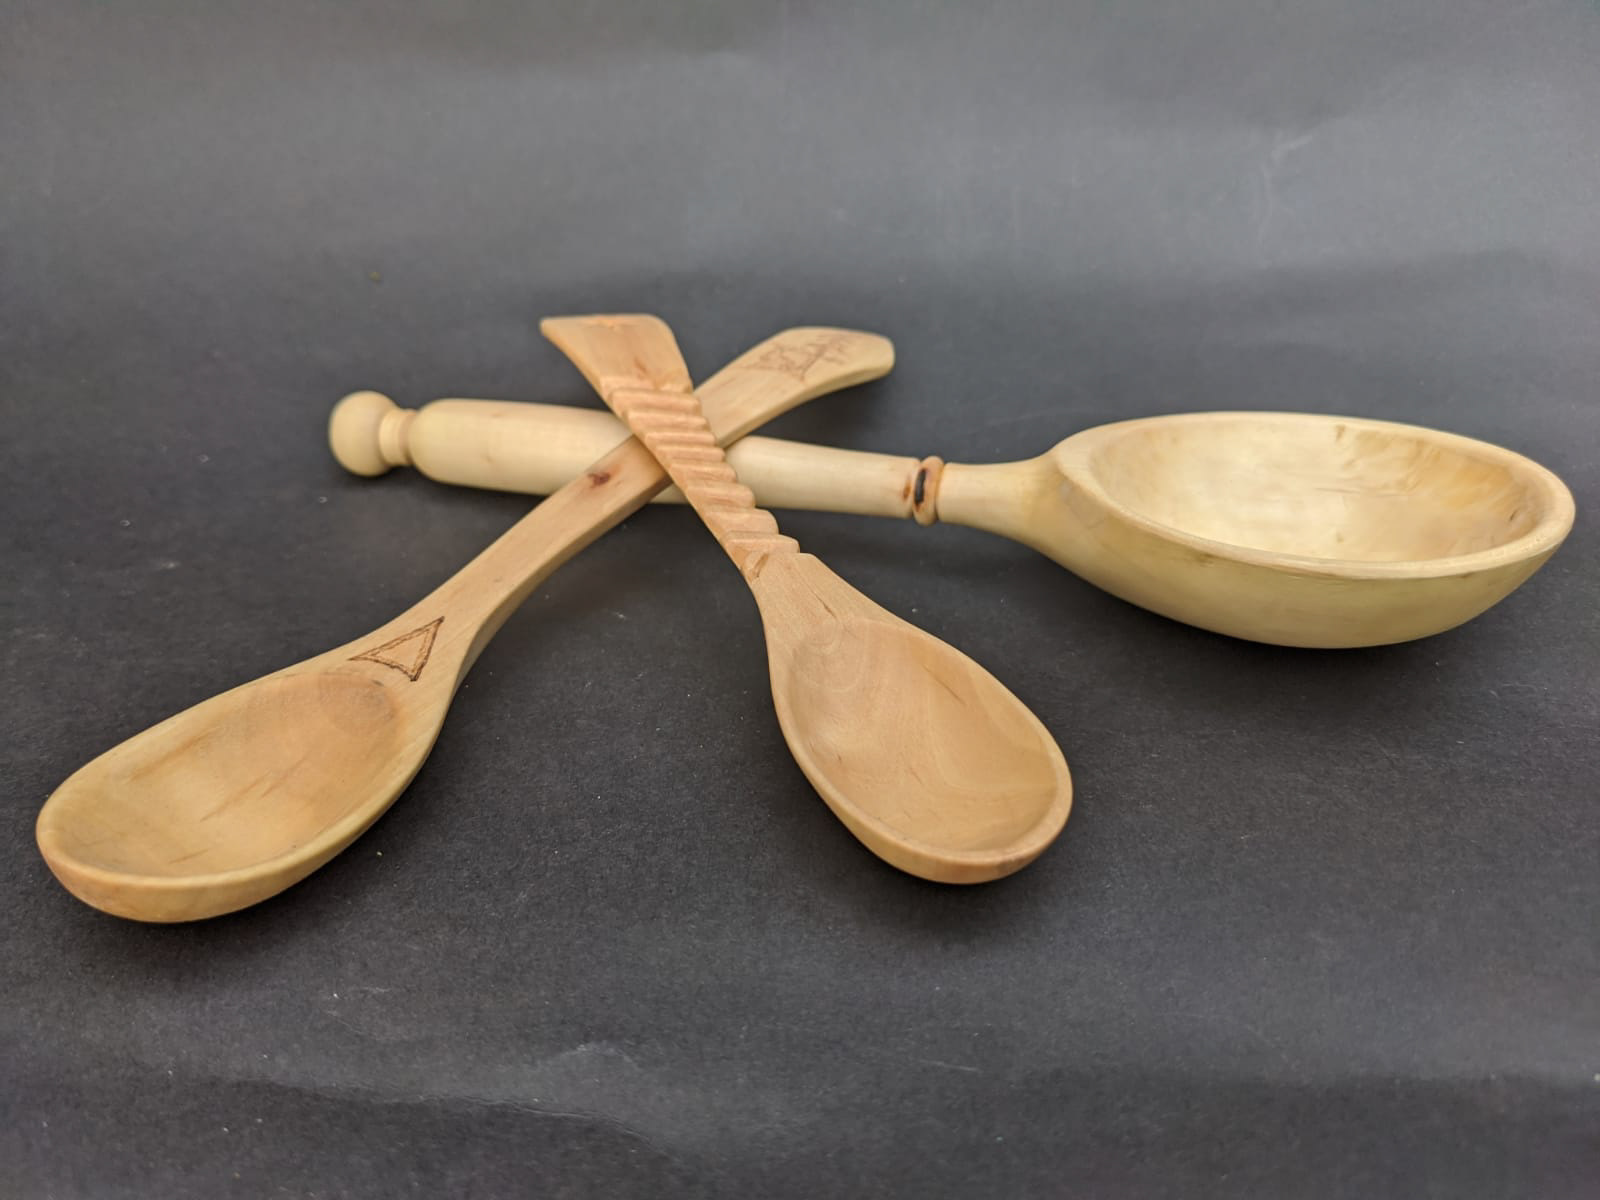
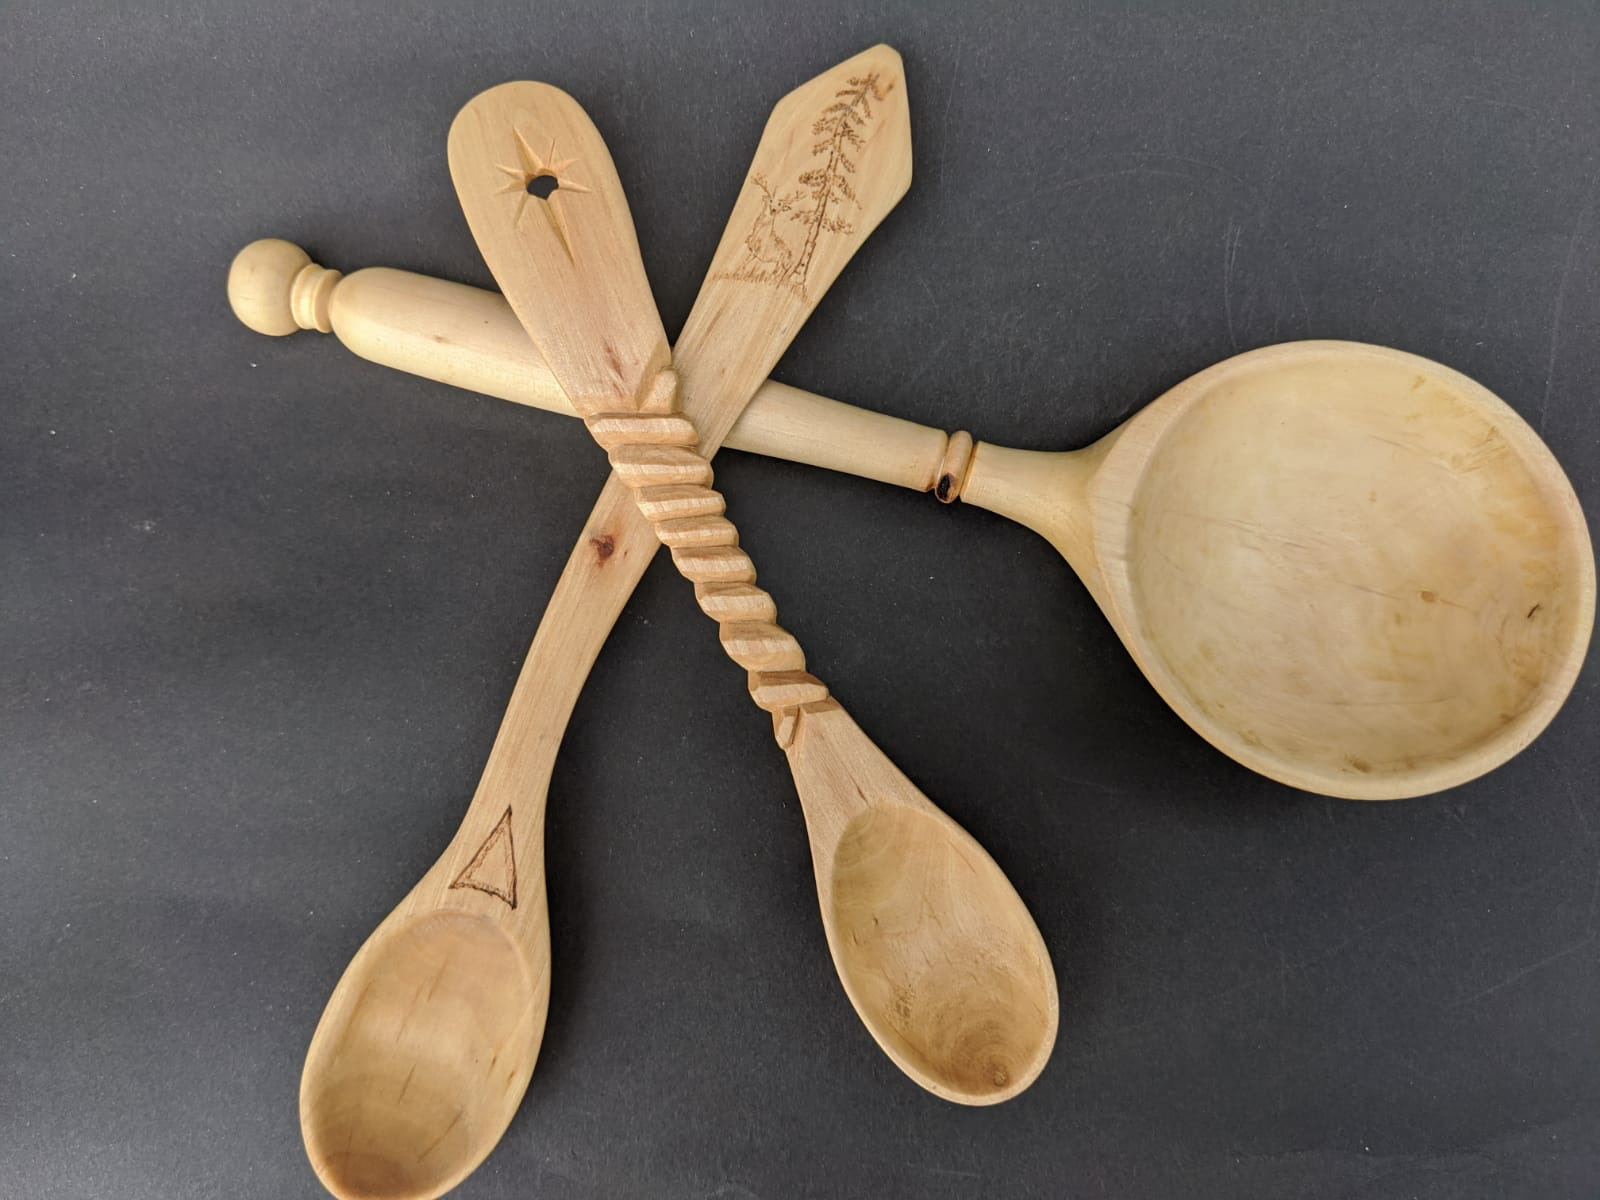

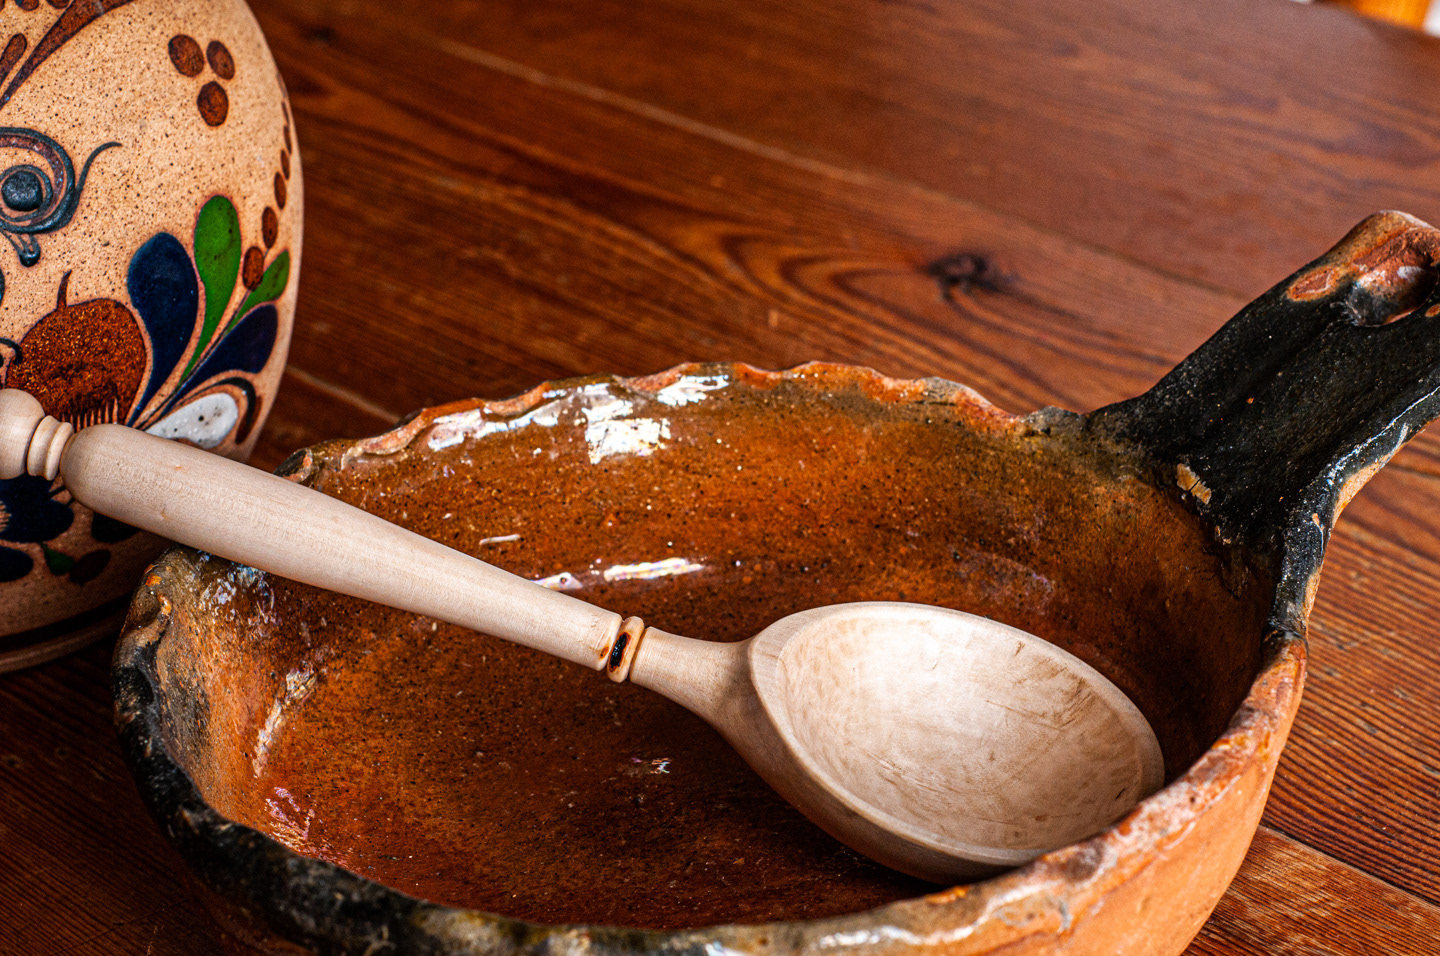
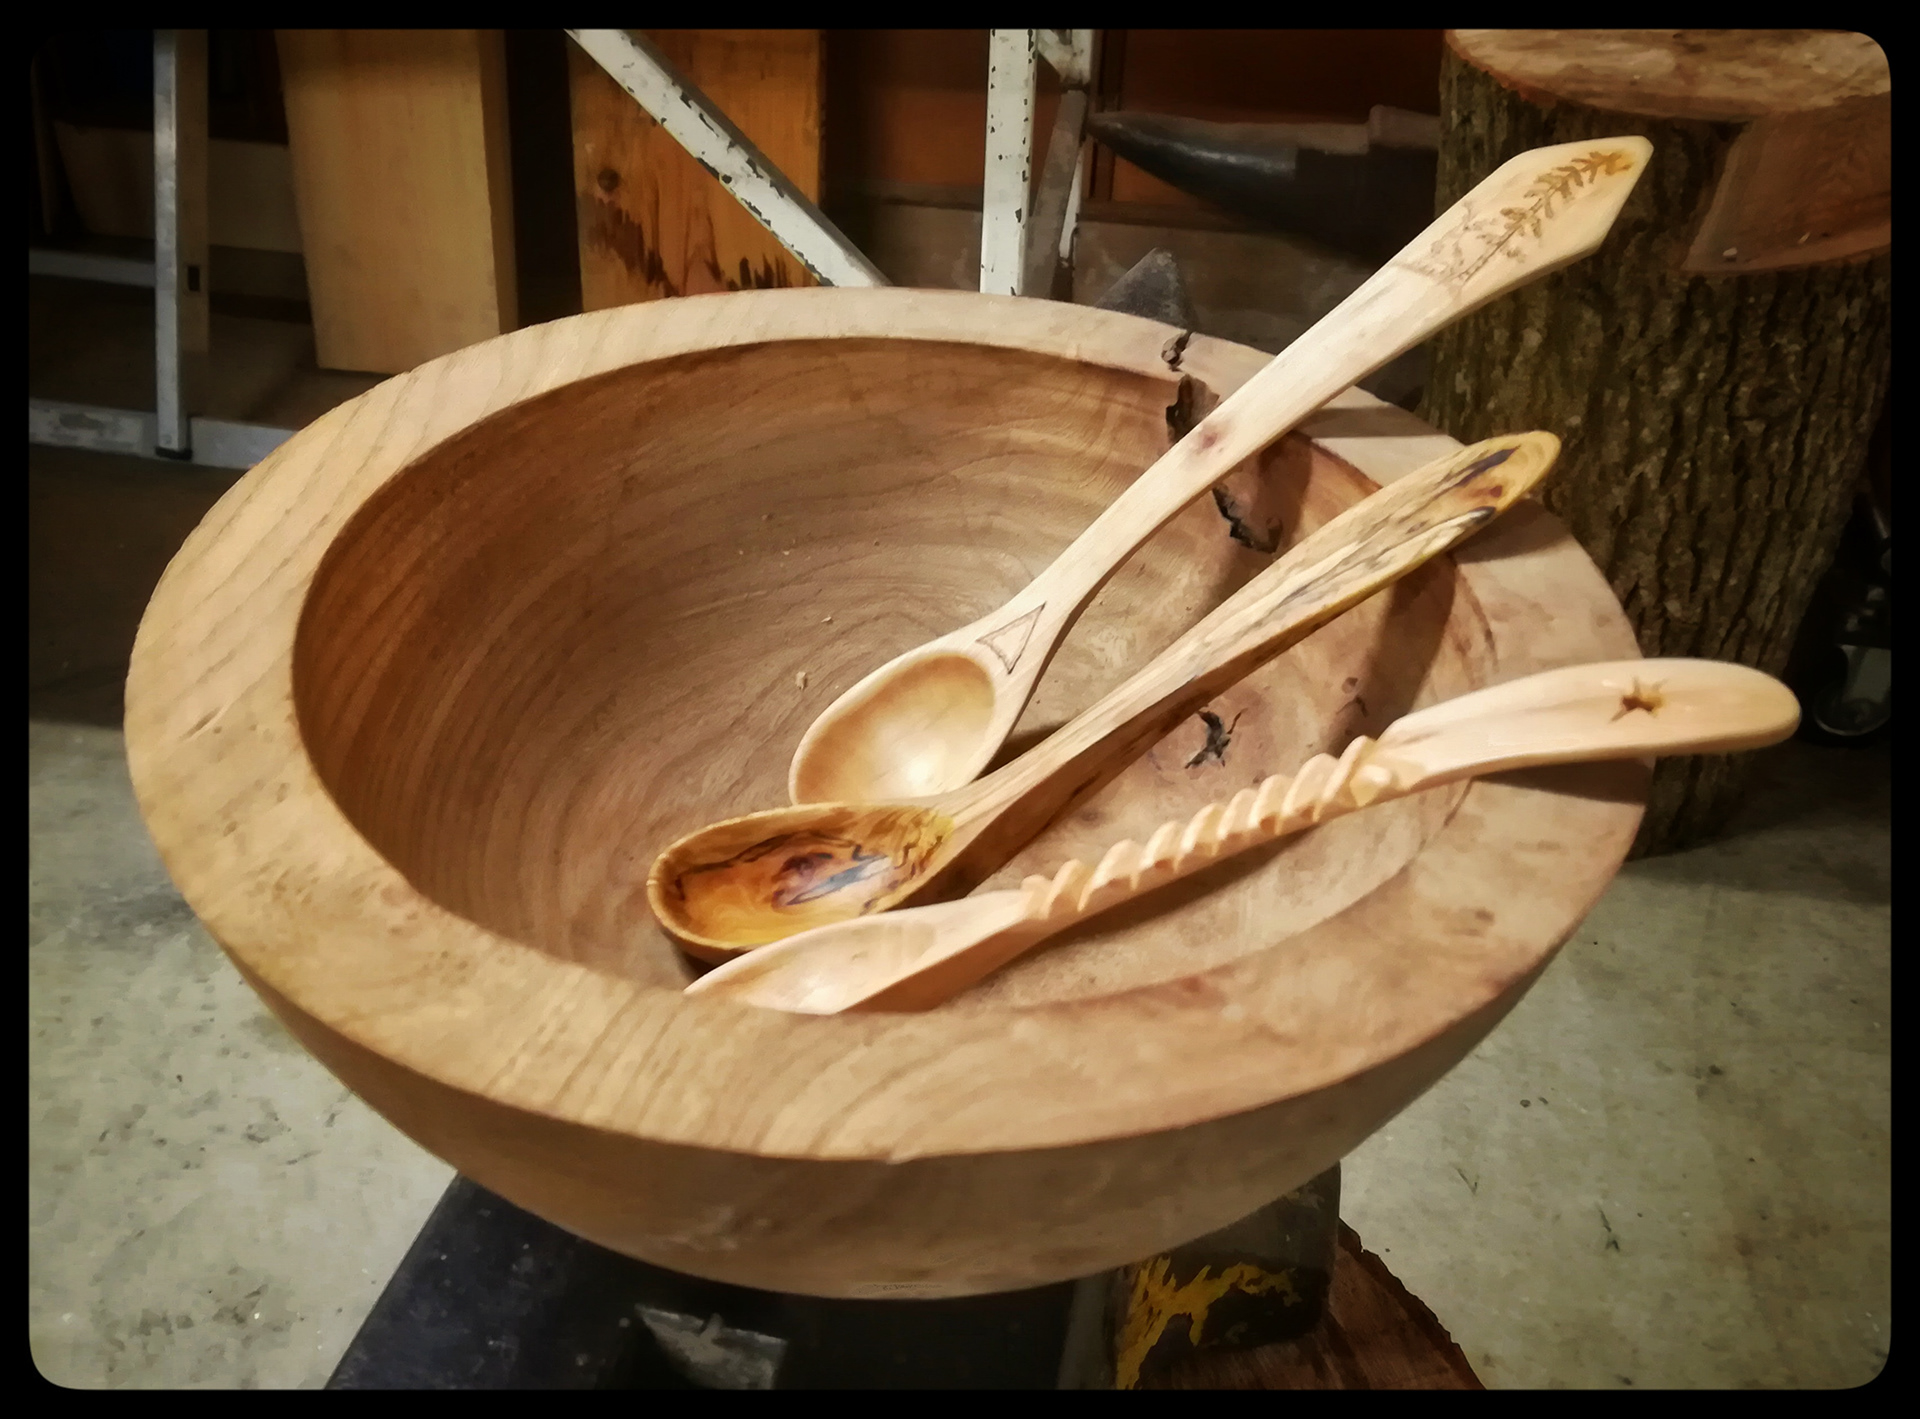
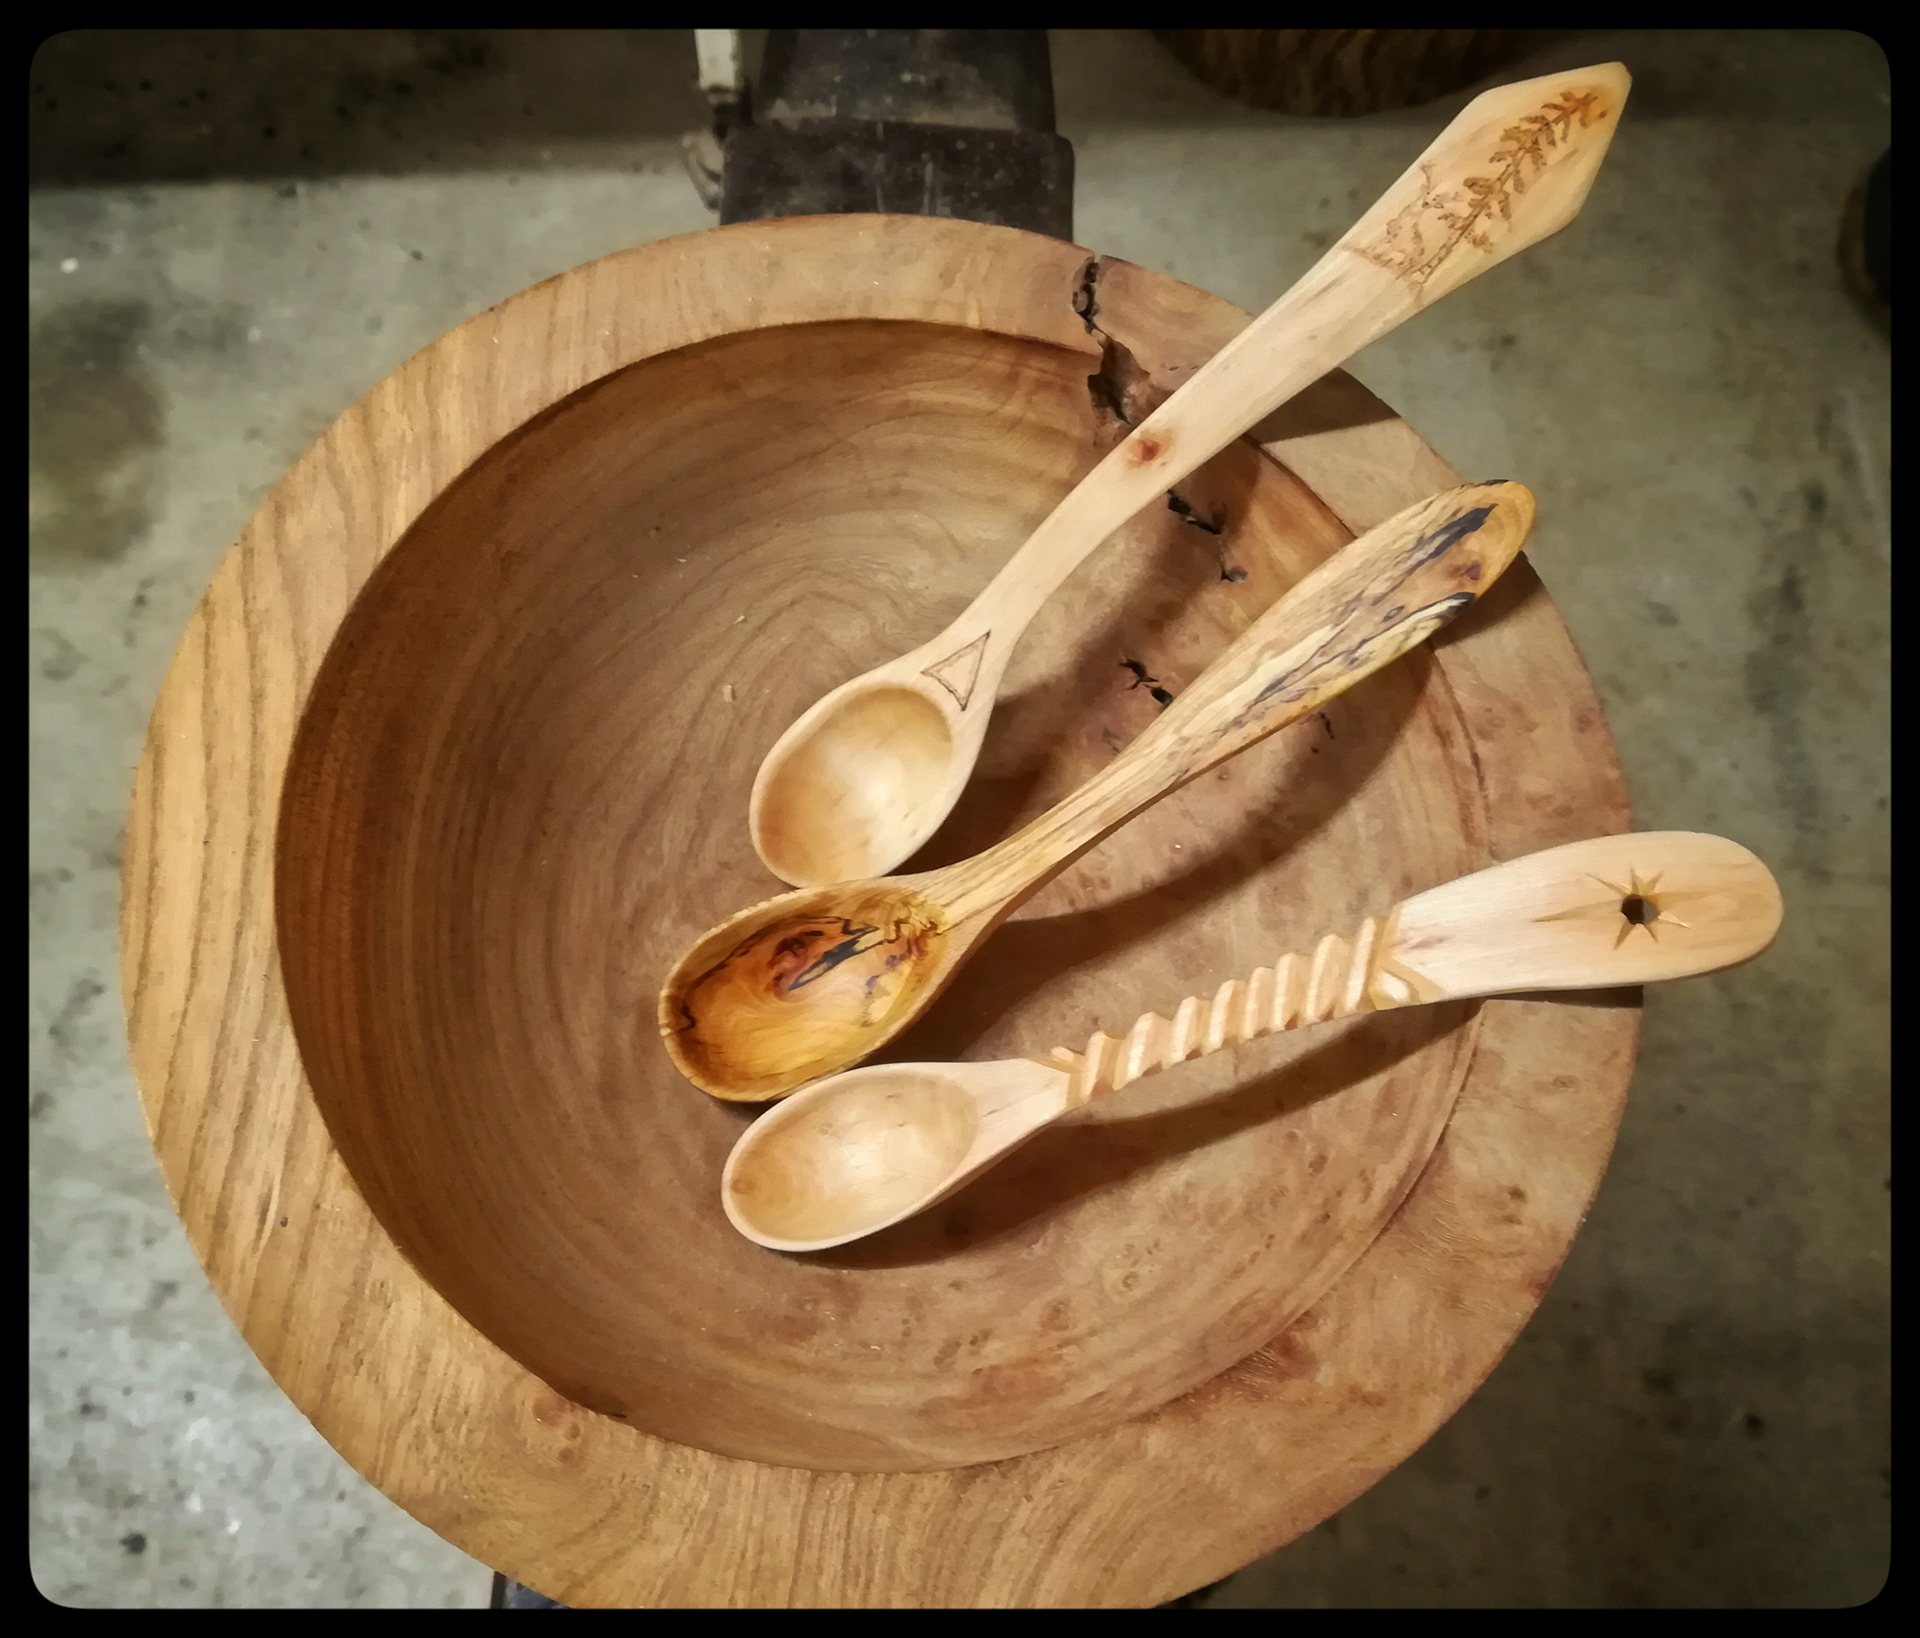
The top 3 spoons are carved from Hawthorn. Each demonstrates different techniques to add detail to the spoon. For example, the woodlathe, just using a knife to get the grooves on the stem and then using a pyrography pen to burn on a little picture of a deer standing under a tree. Click on a photo to get a larger version to see the detail.
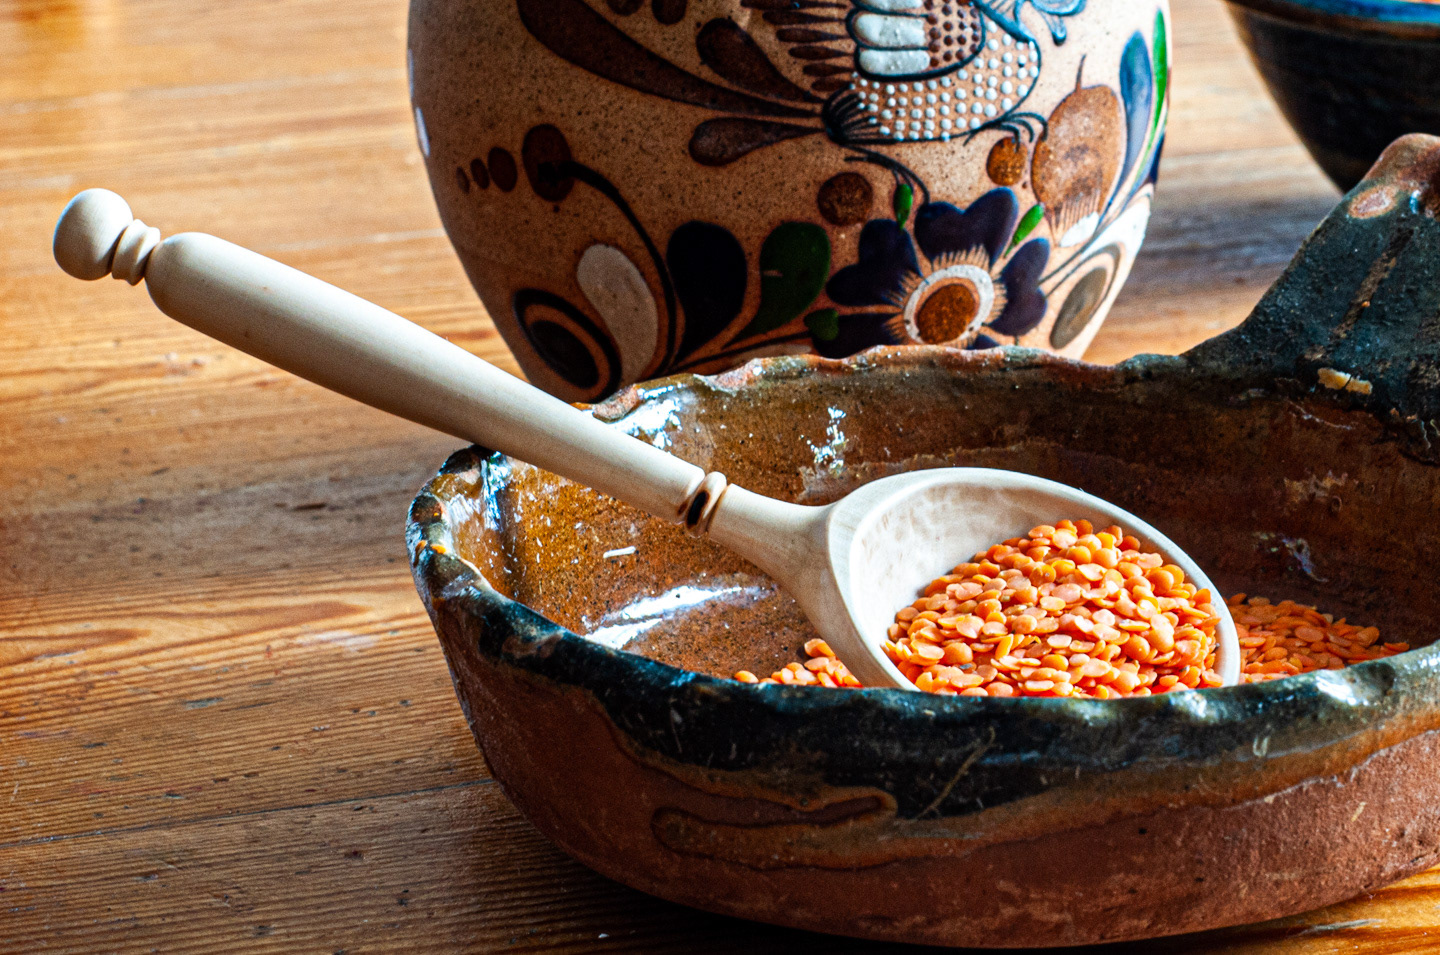
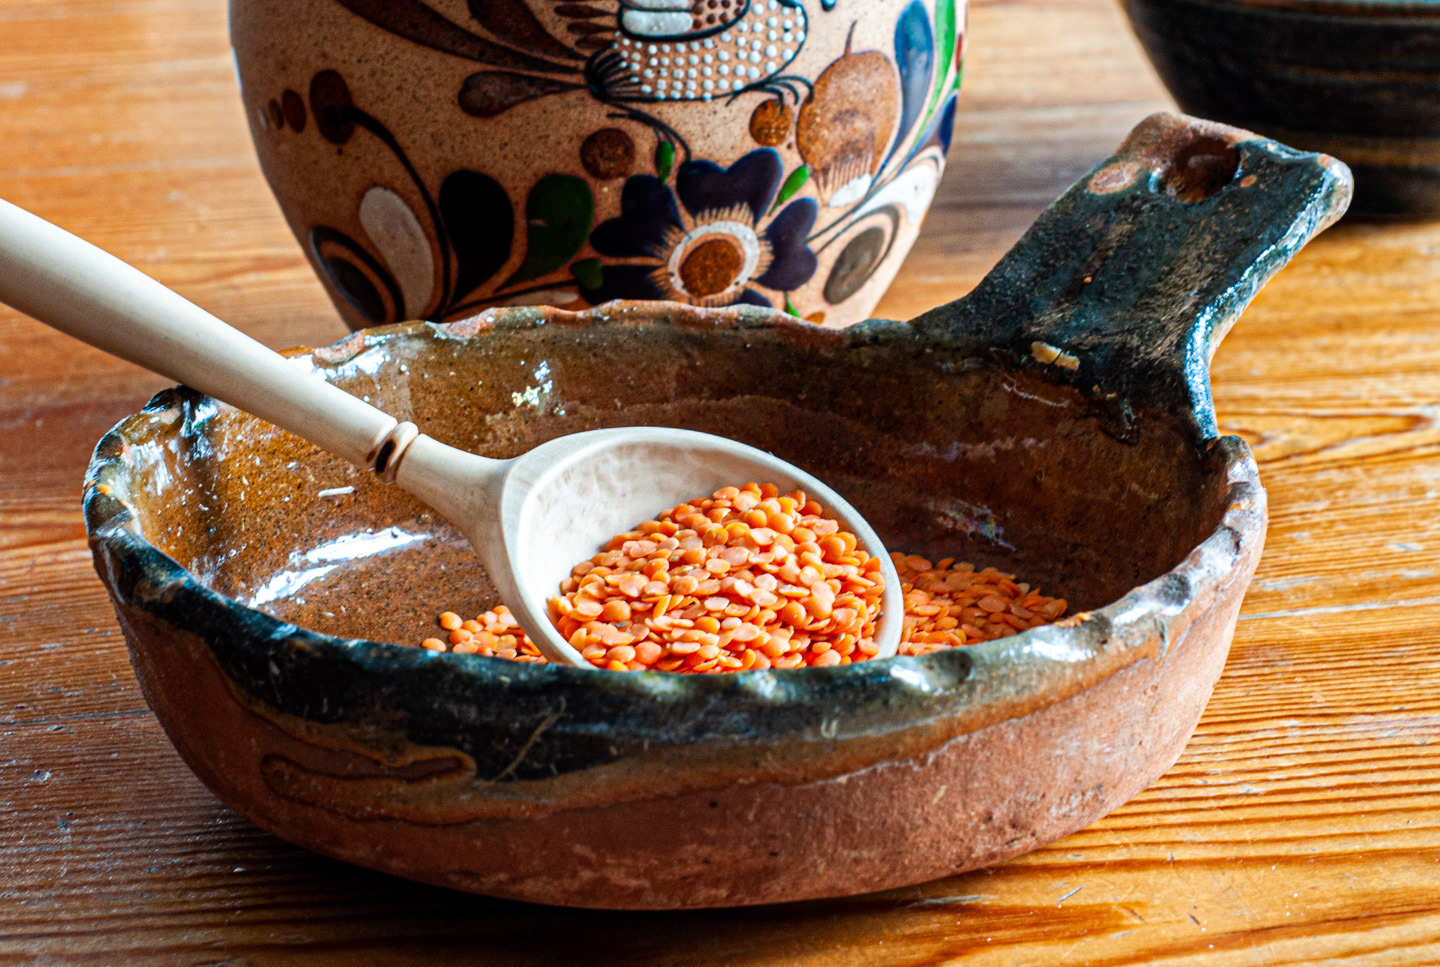
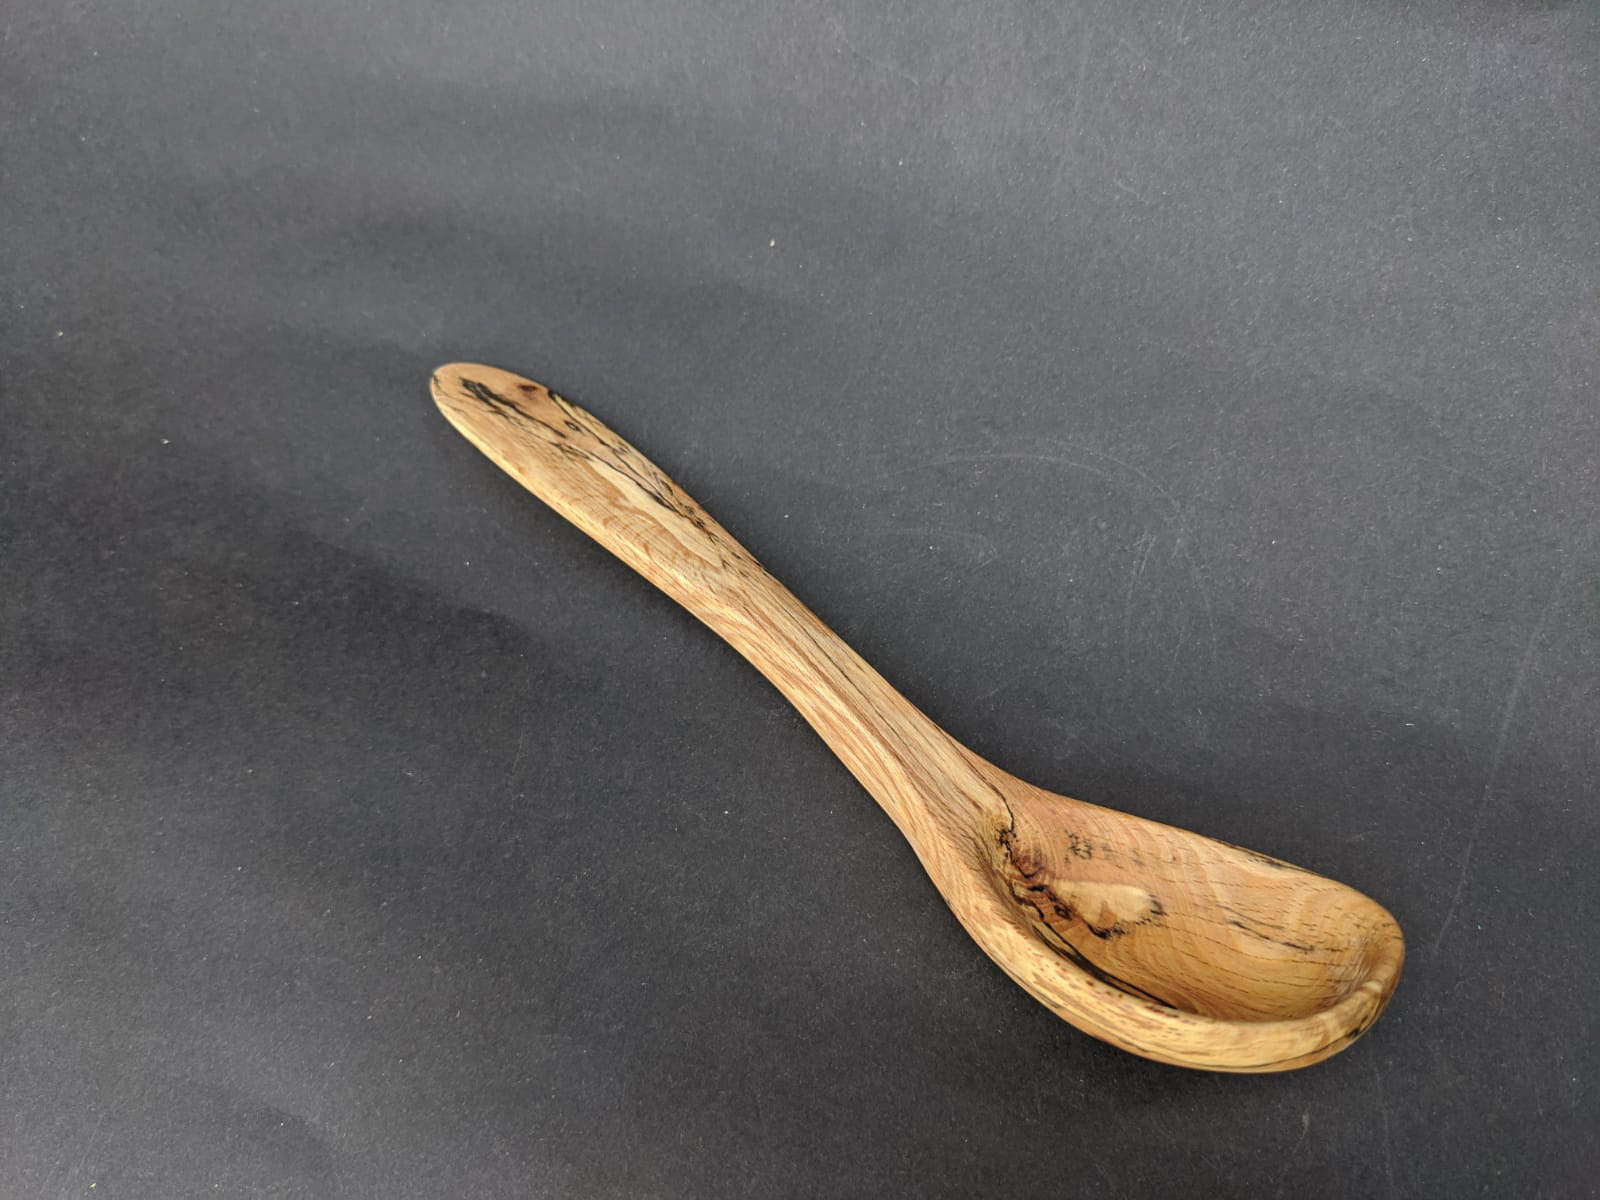
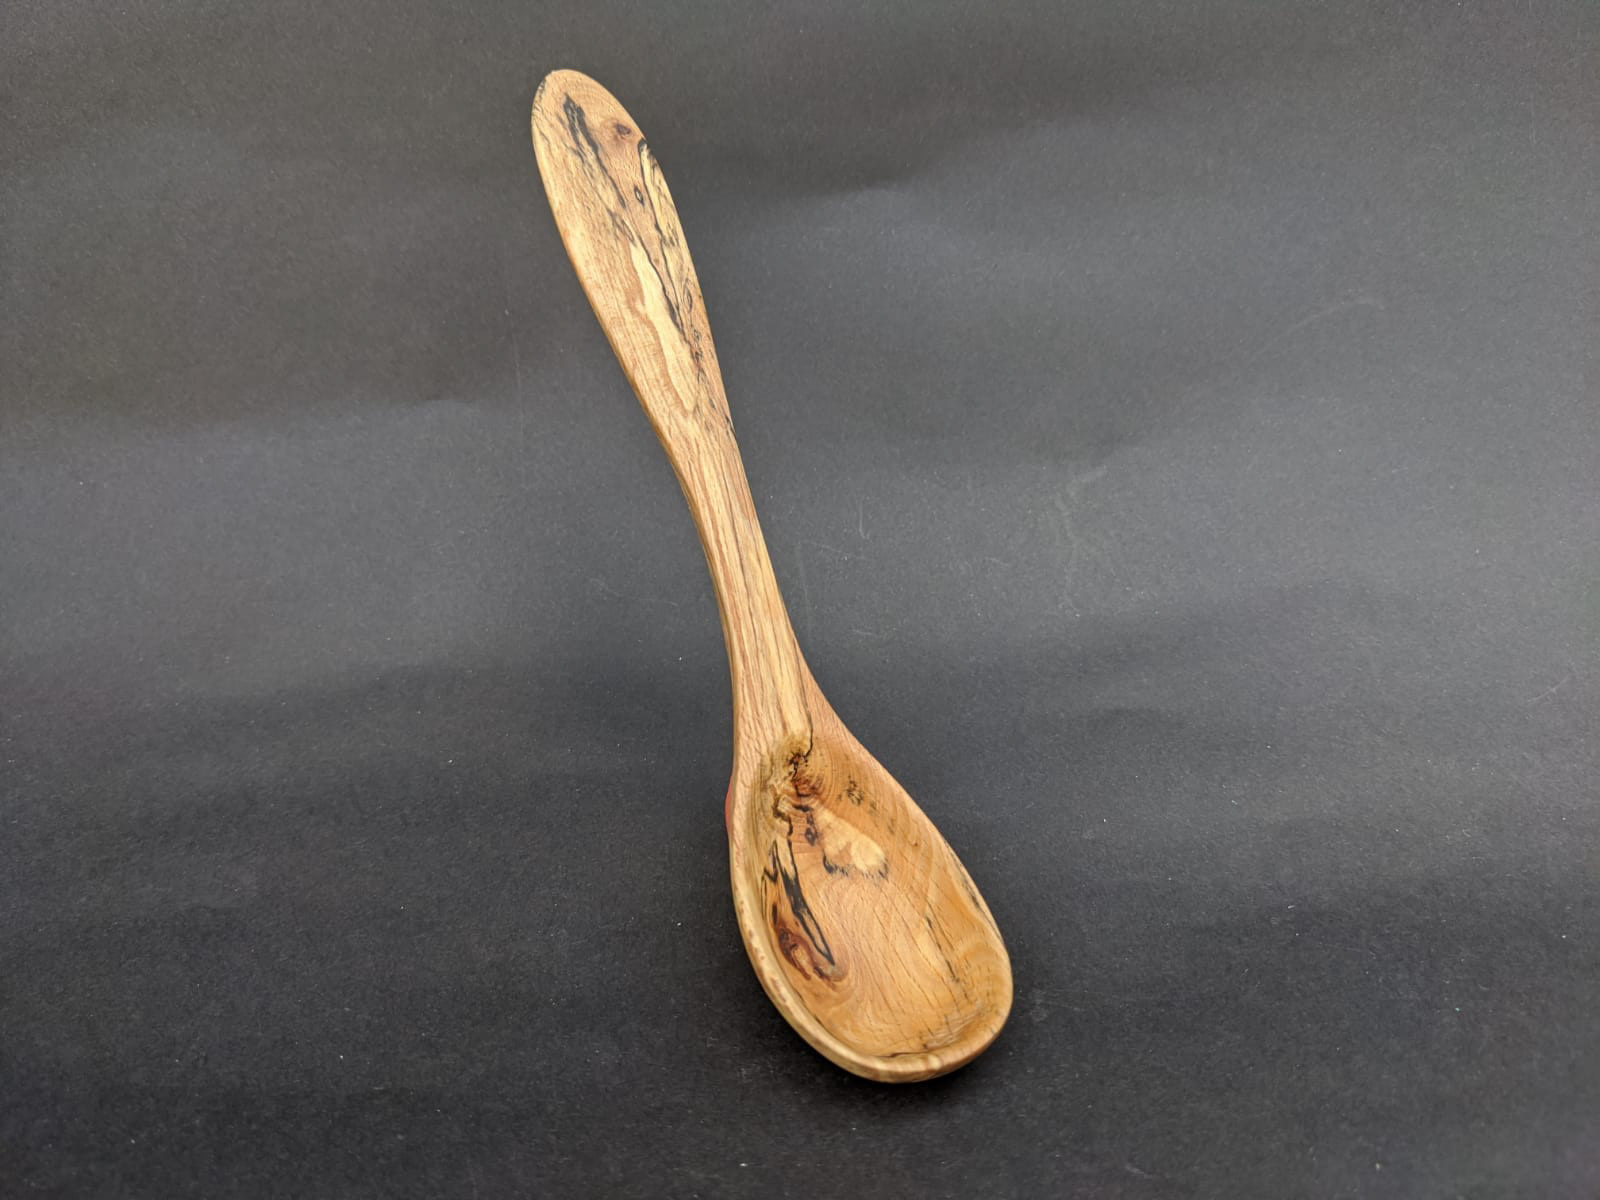
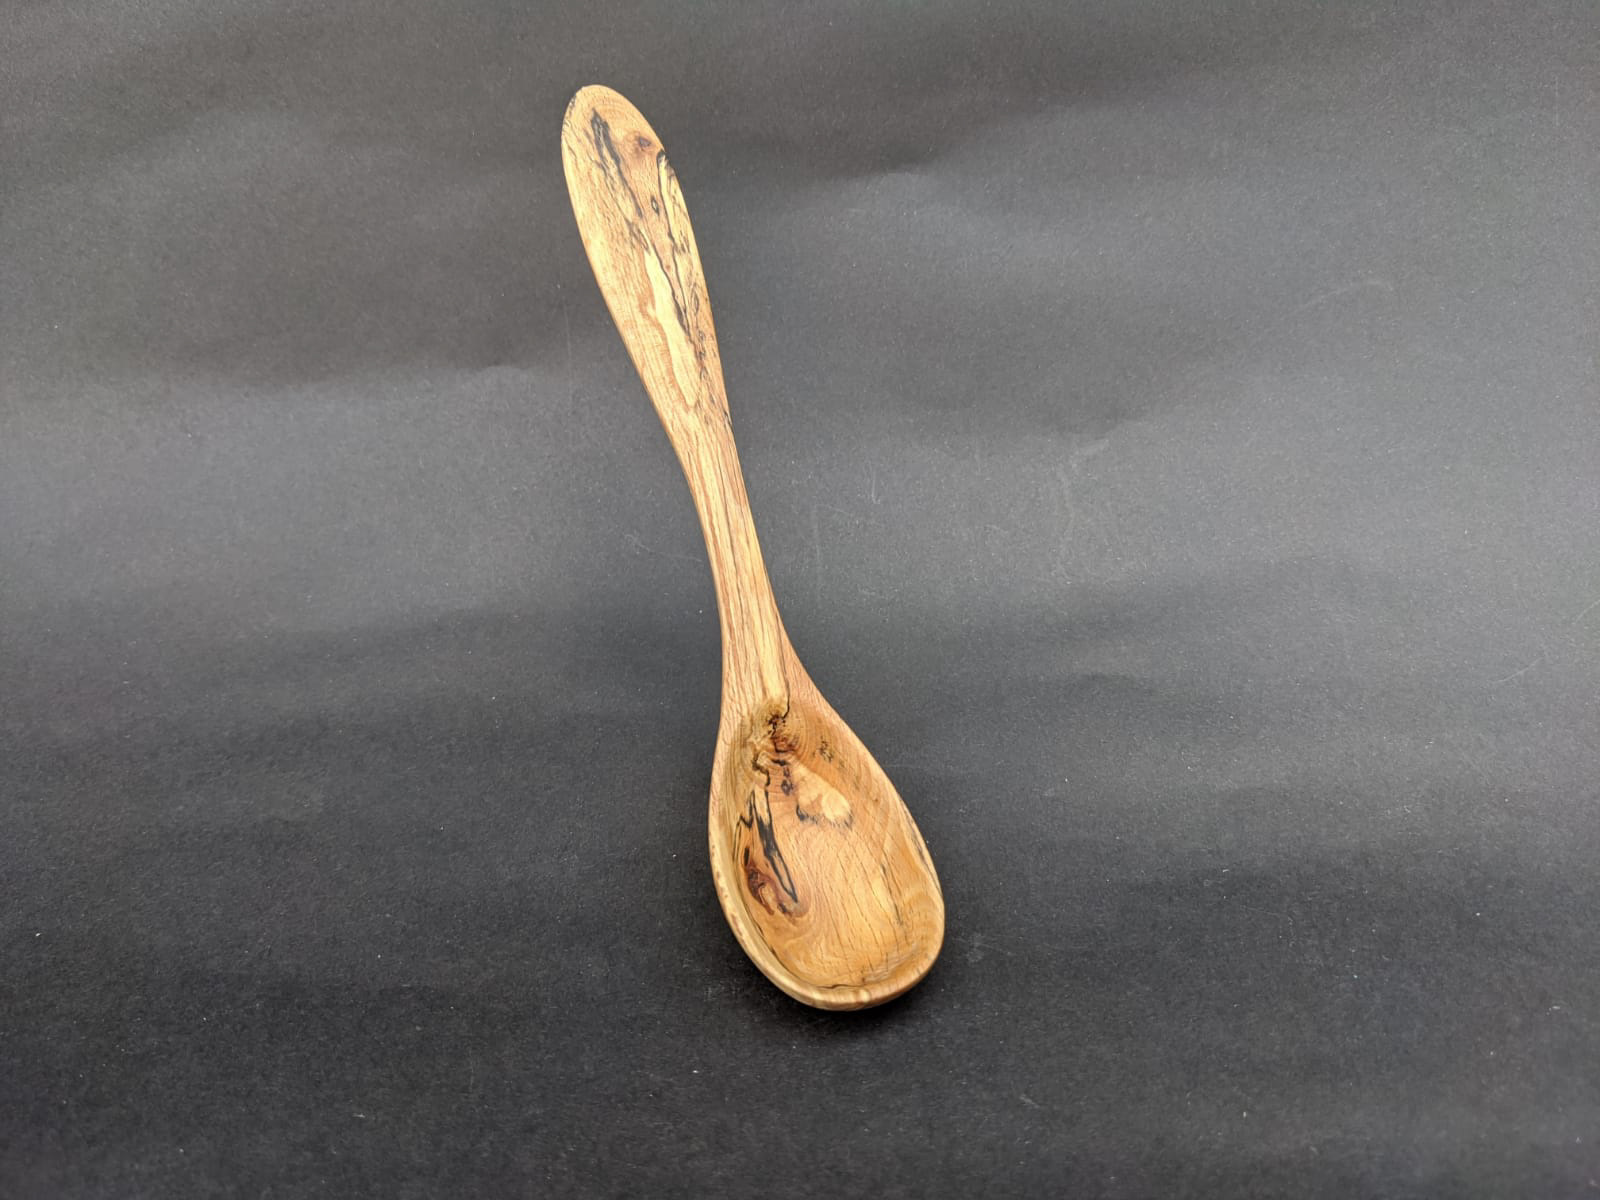
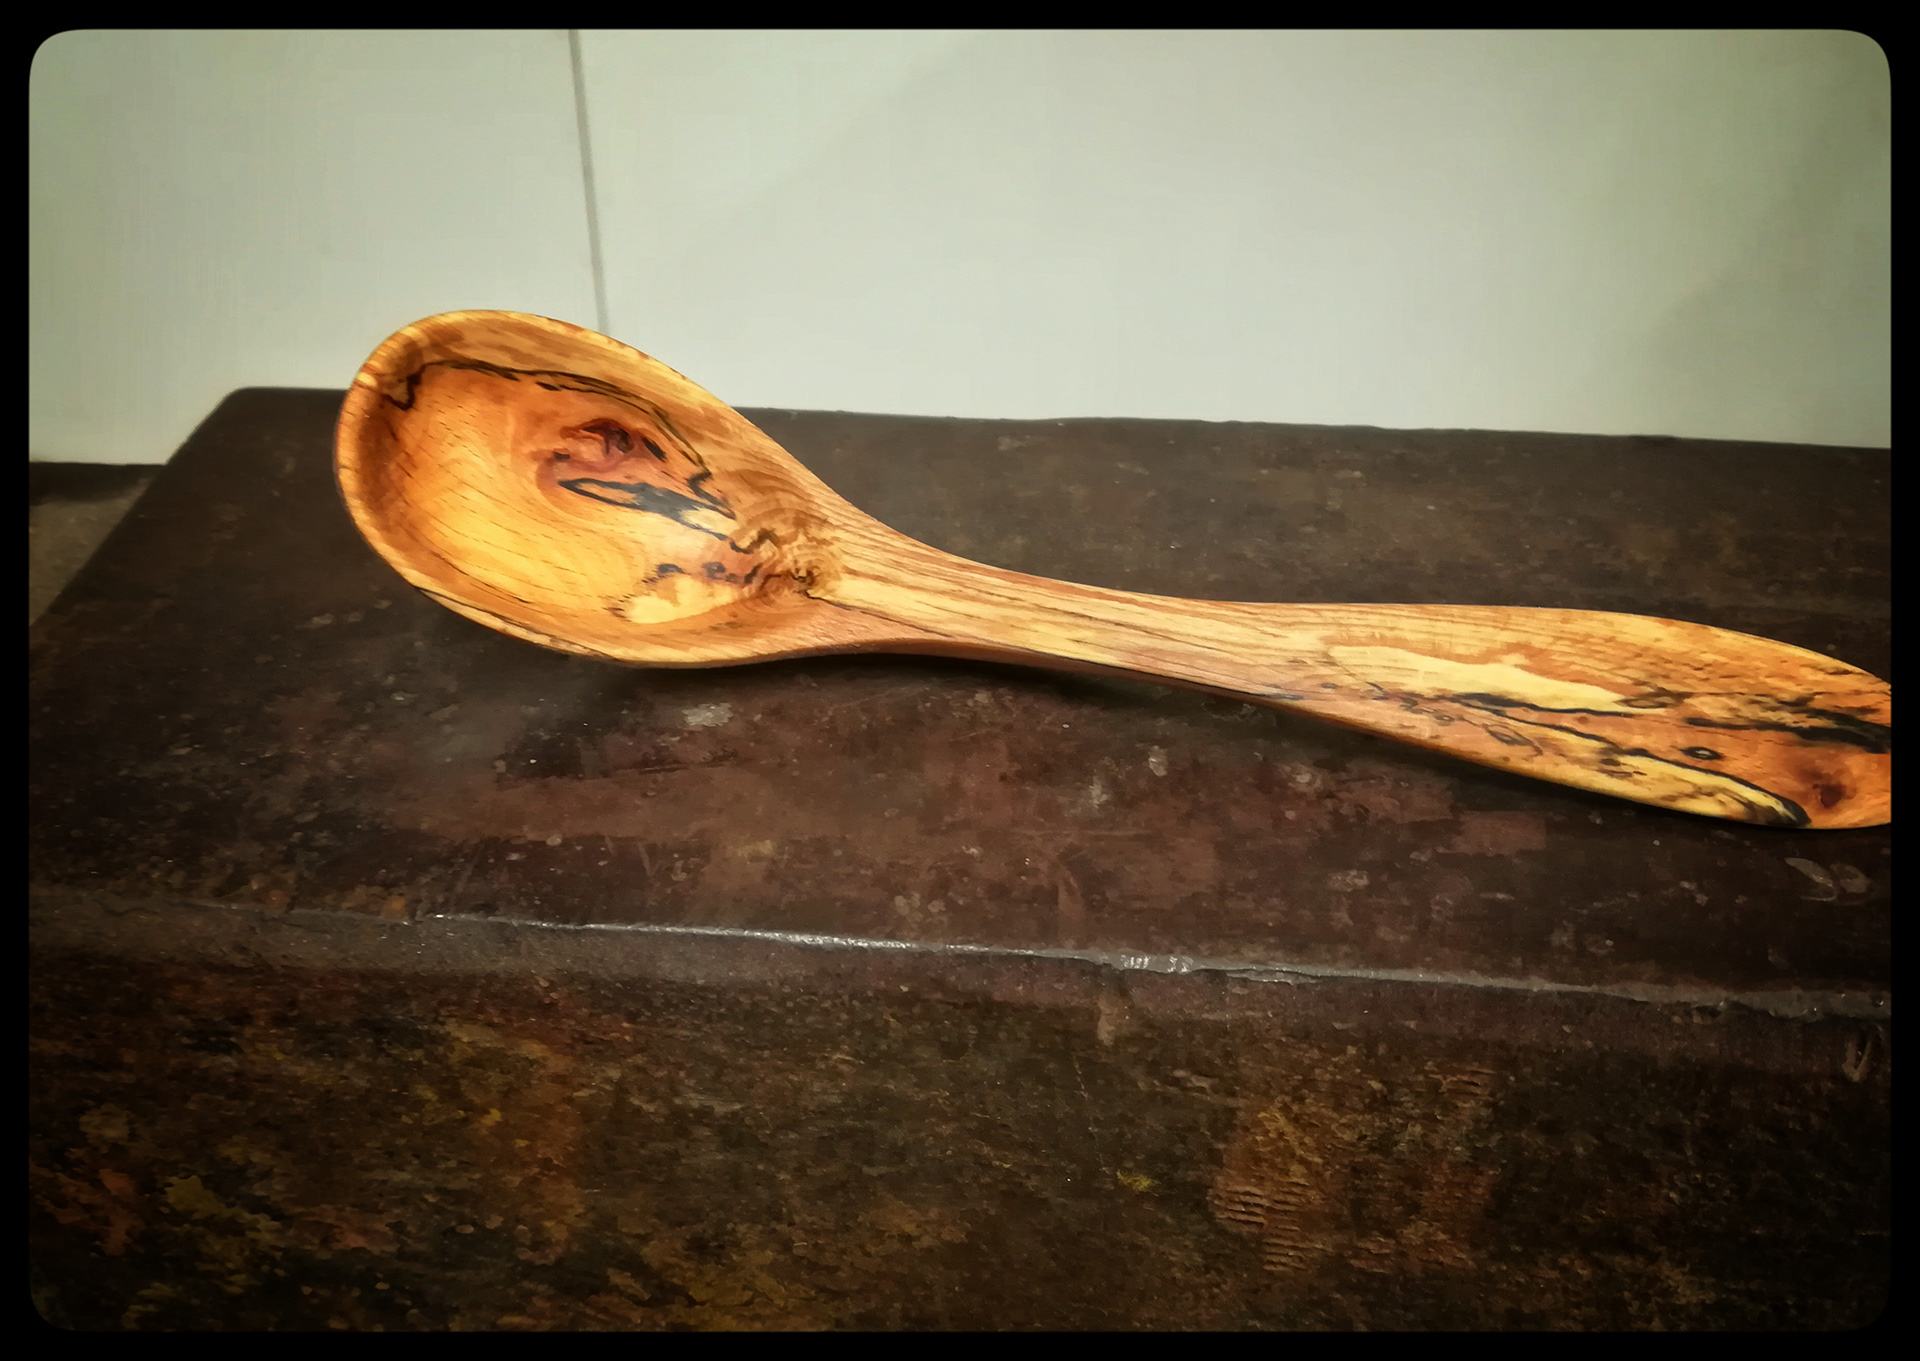
The spoon on the bottom I made from spalted beech. This spoon does not require any additional work done to beautify it, the wood speaks for itself. Click on the photos to truly appreciate the beauty of this style of spoon.
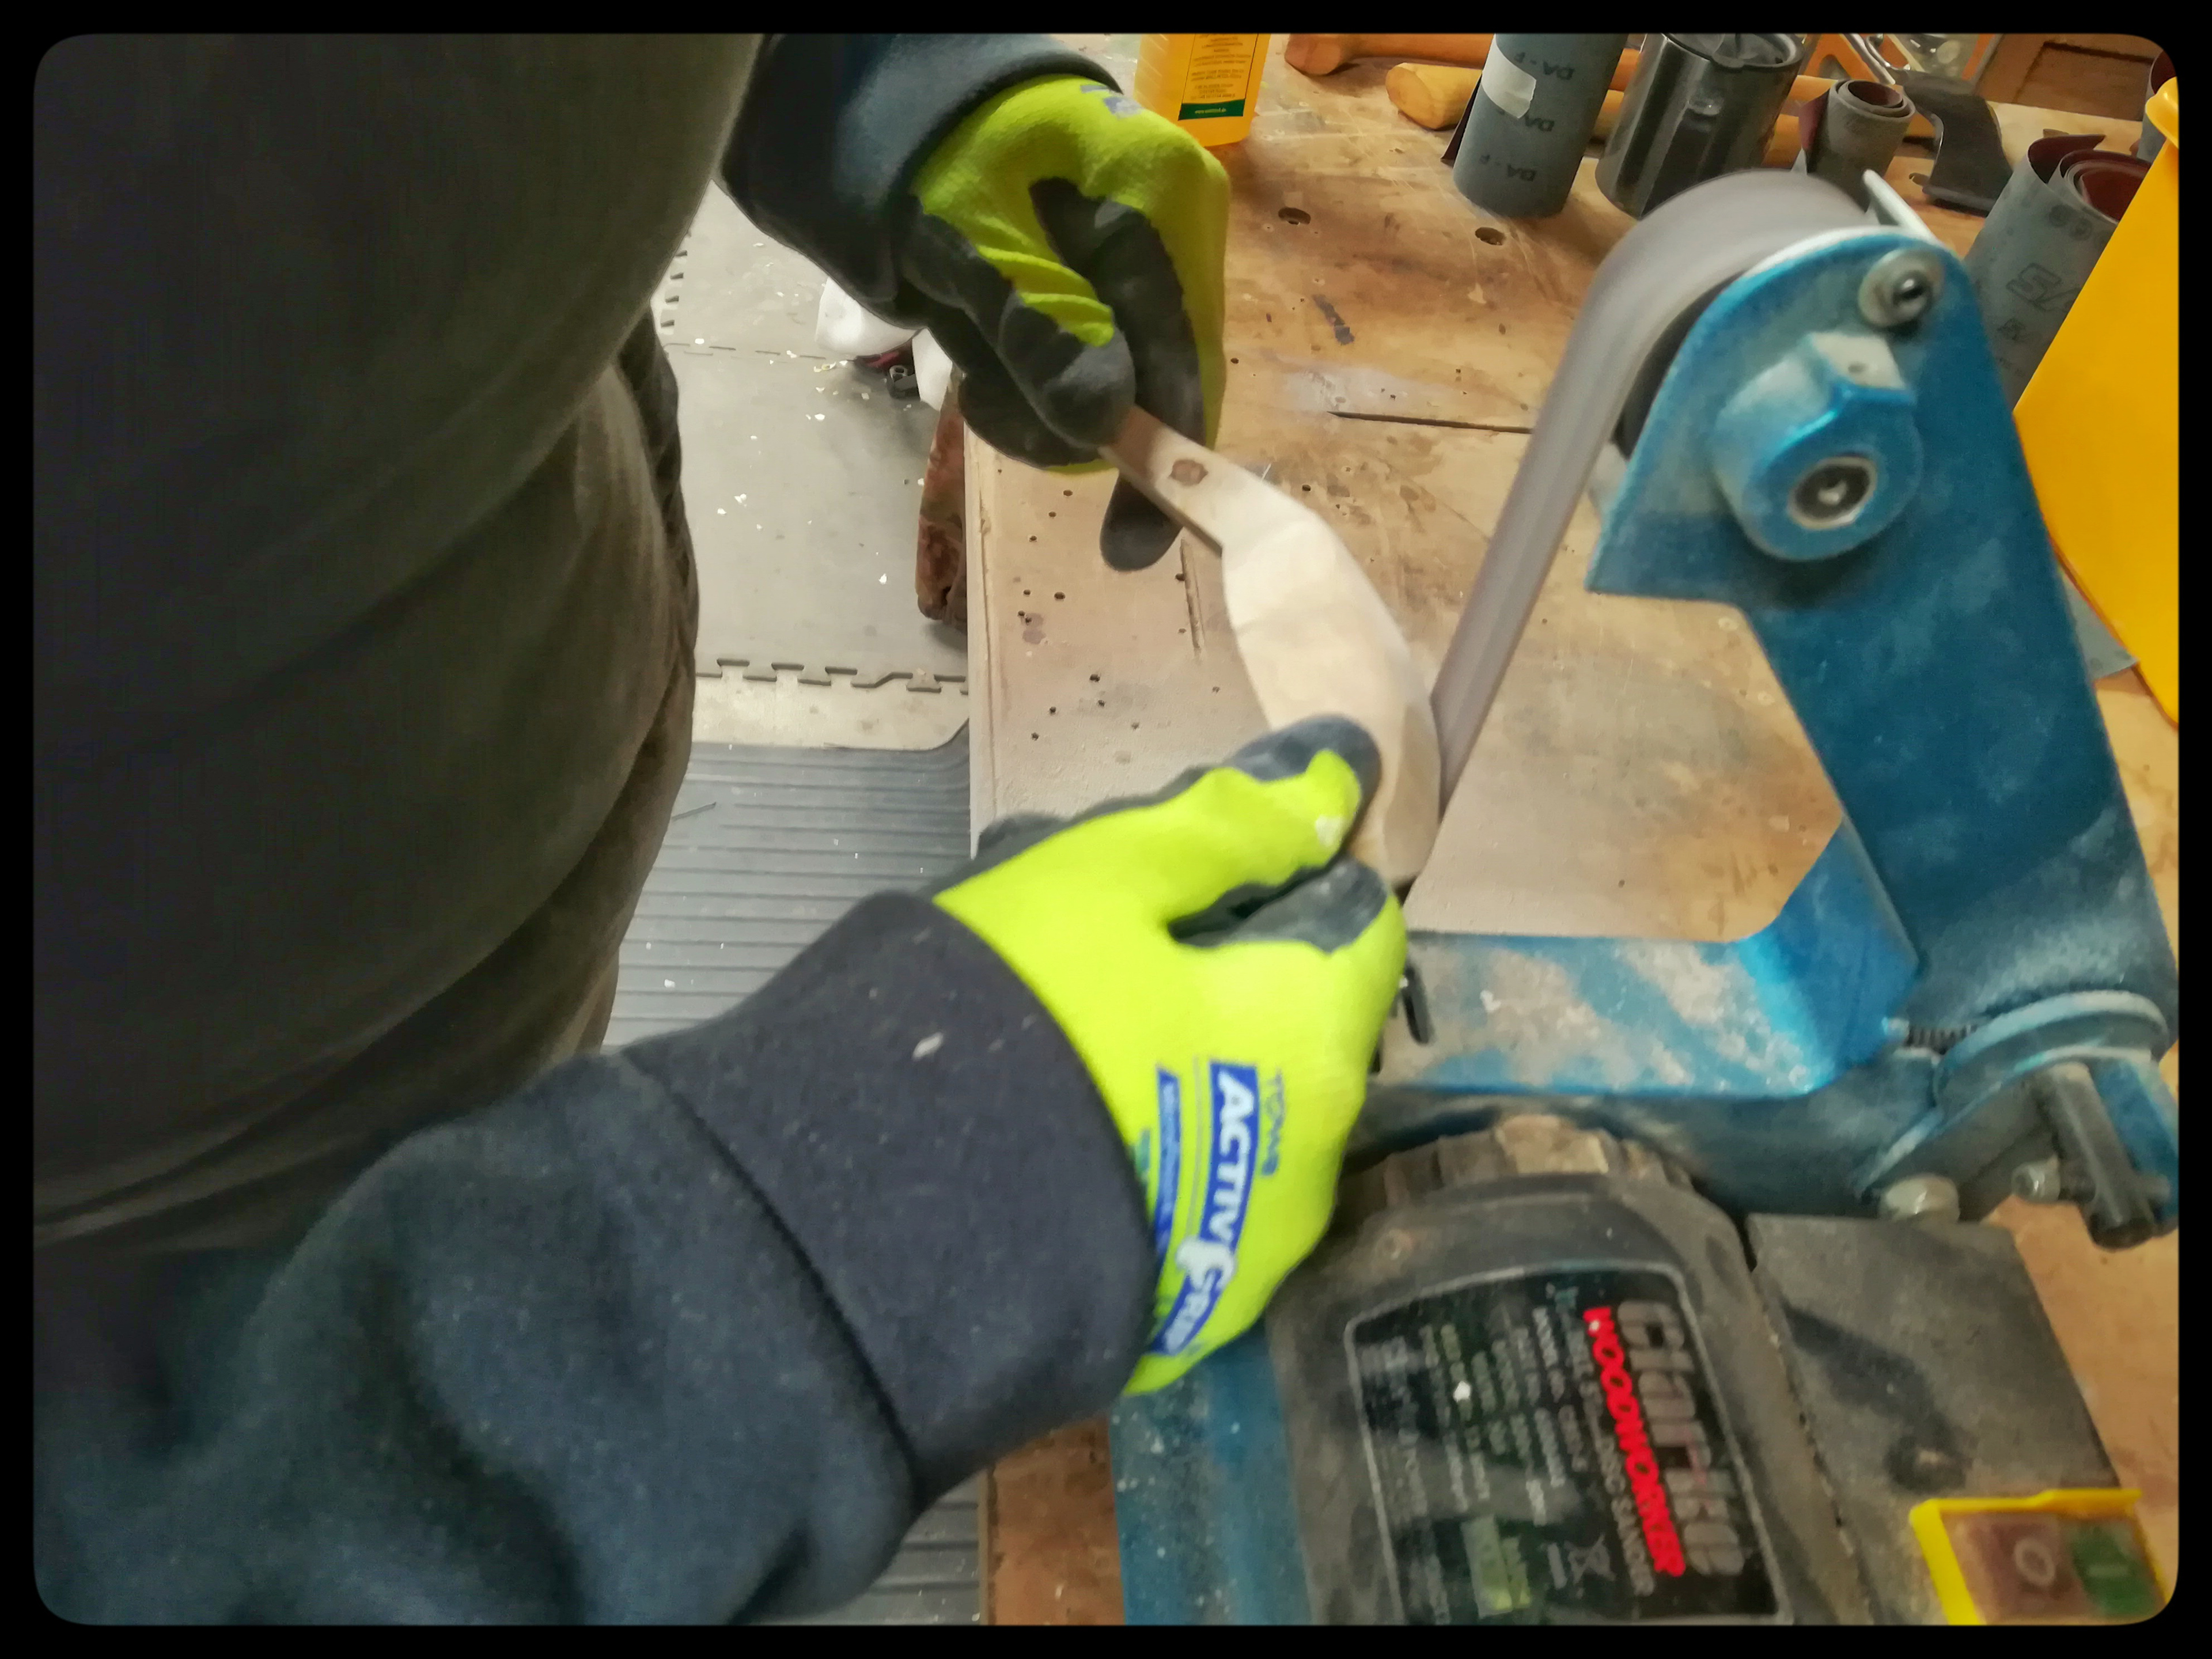
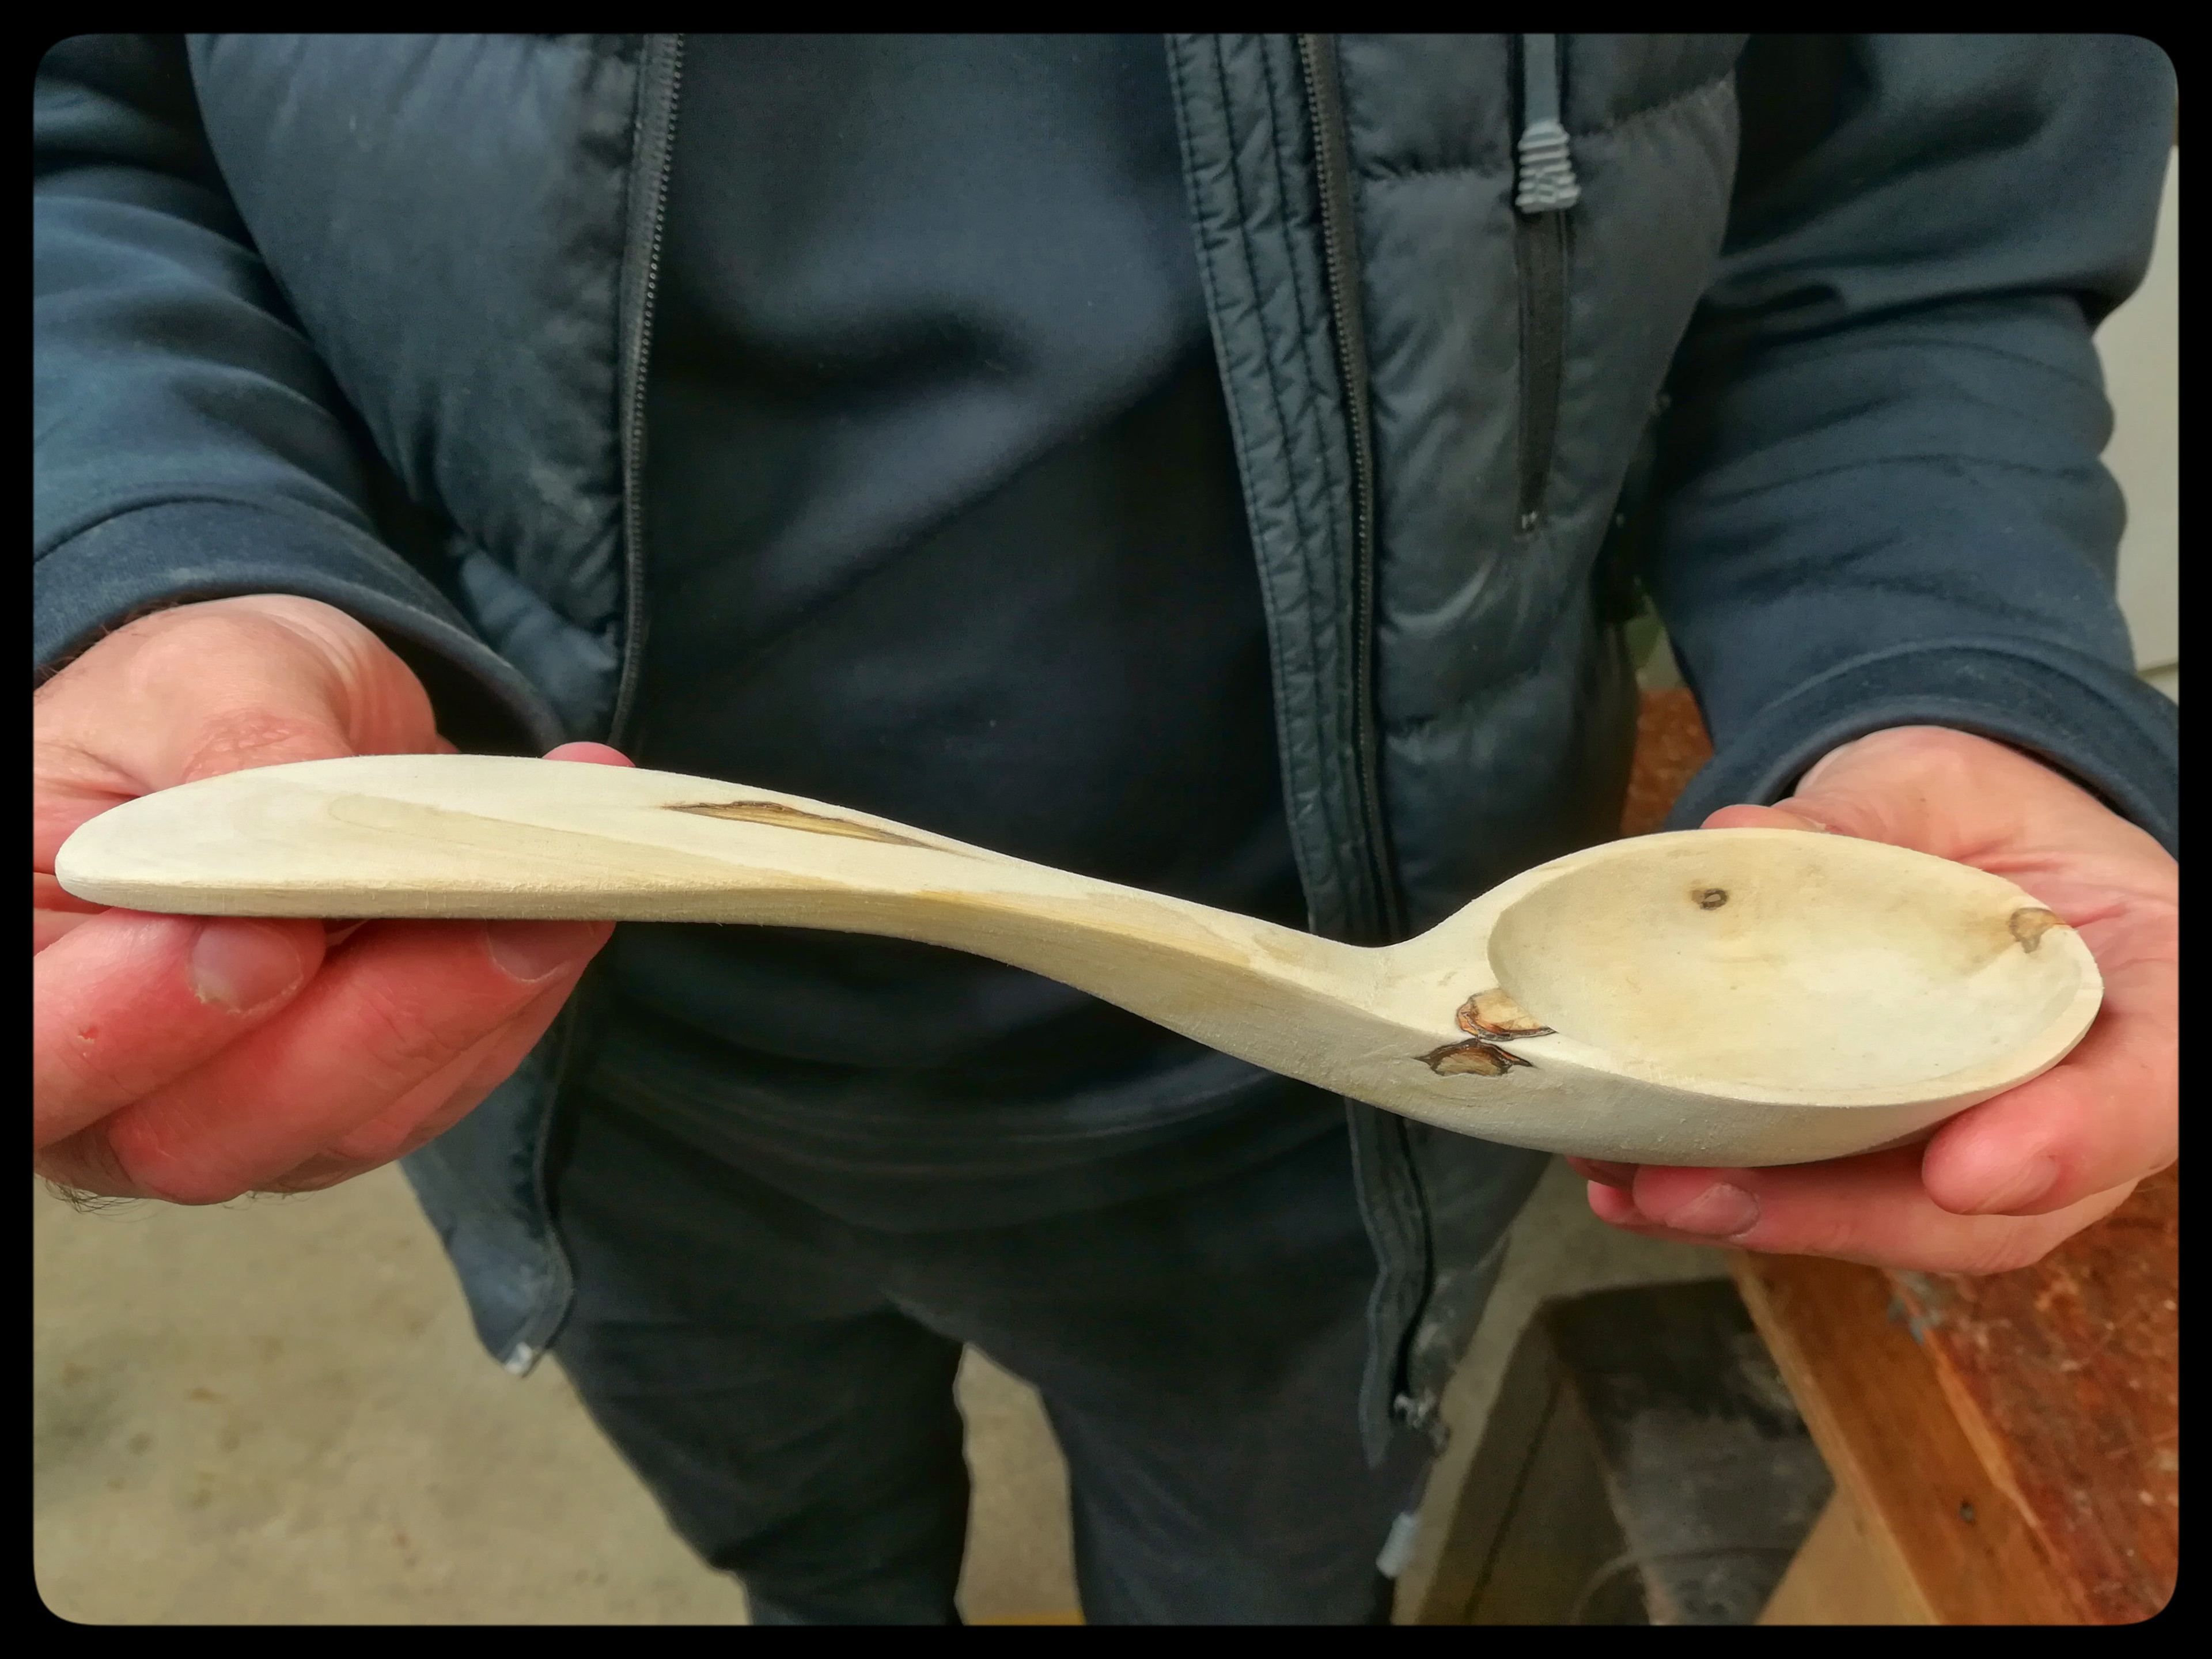
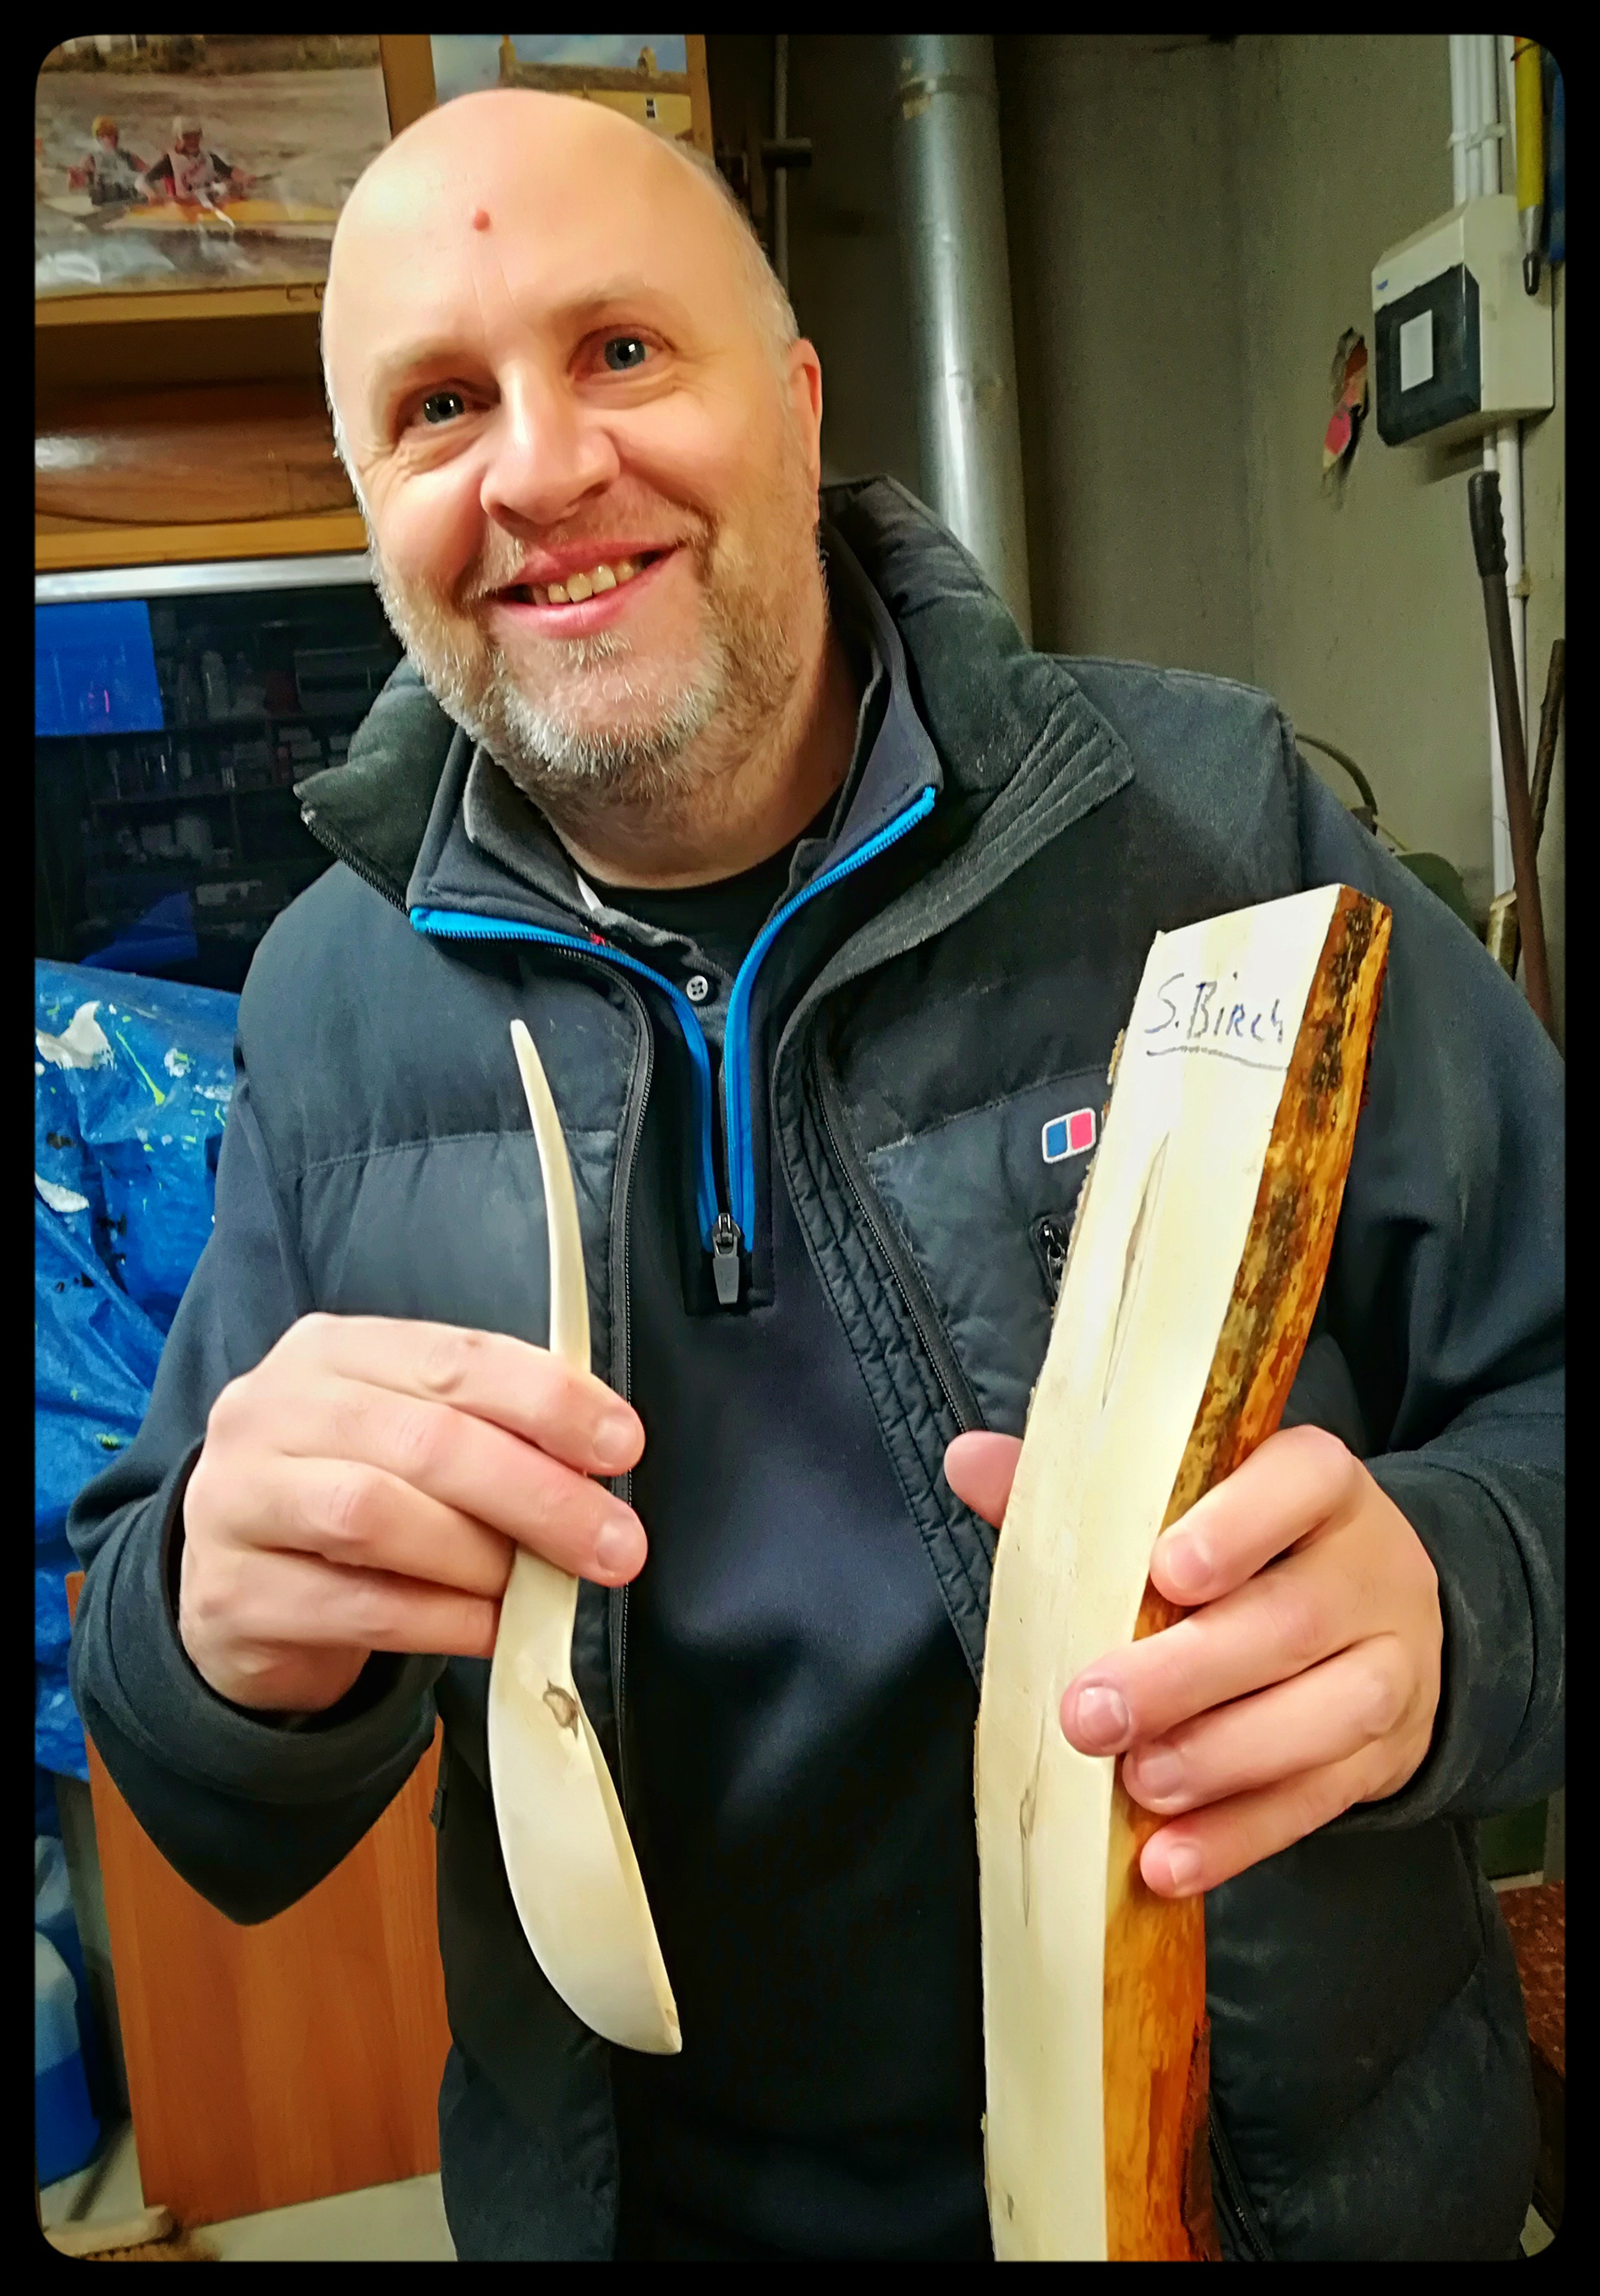
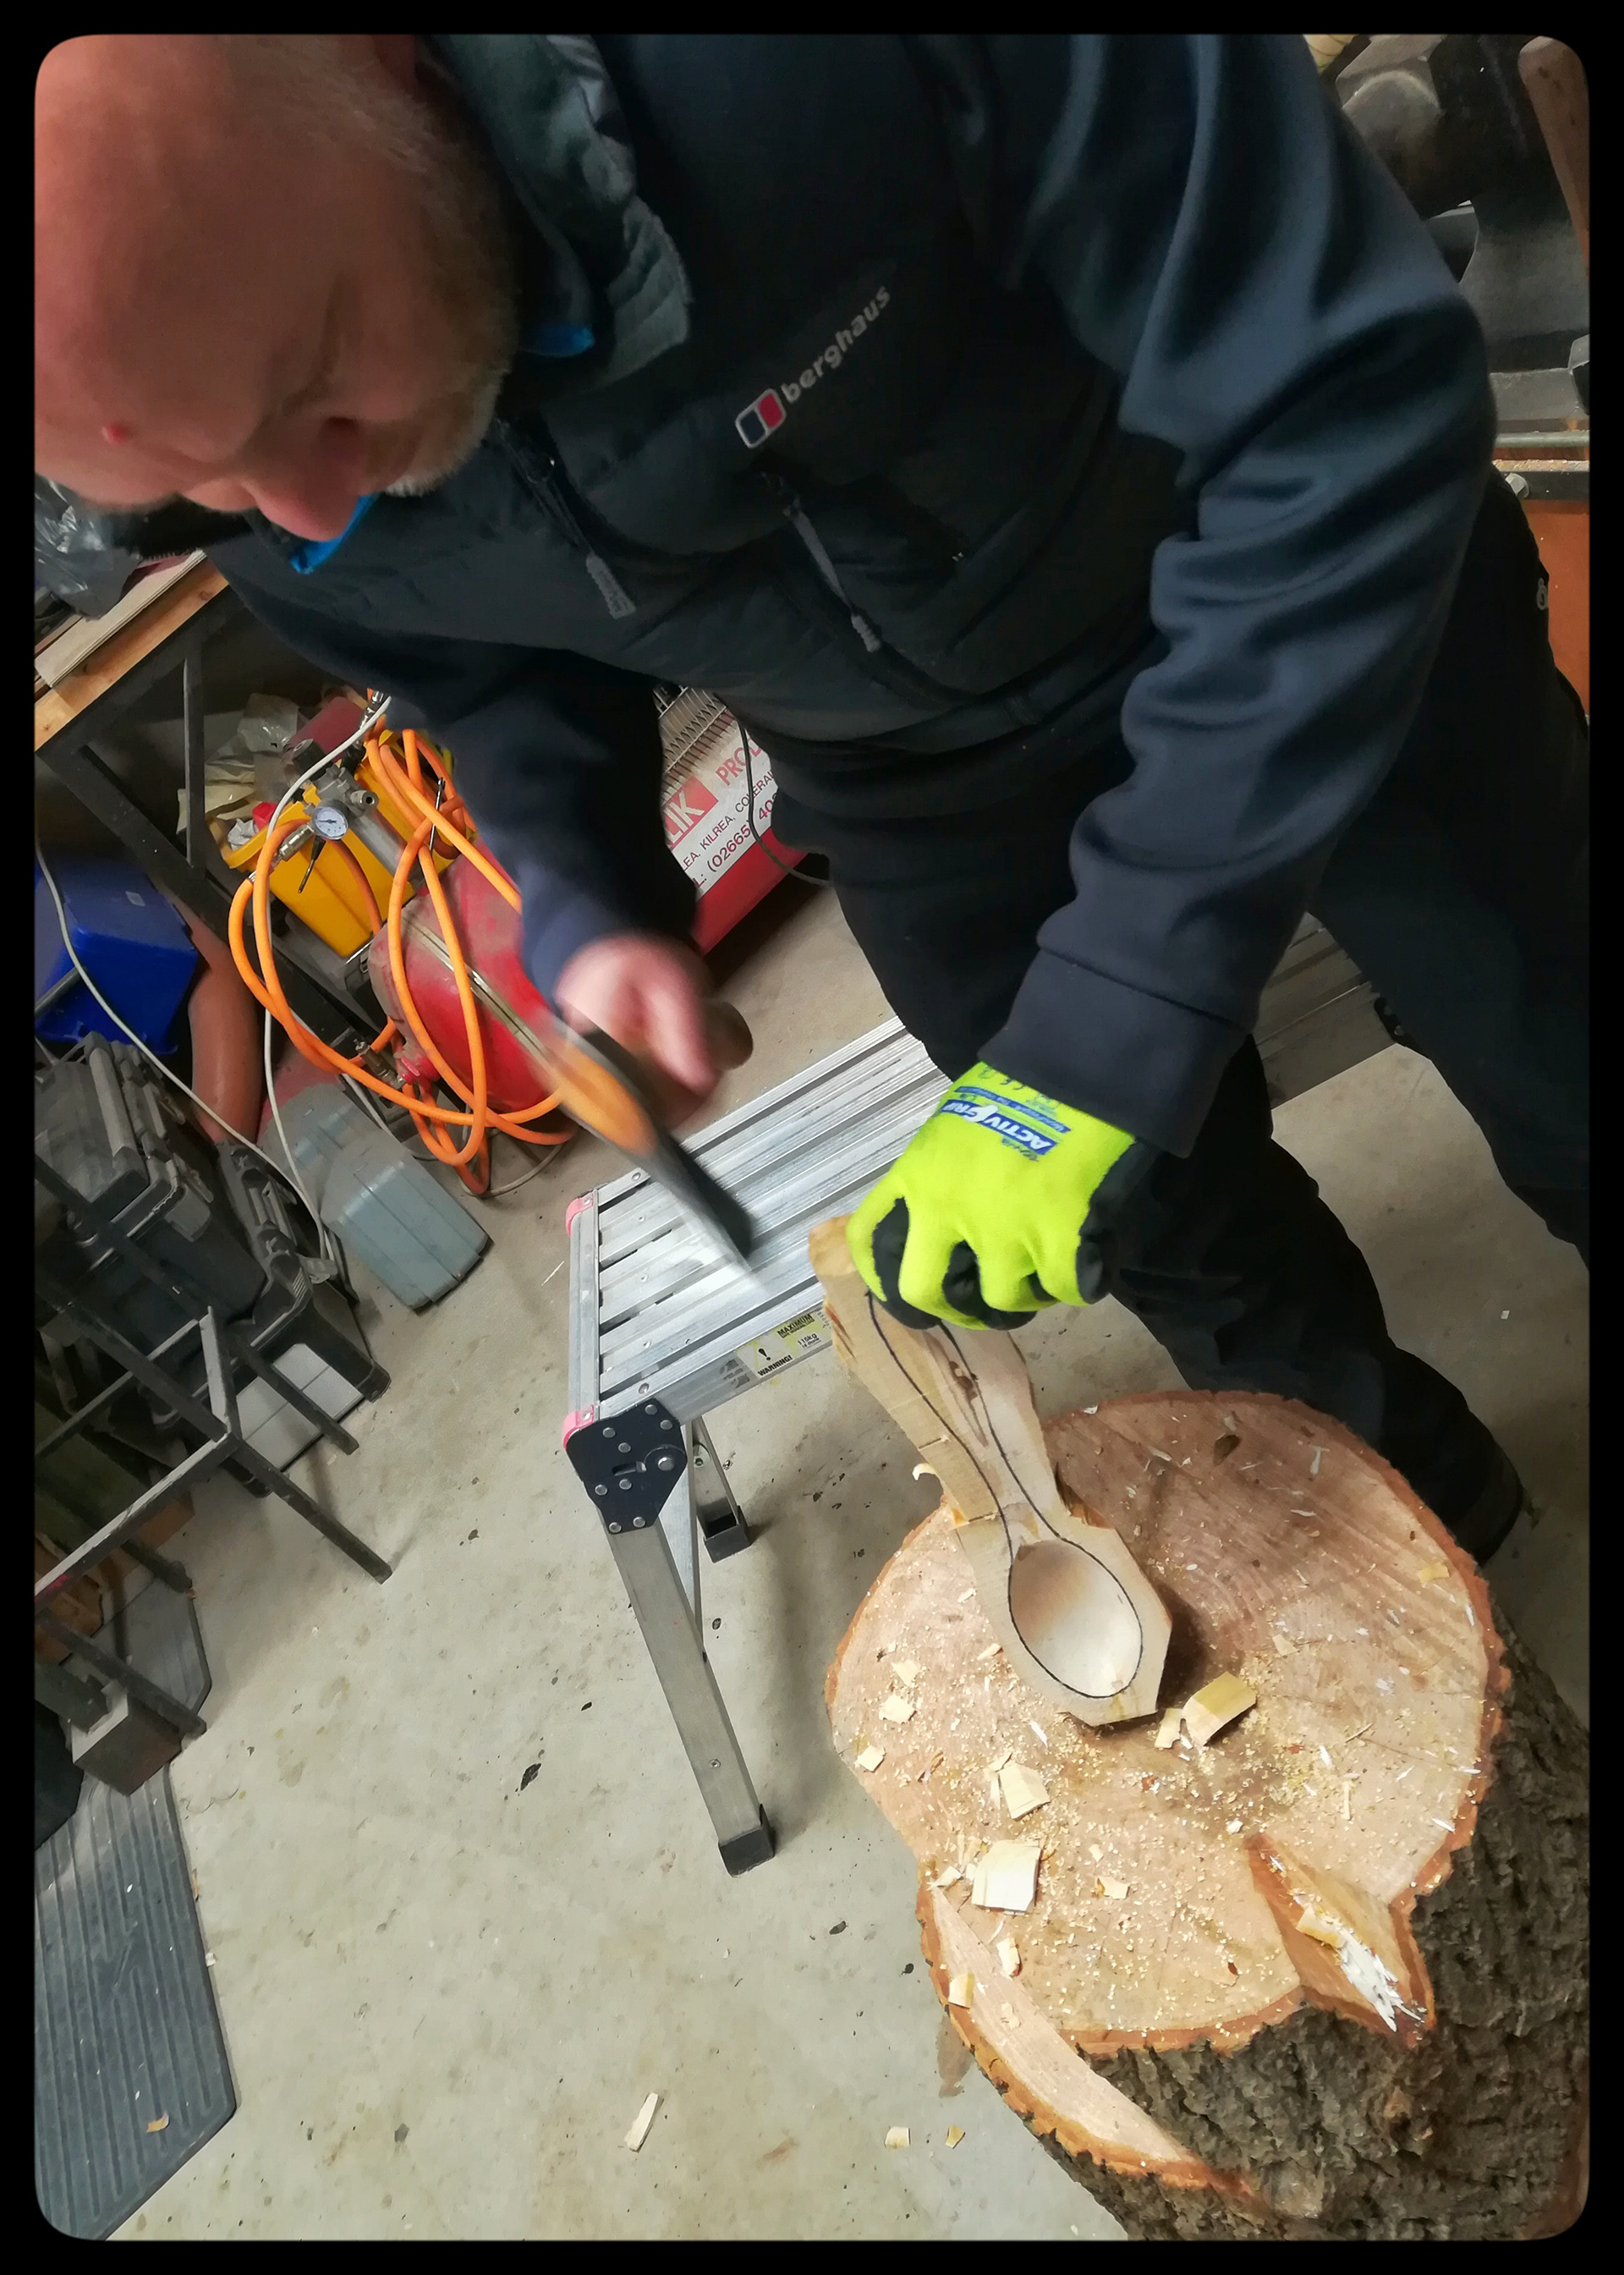
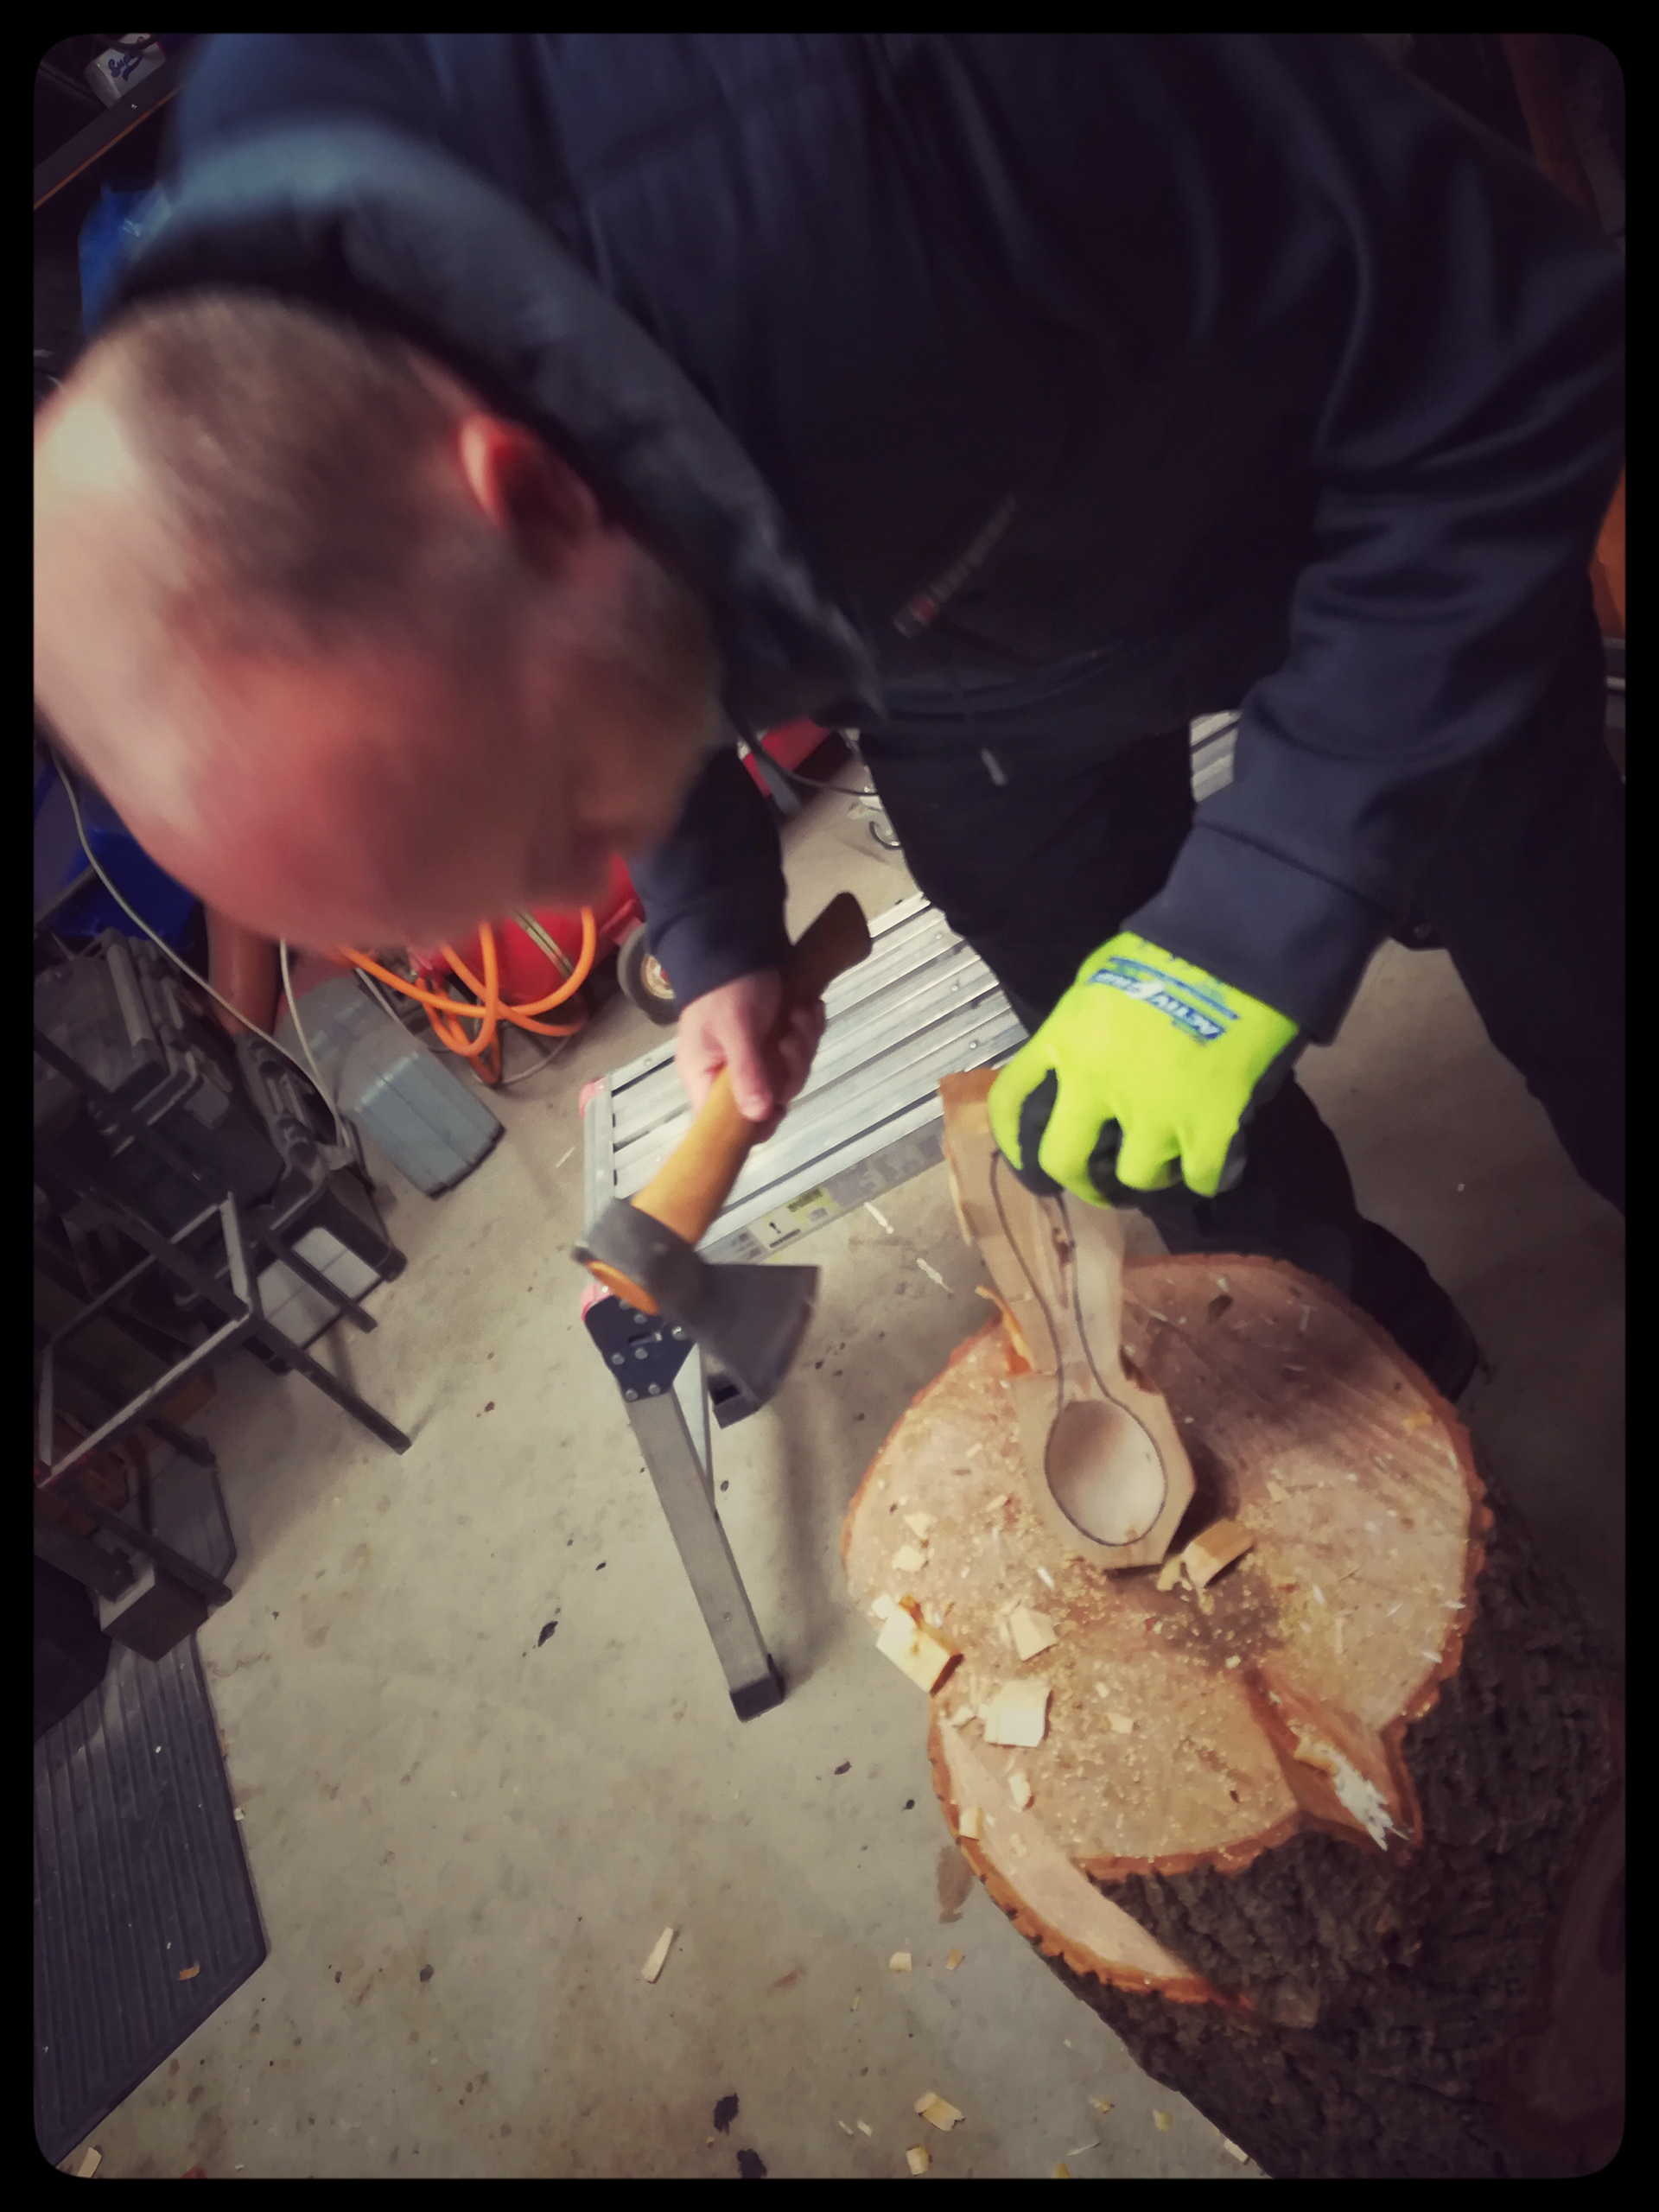
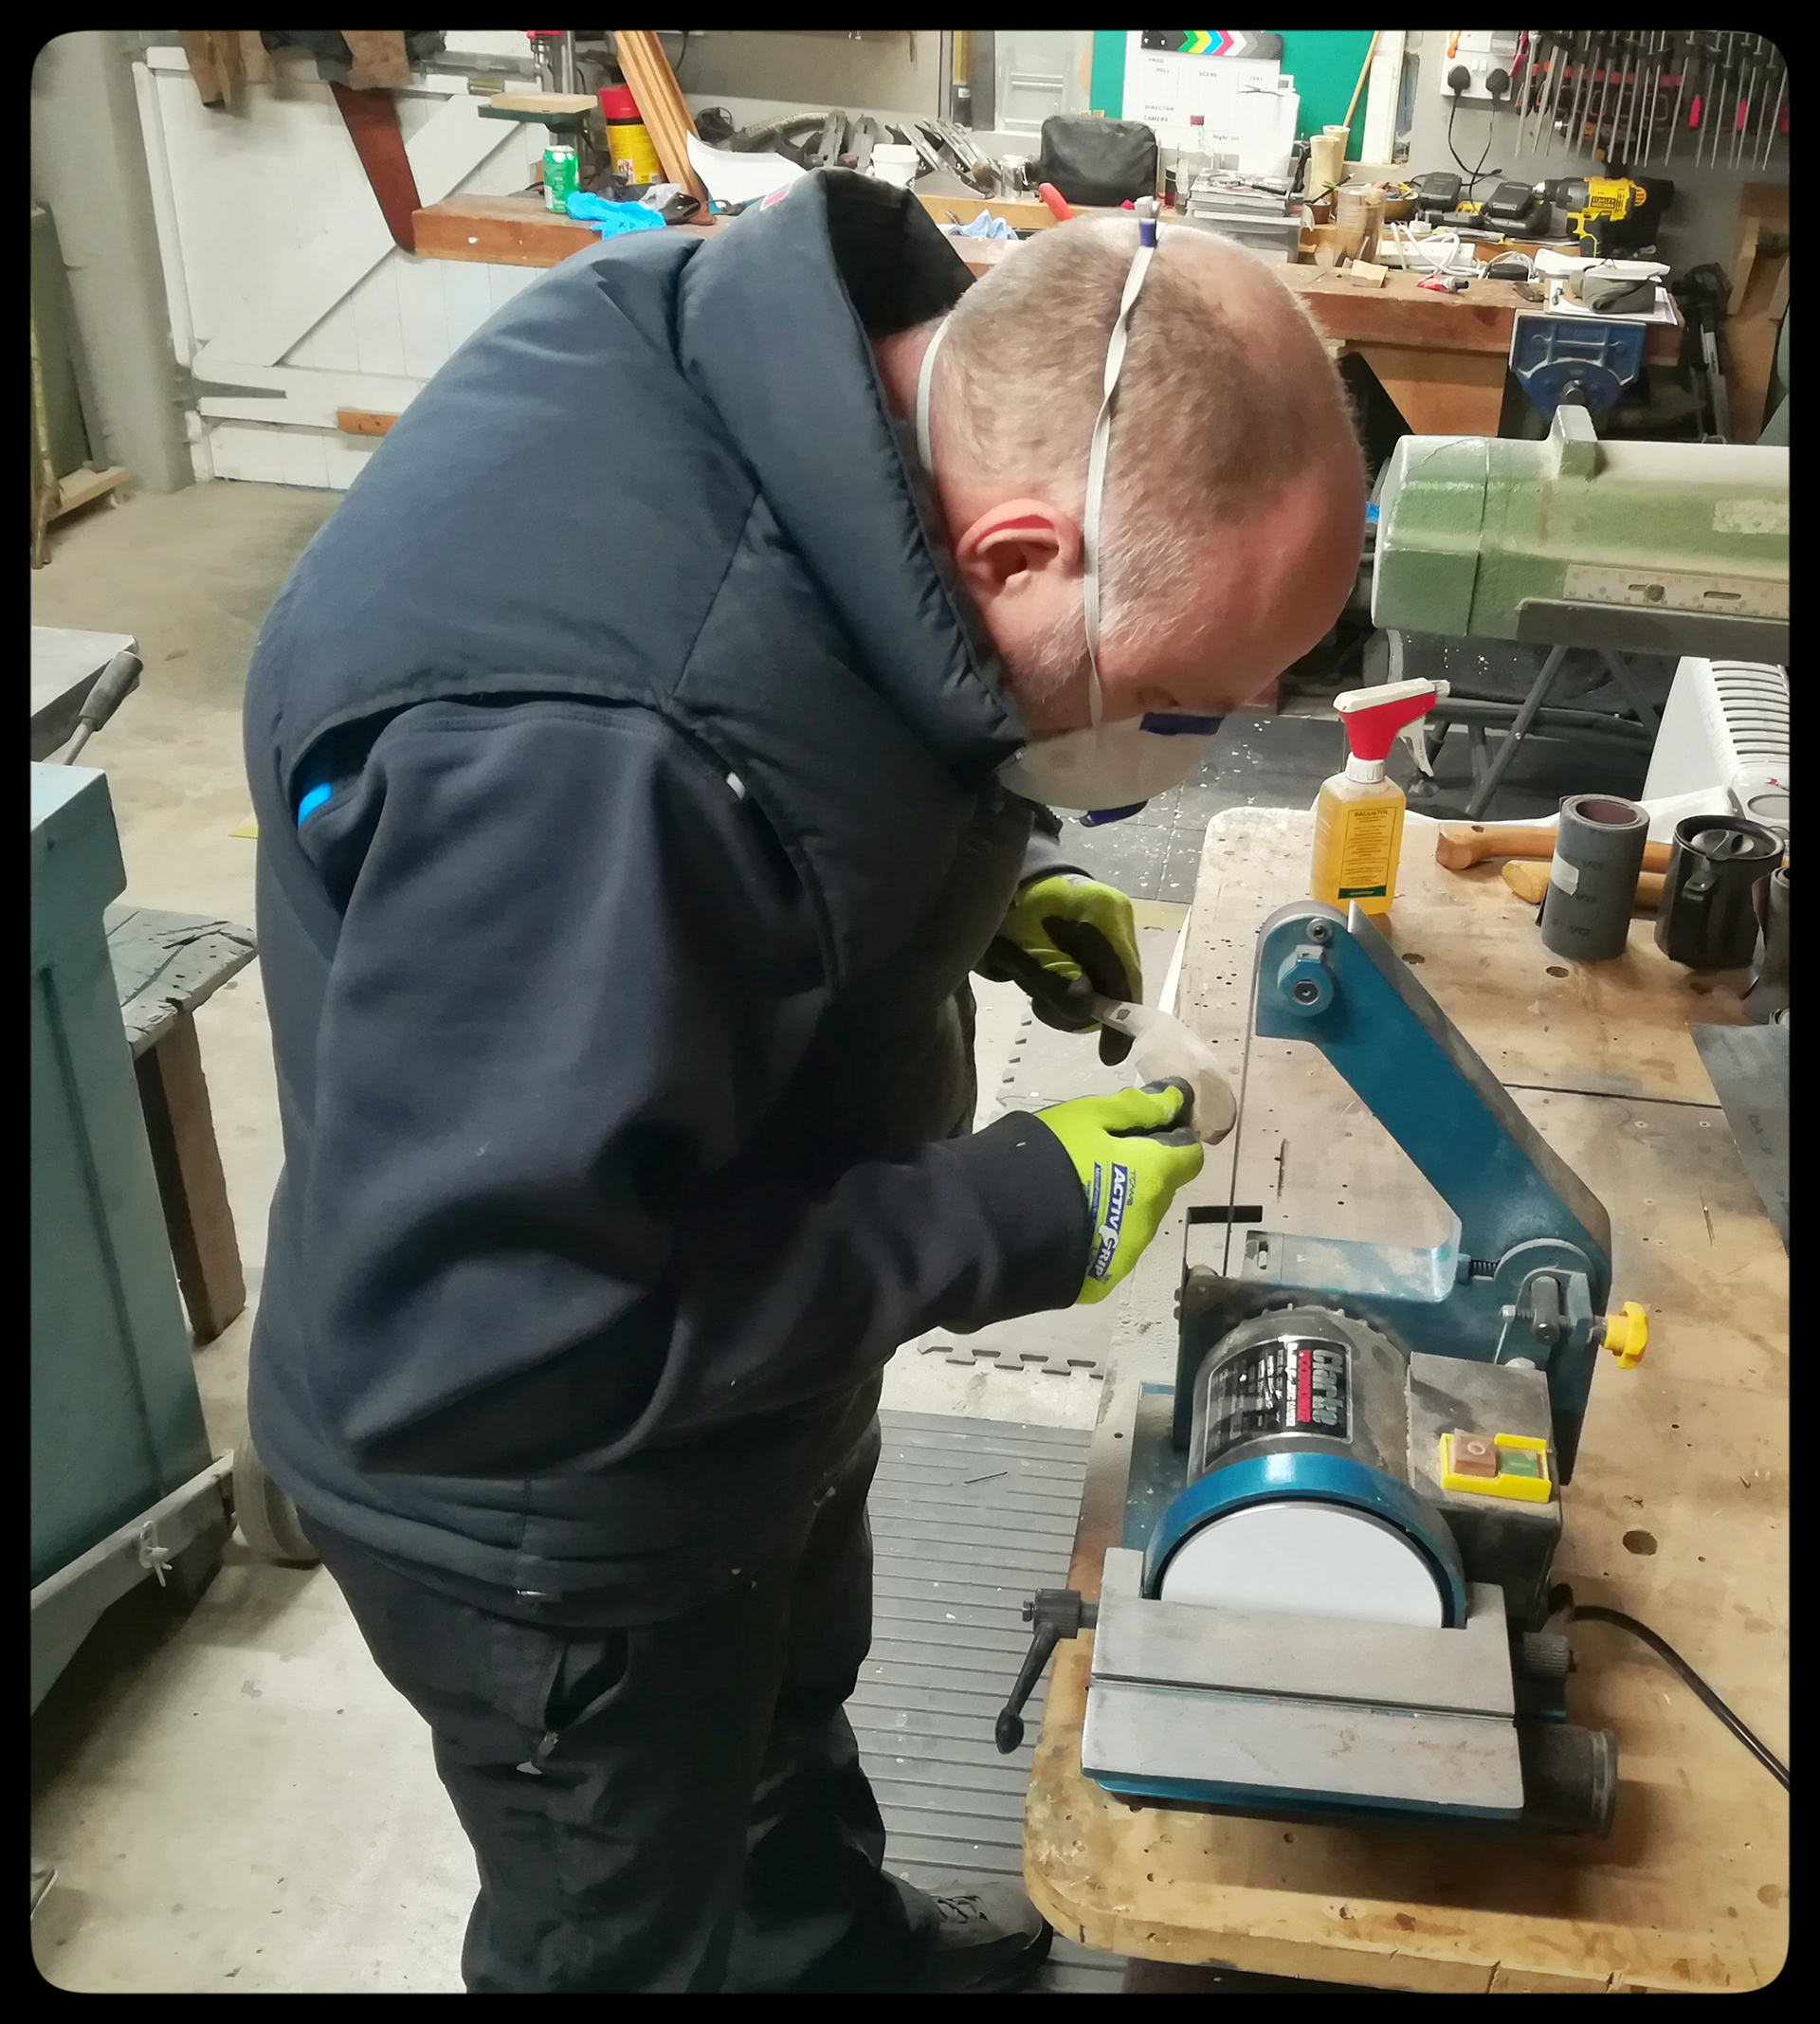
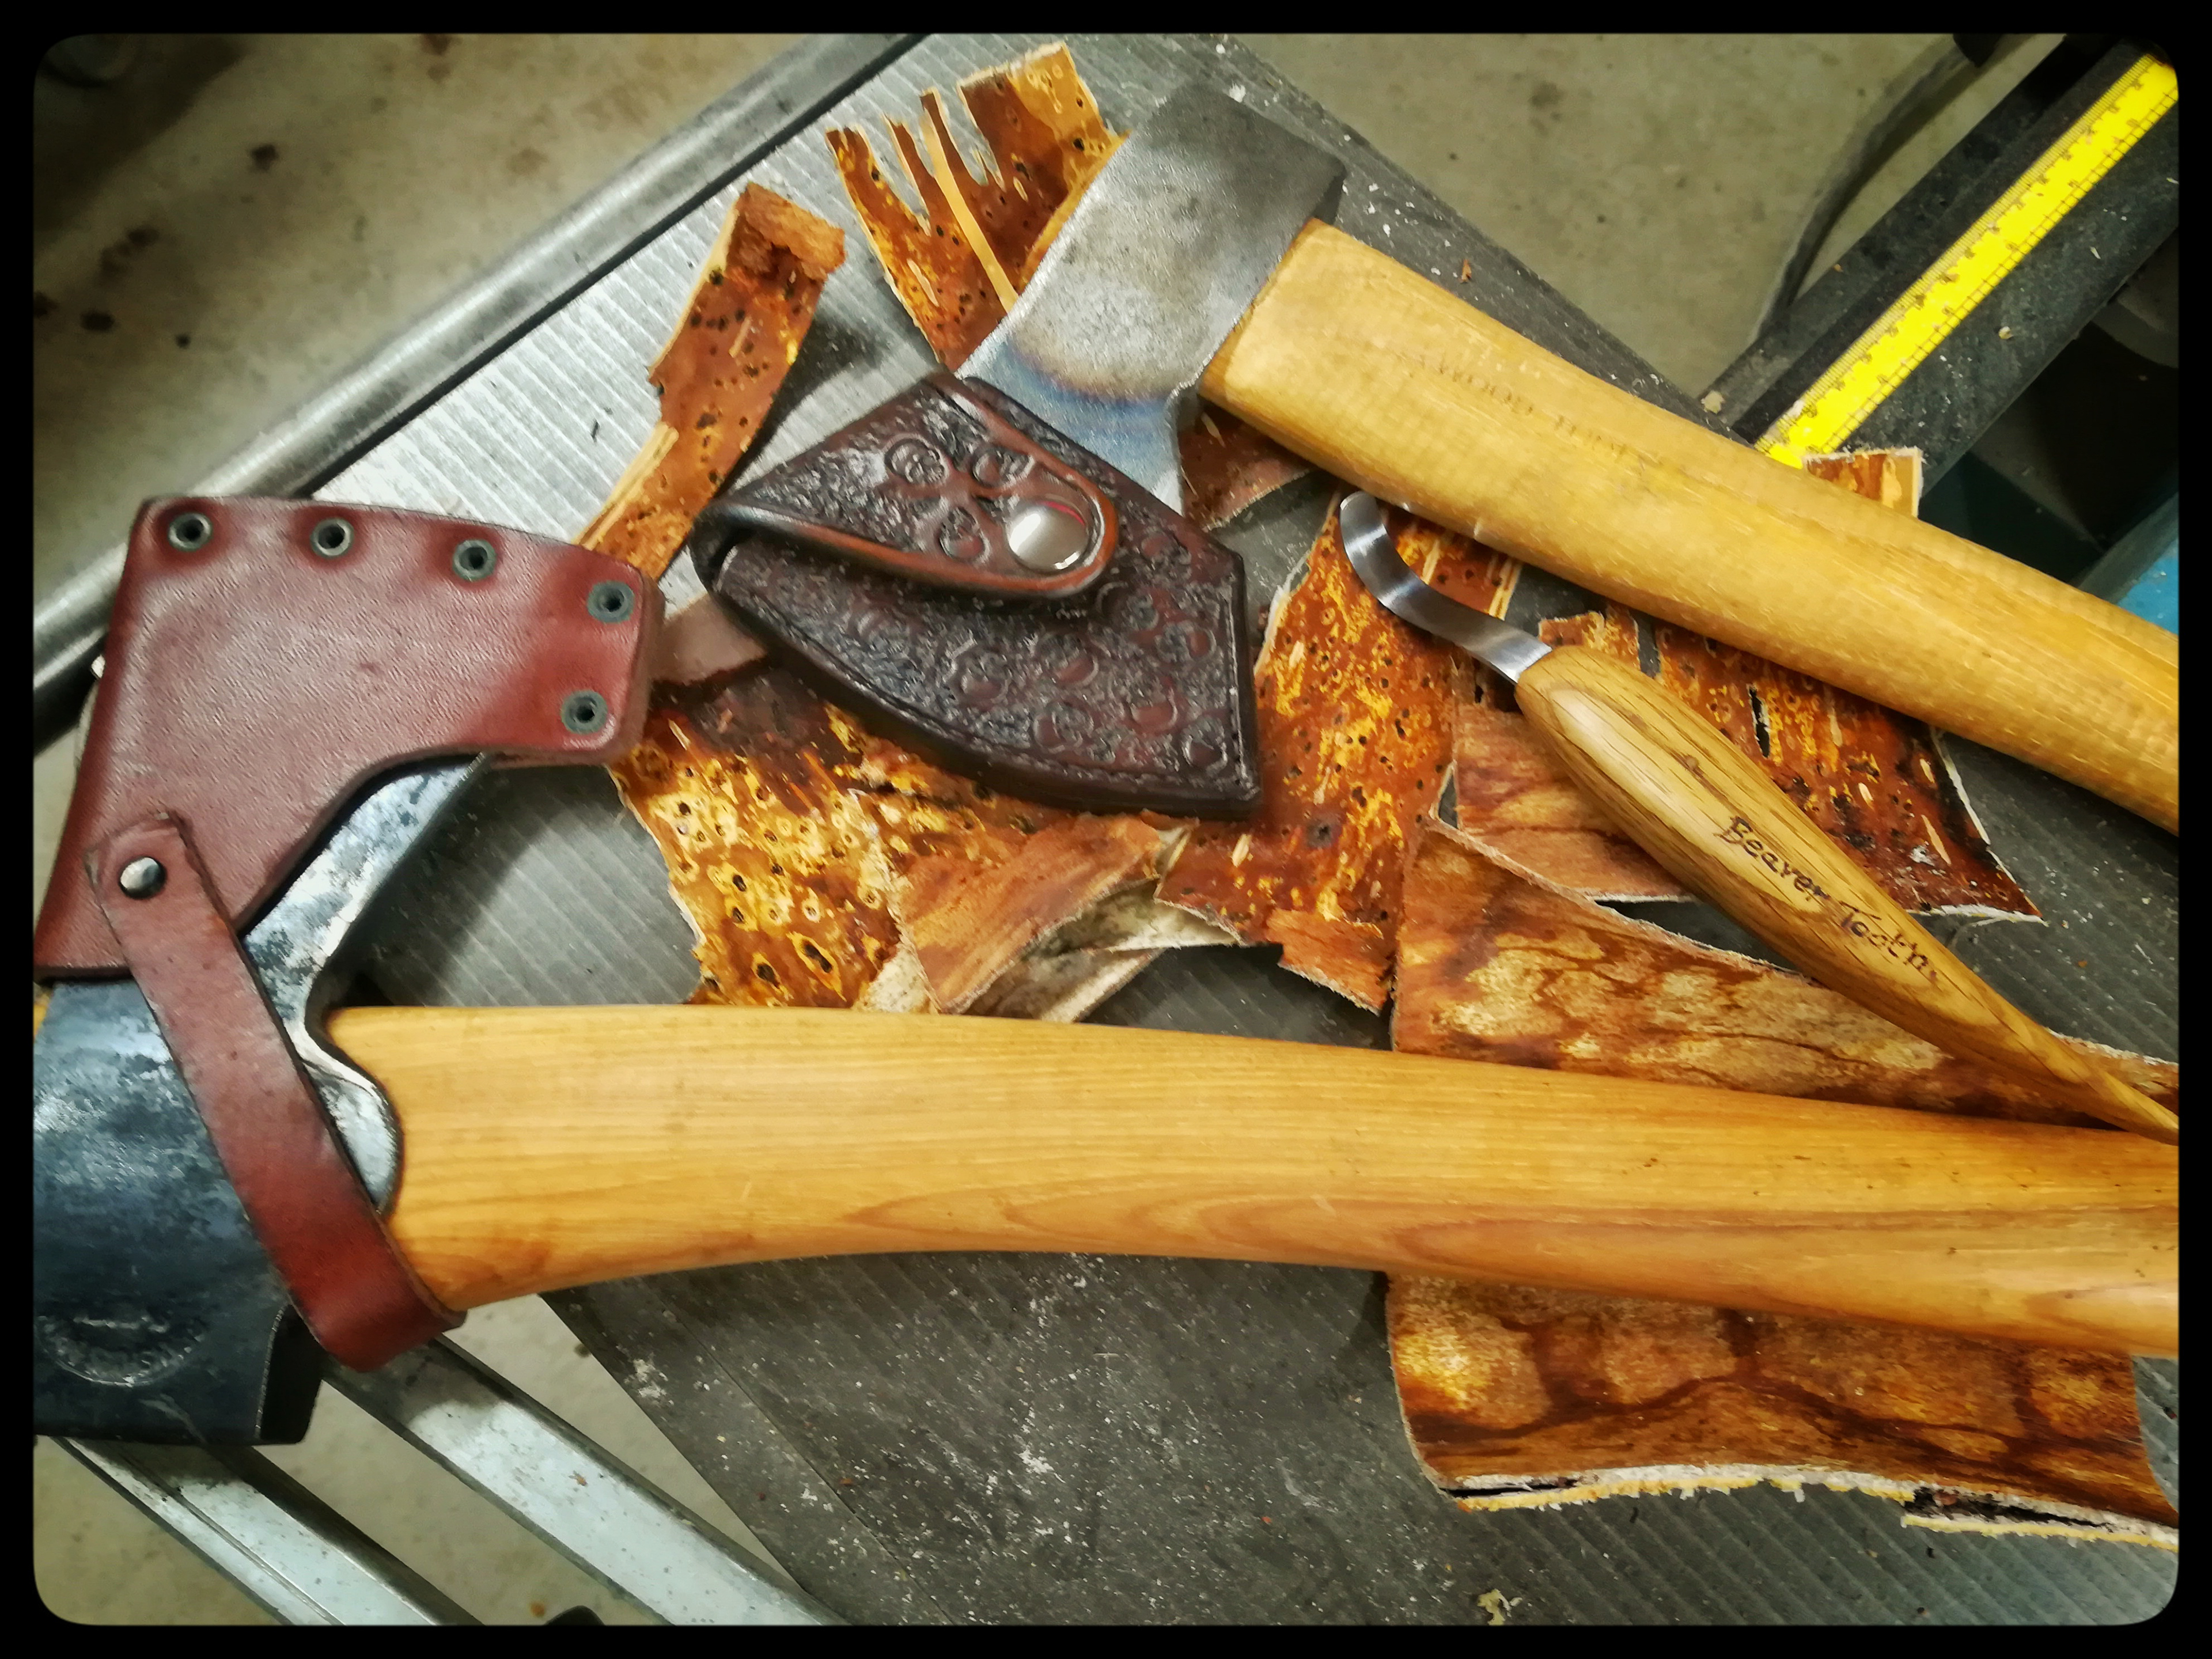
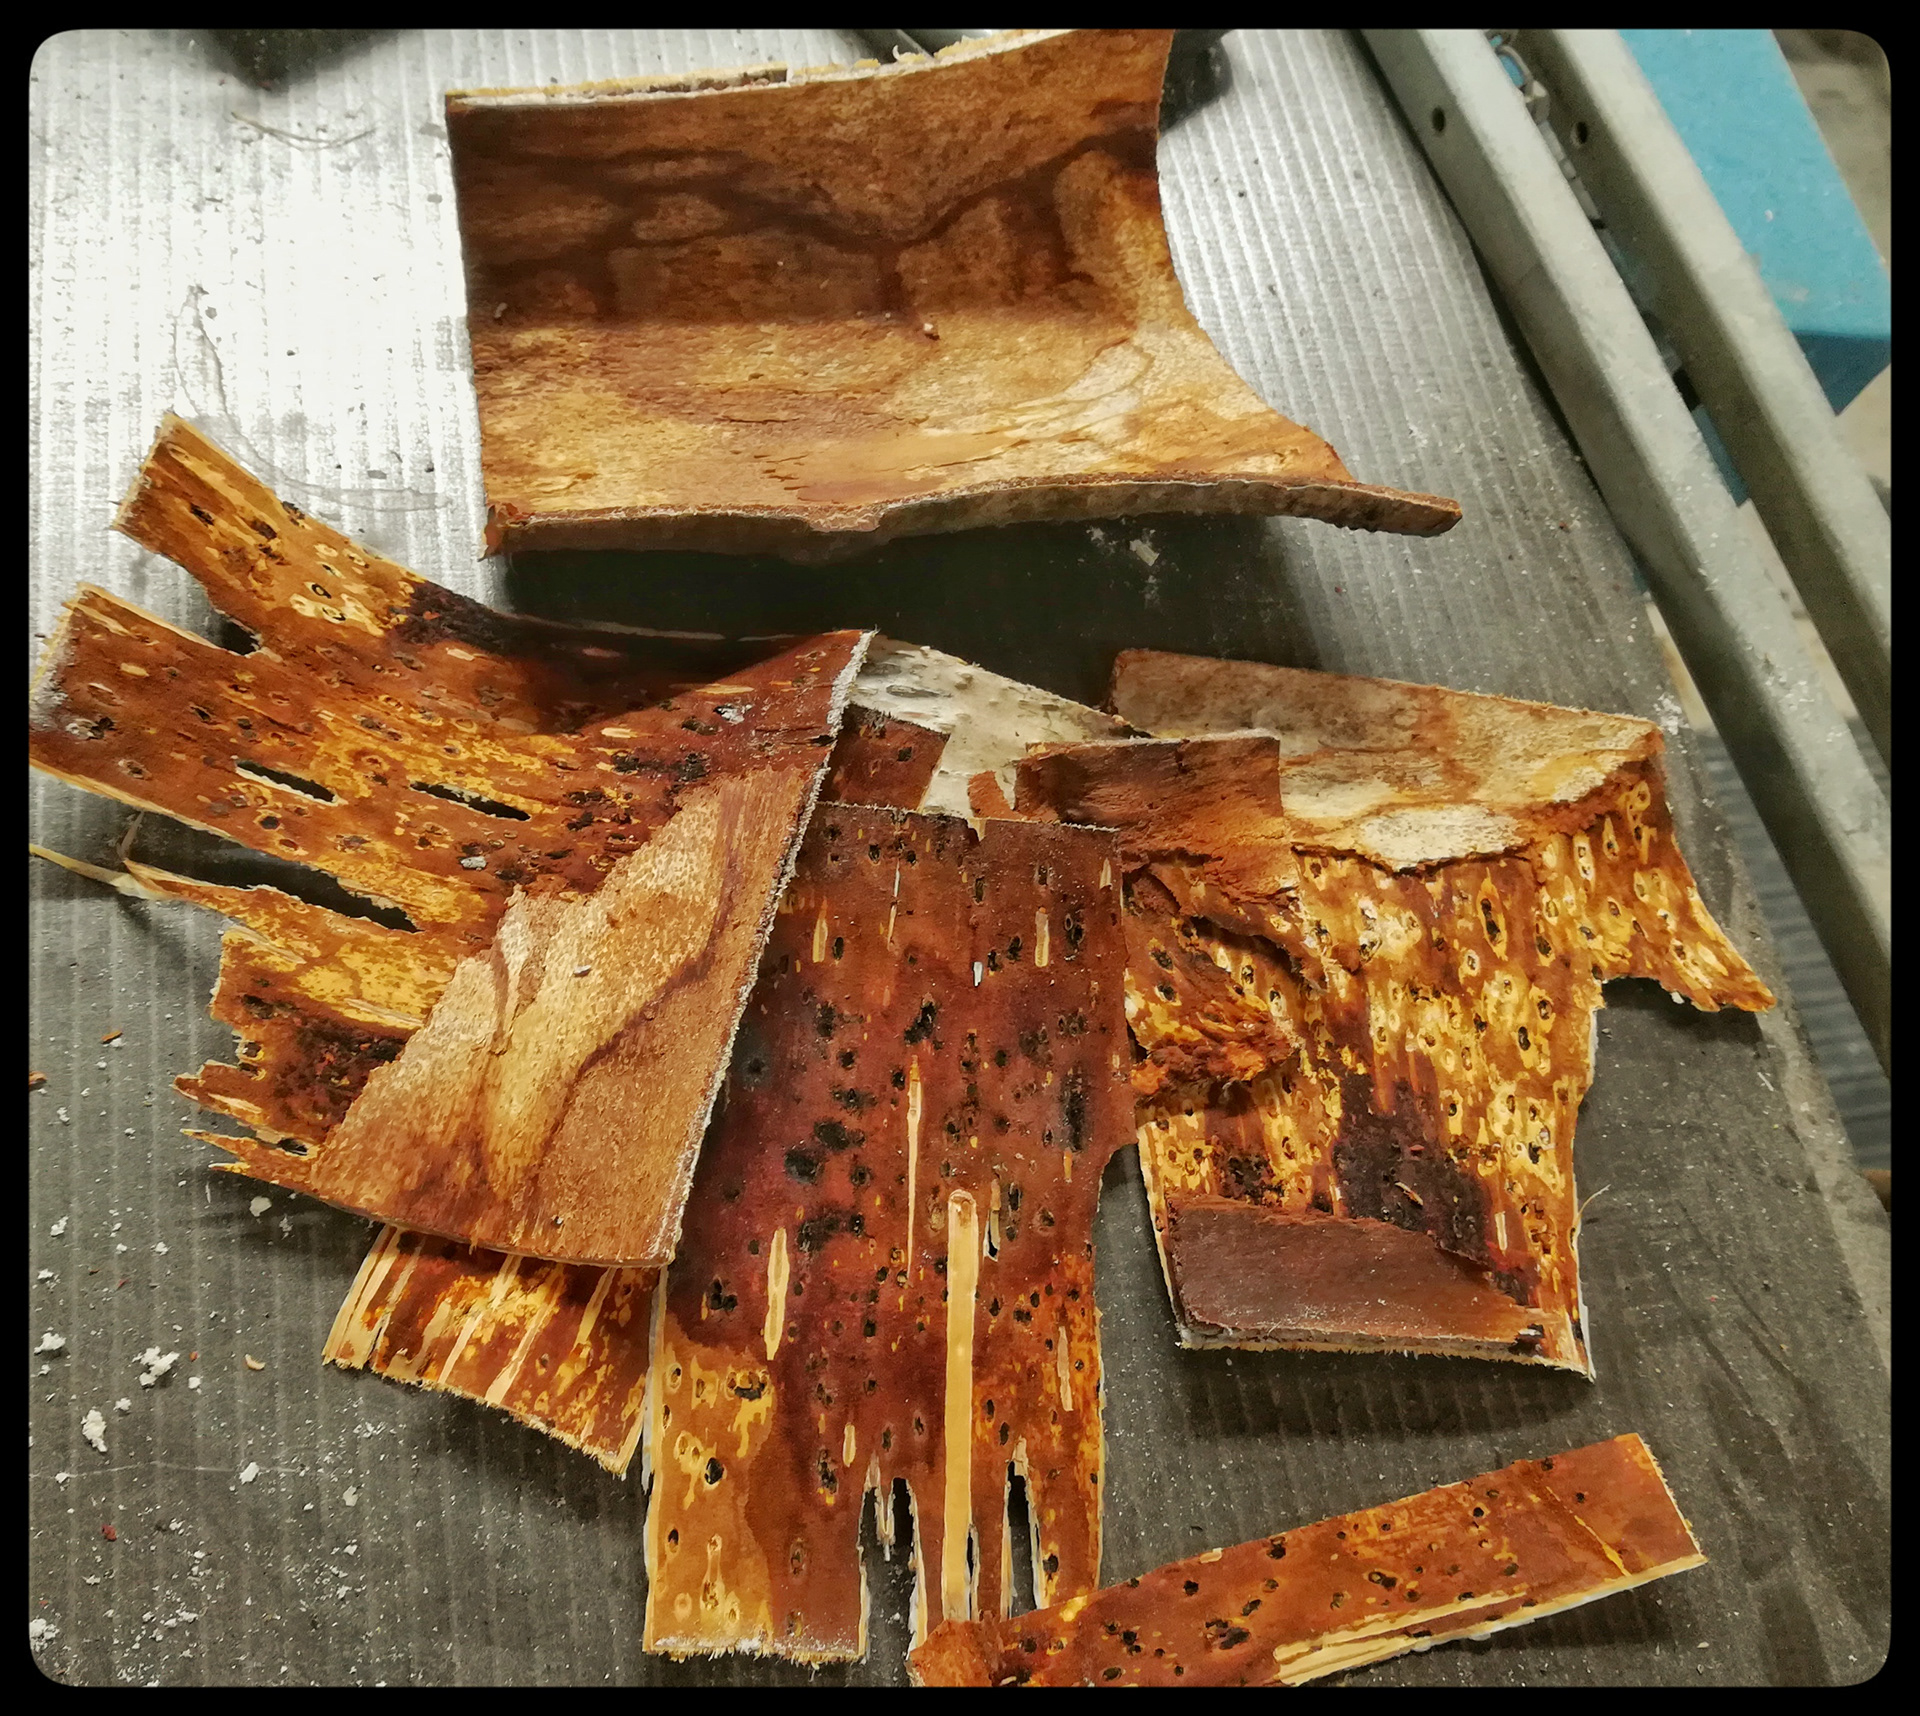
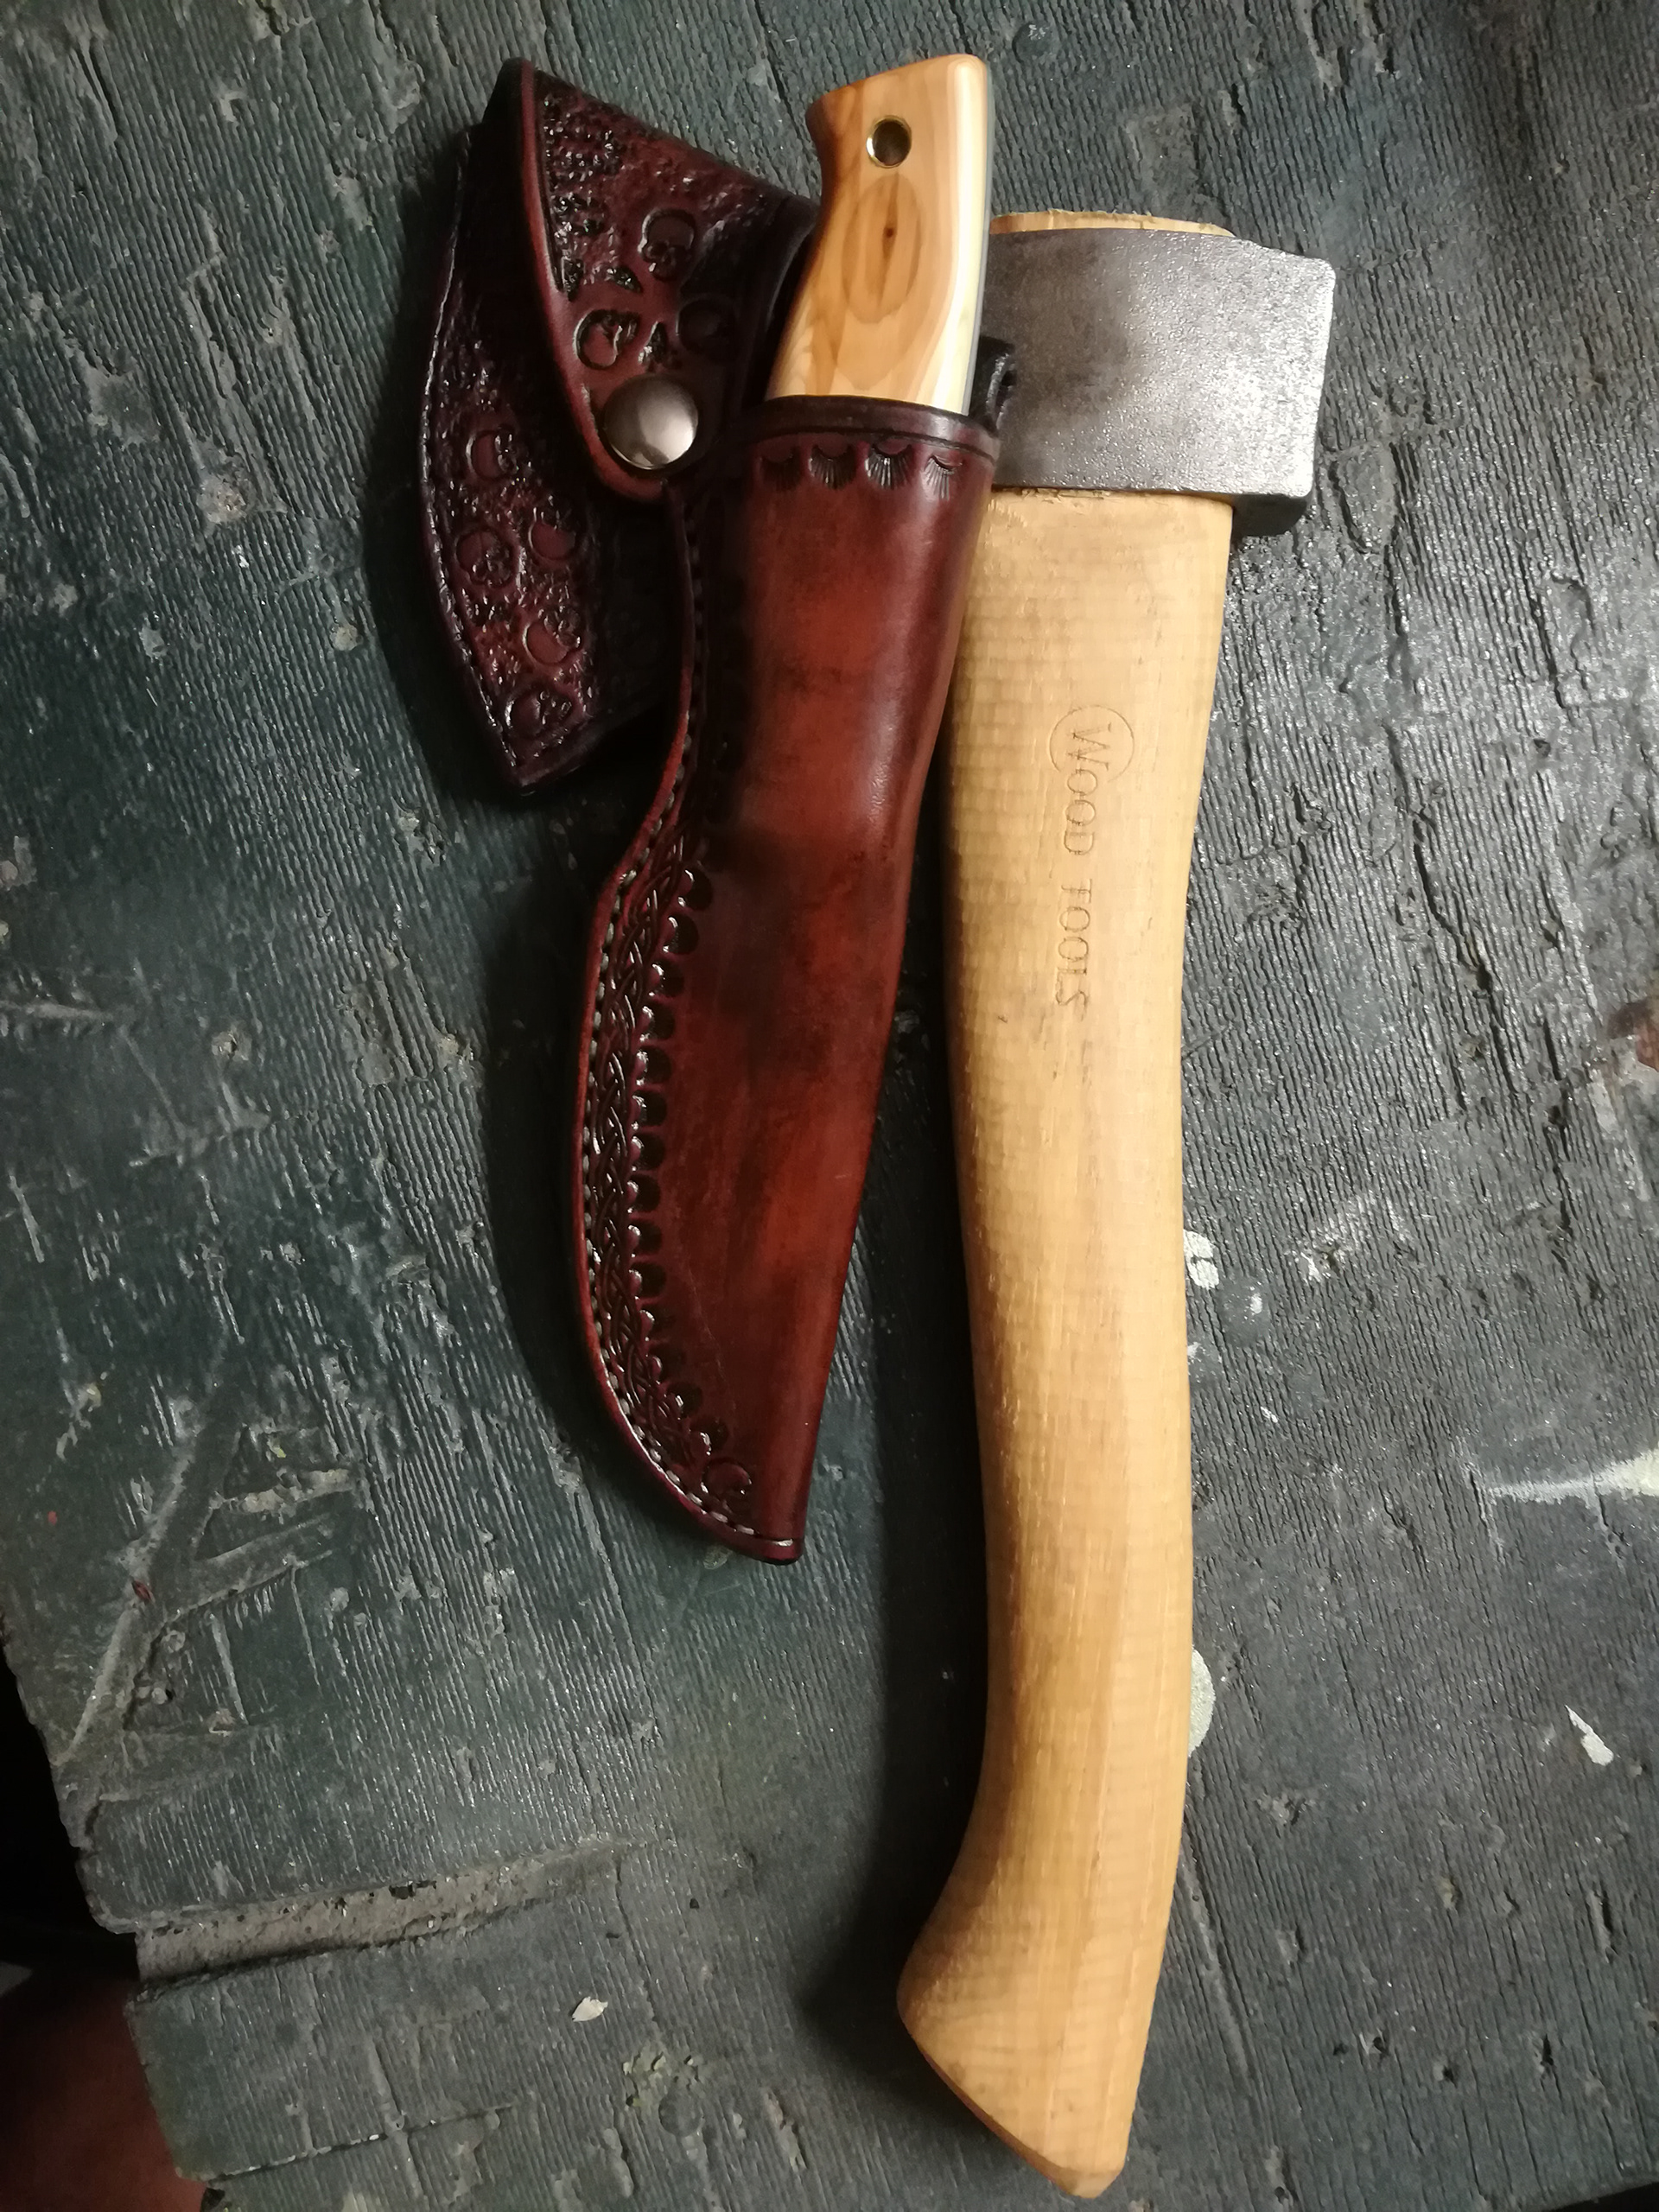
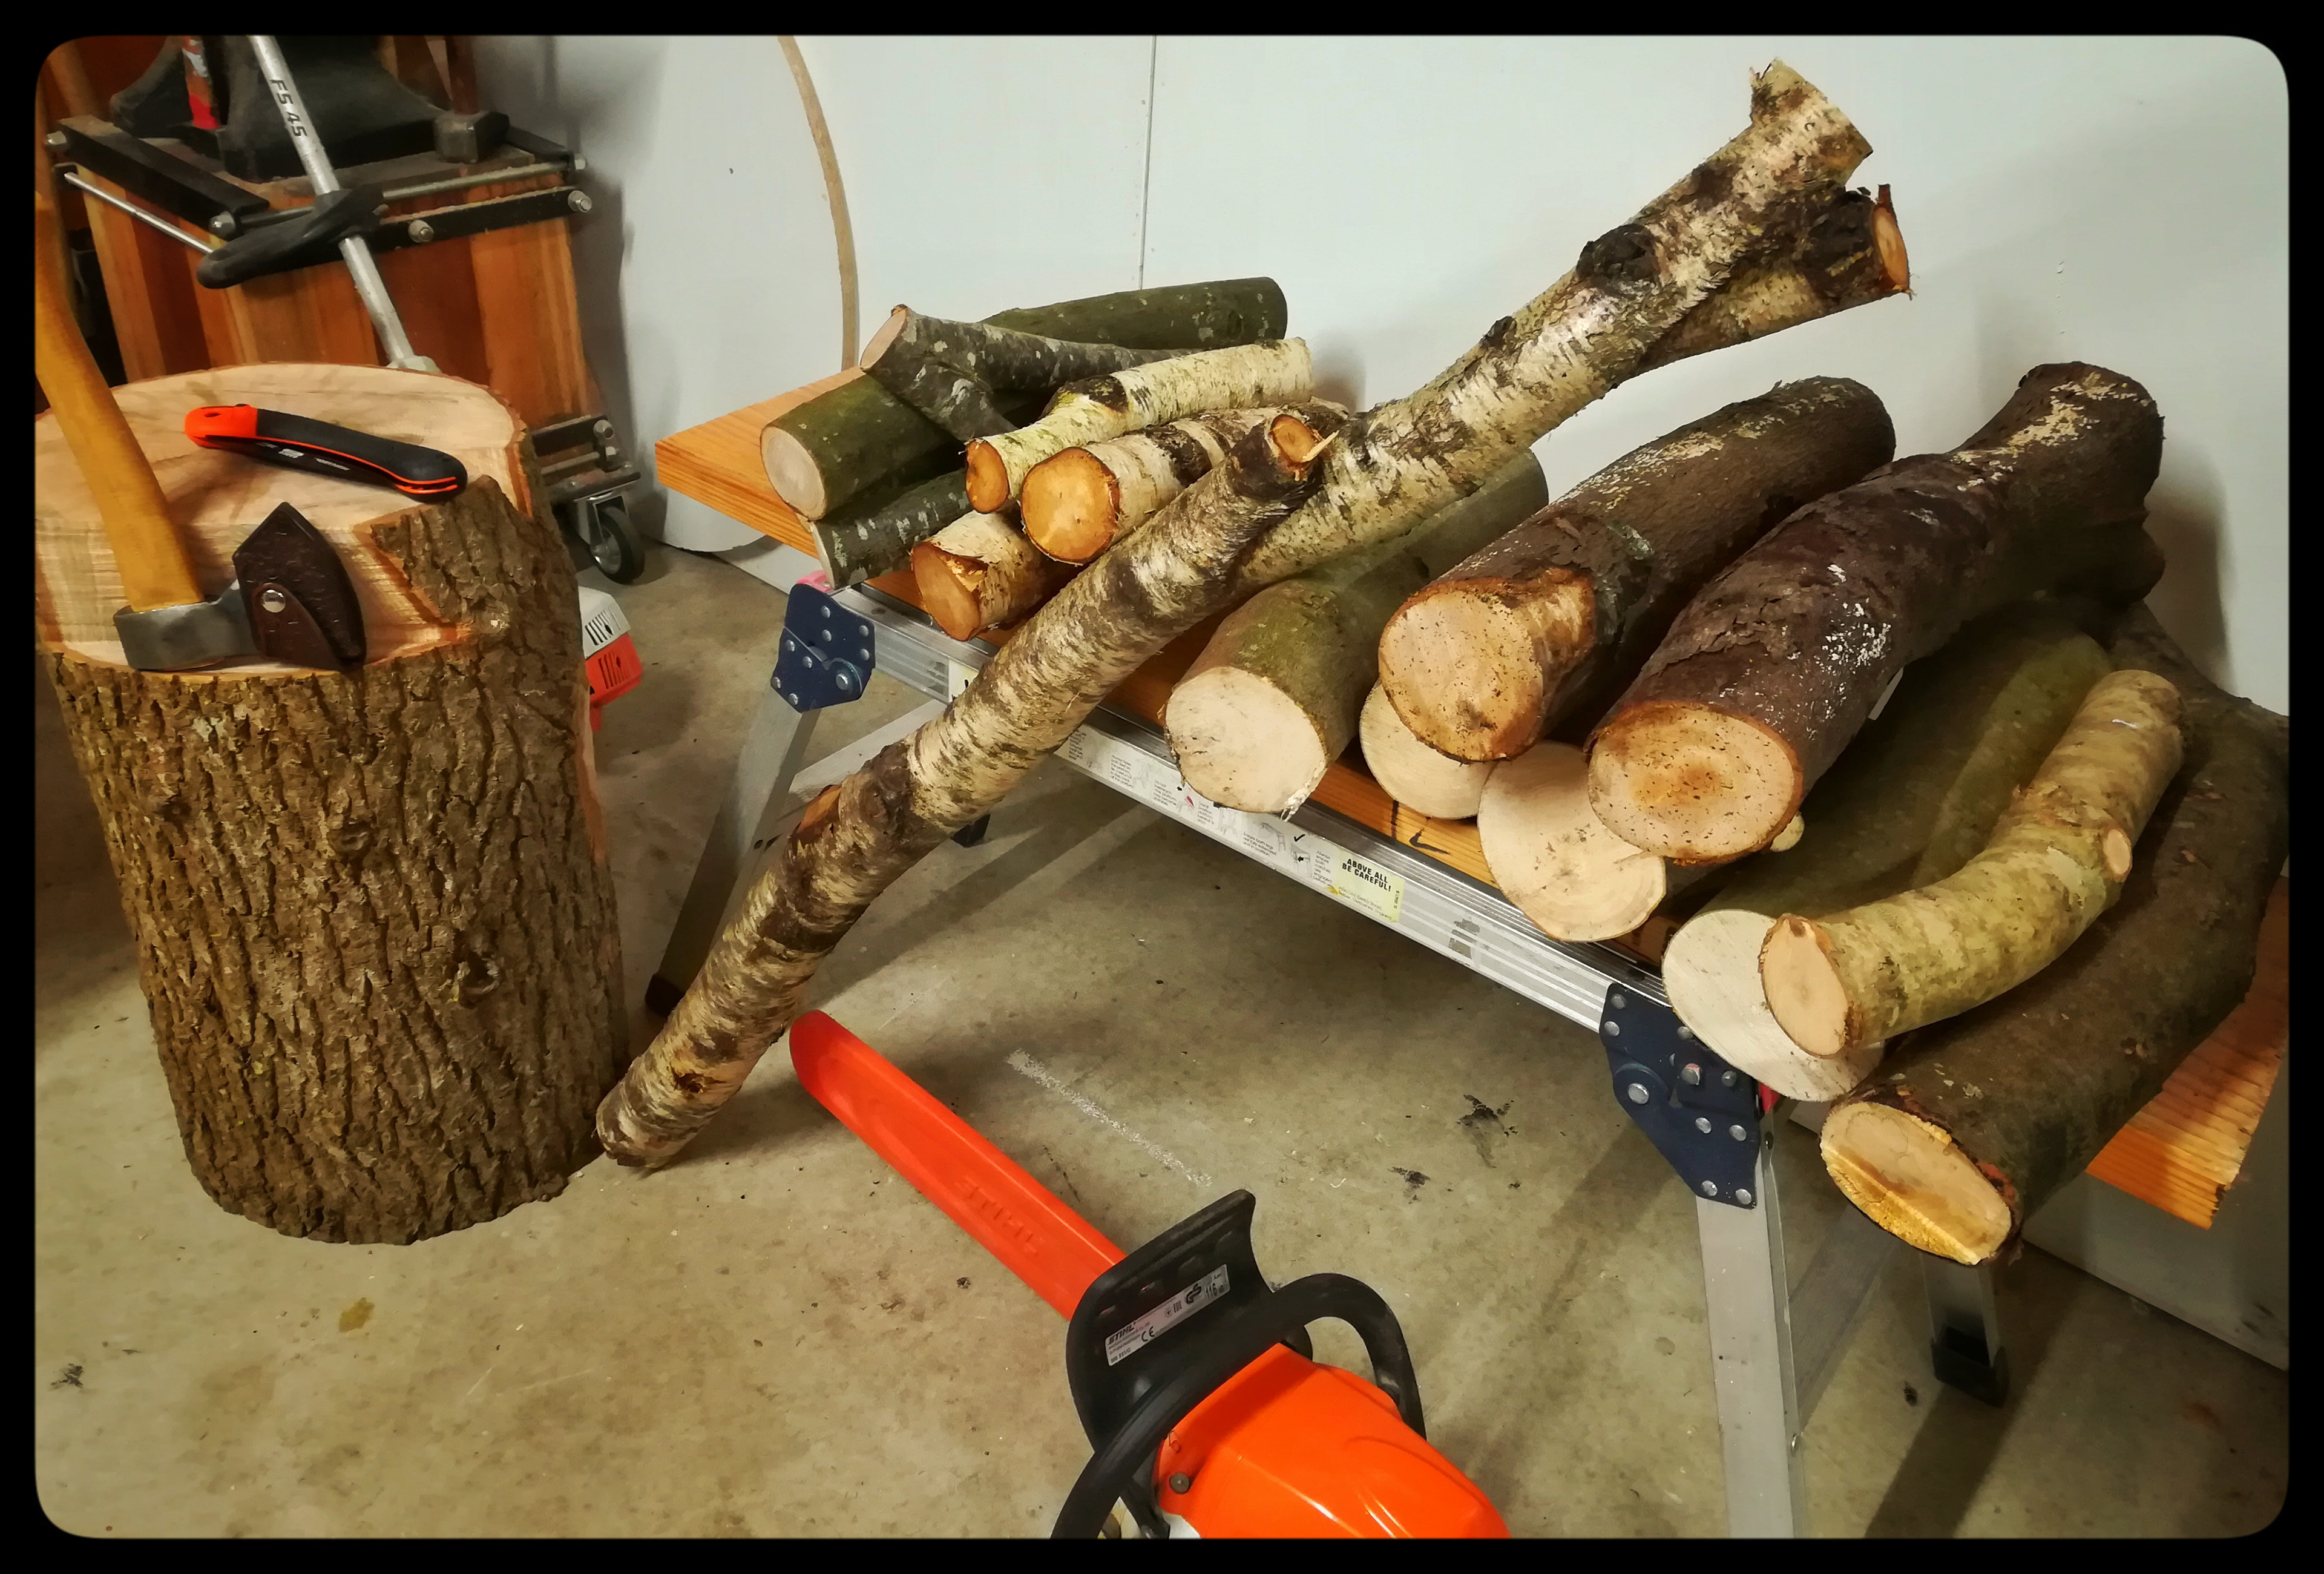
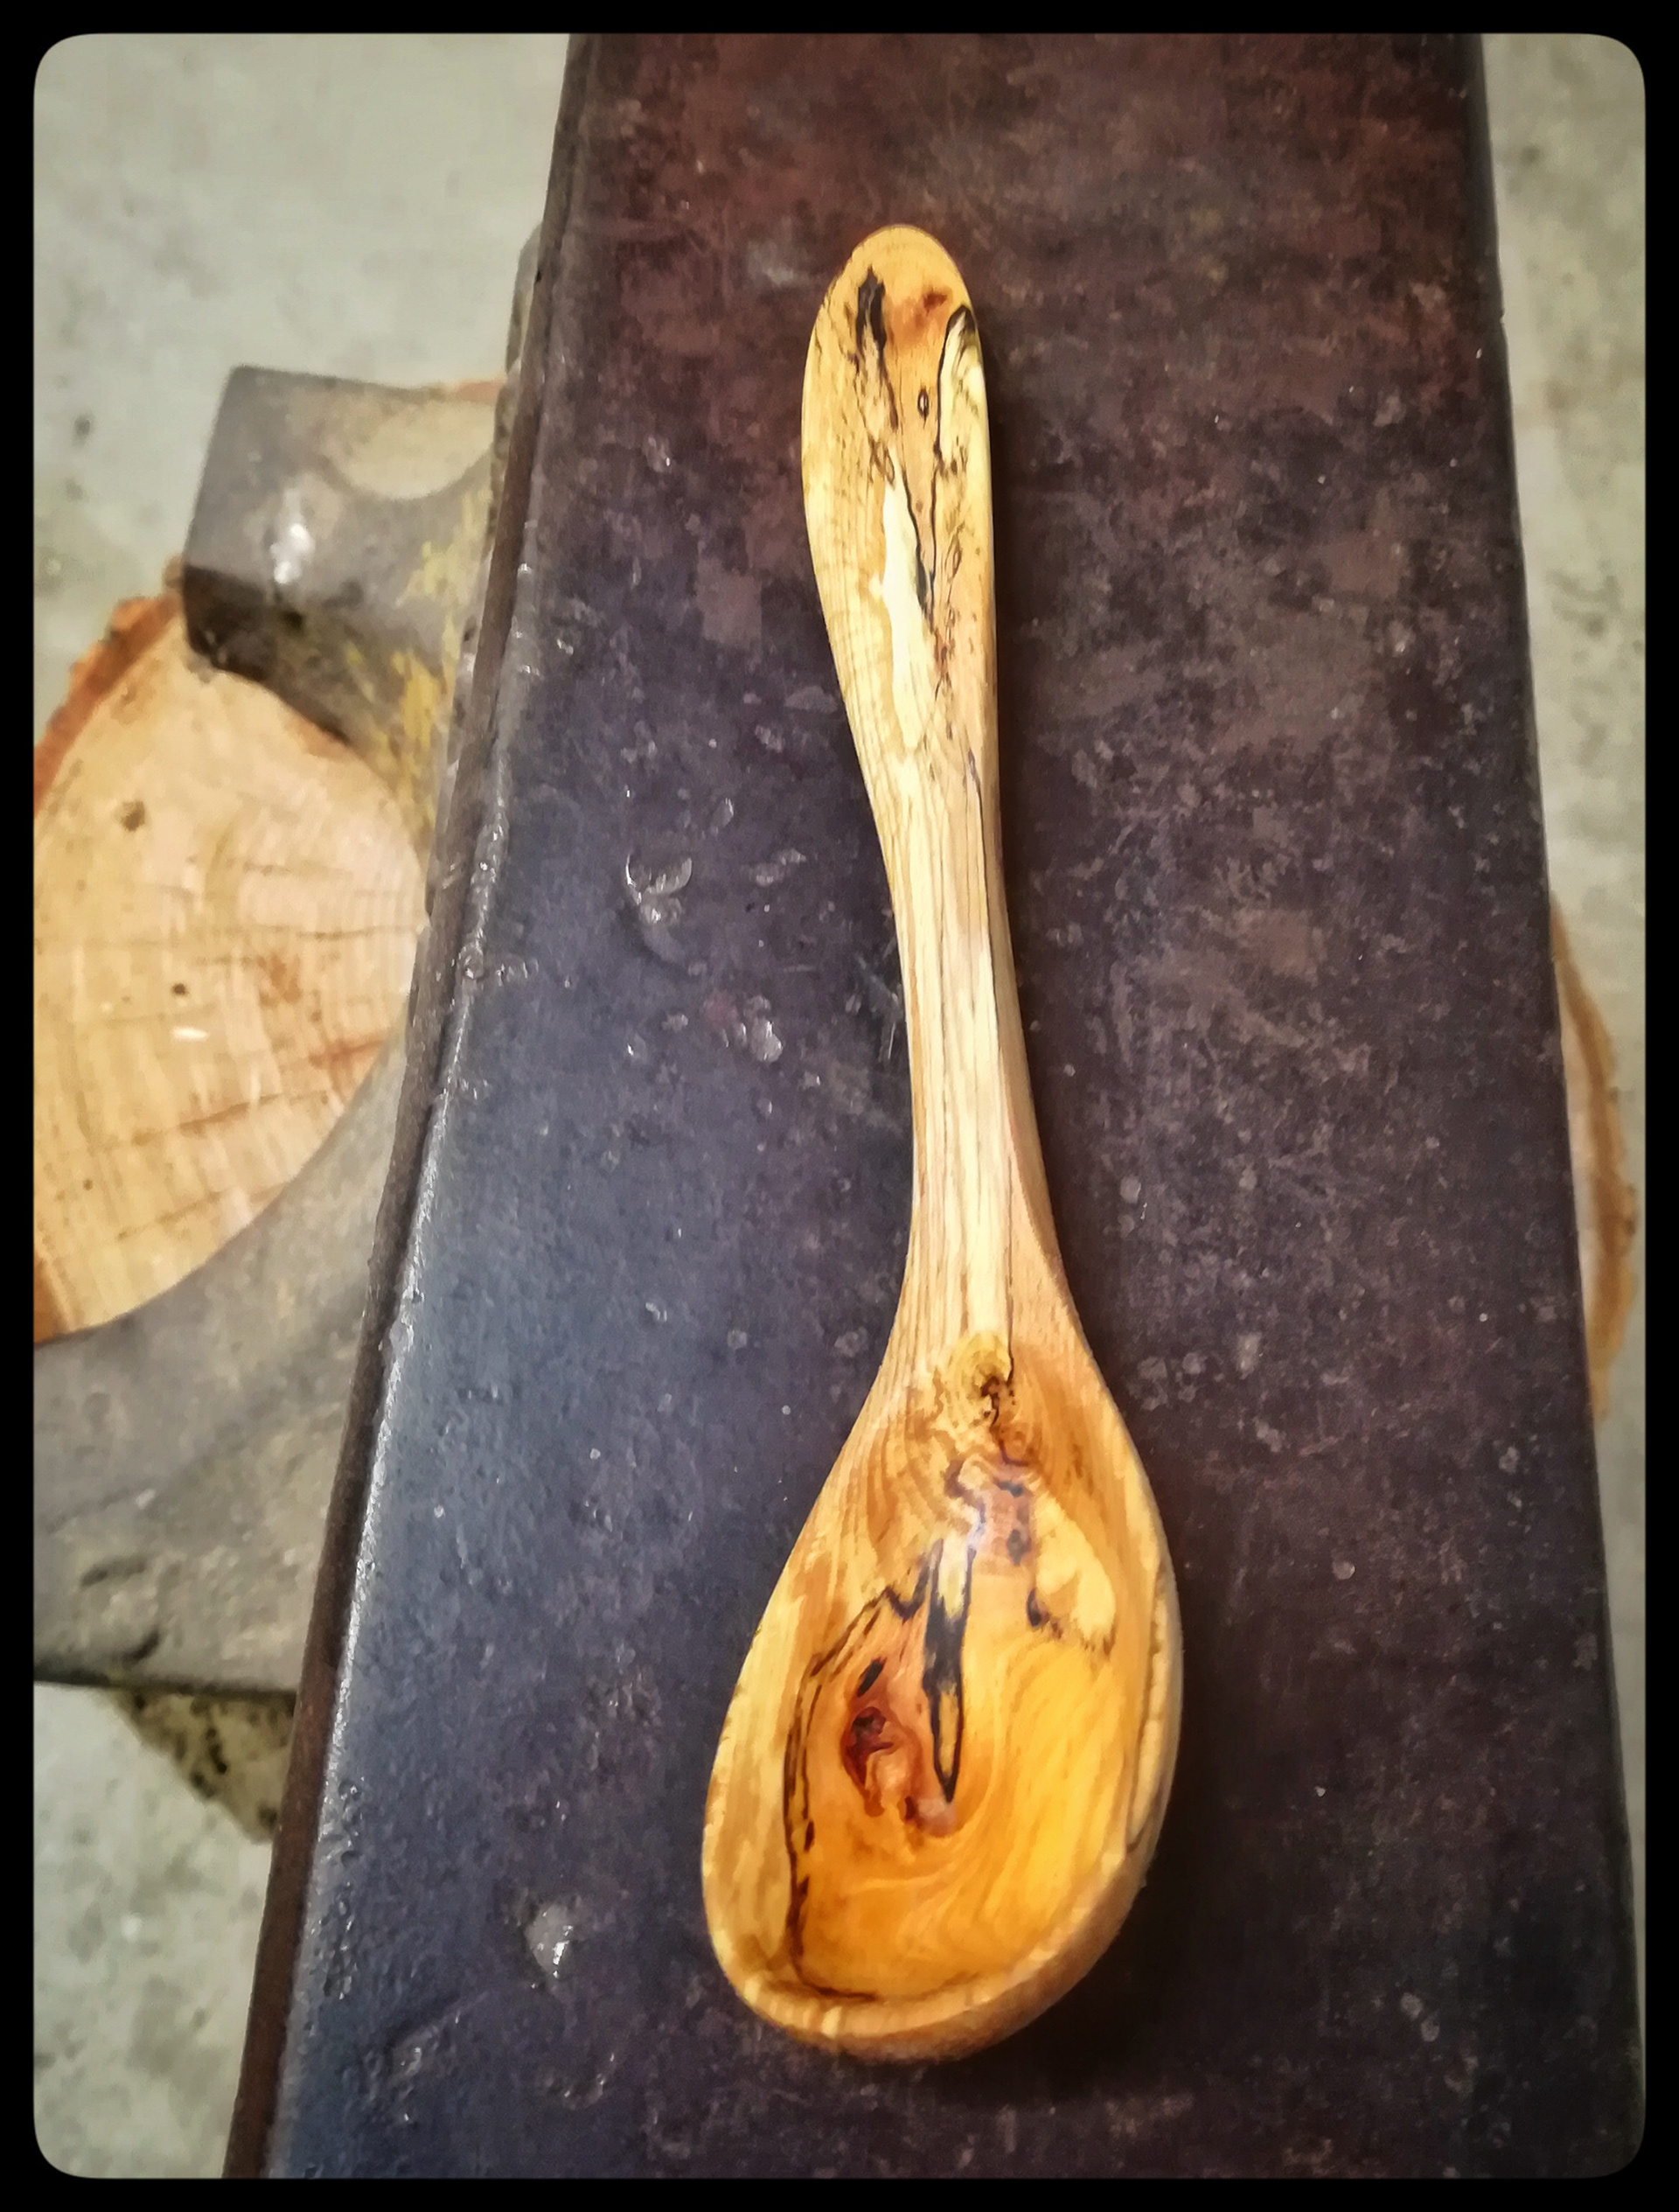
The photo grid below gives some idea of the process I go through when spoon carving. The photos are in no real order but they show the process from wood collection, processing the wood in my workshop, where if not used right away it will be sealed. There are photos of where I did some carving outside while collecting wood and then you can see some of the spoons being carved and the tools used. Note: Where possible I like to make my own carving knives and tools. It just adds another layer of enjoyment to this craft, carving with your own hand made knife.

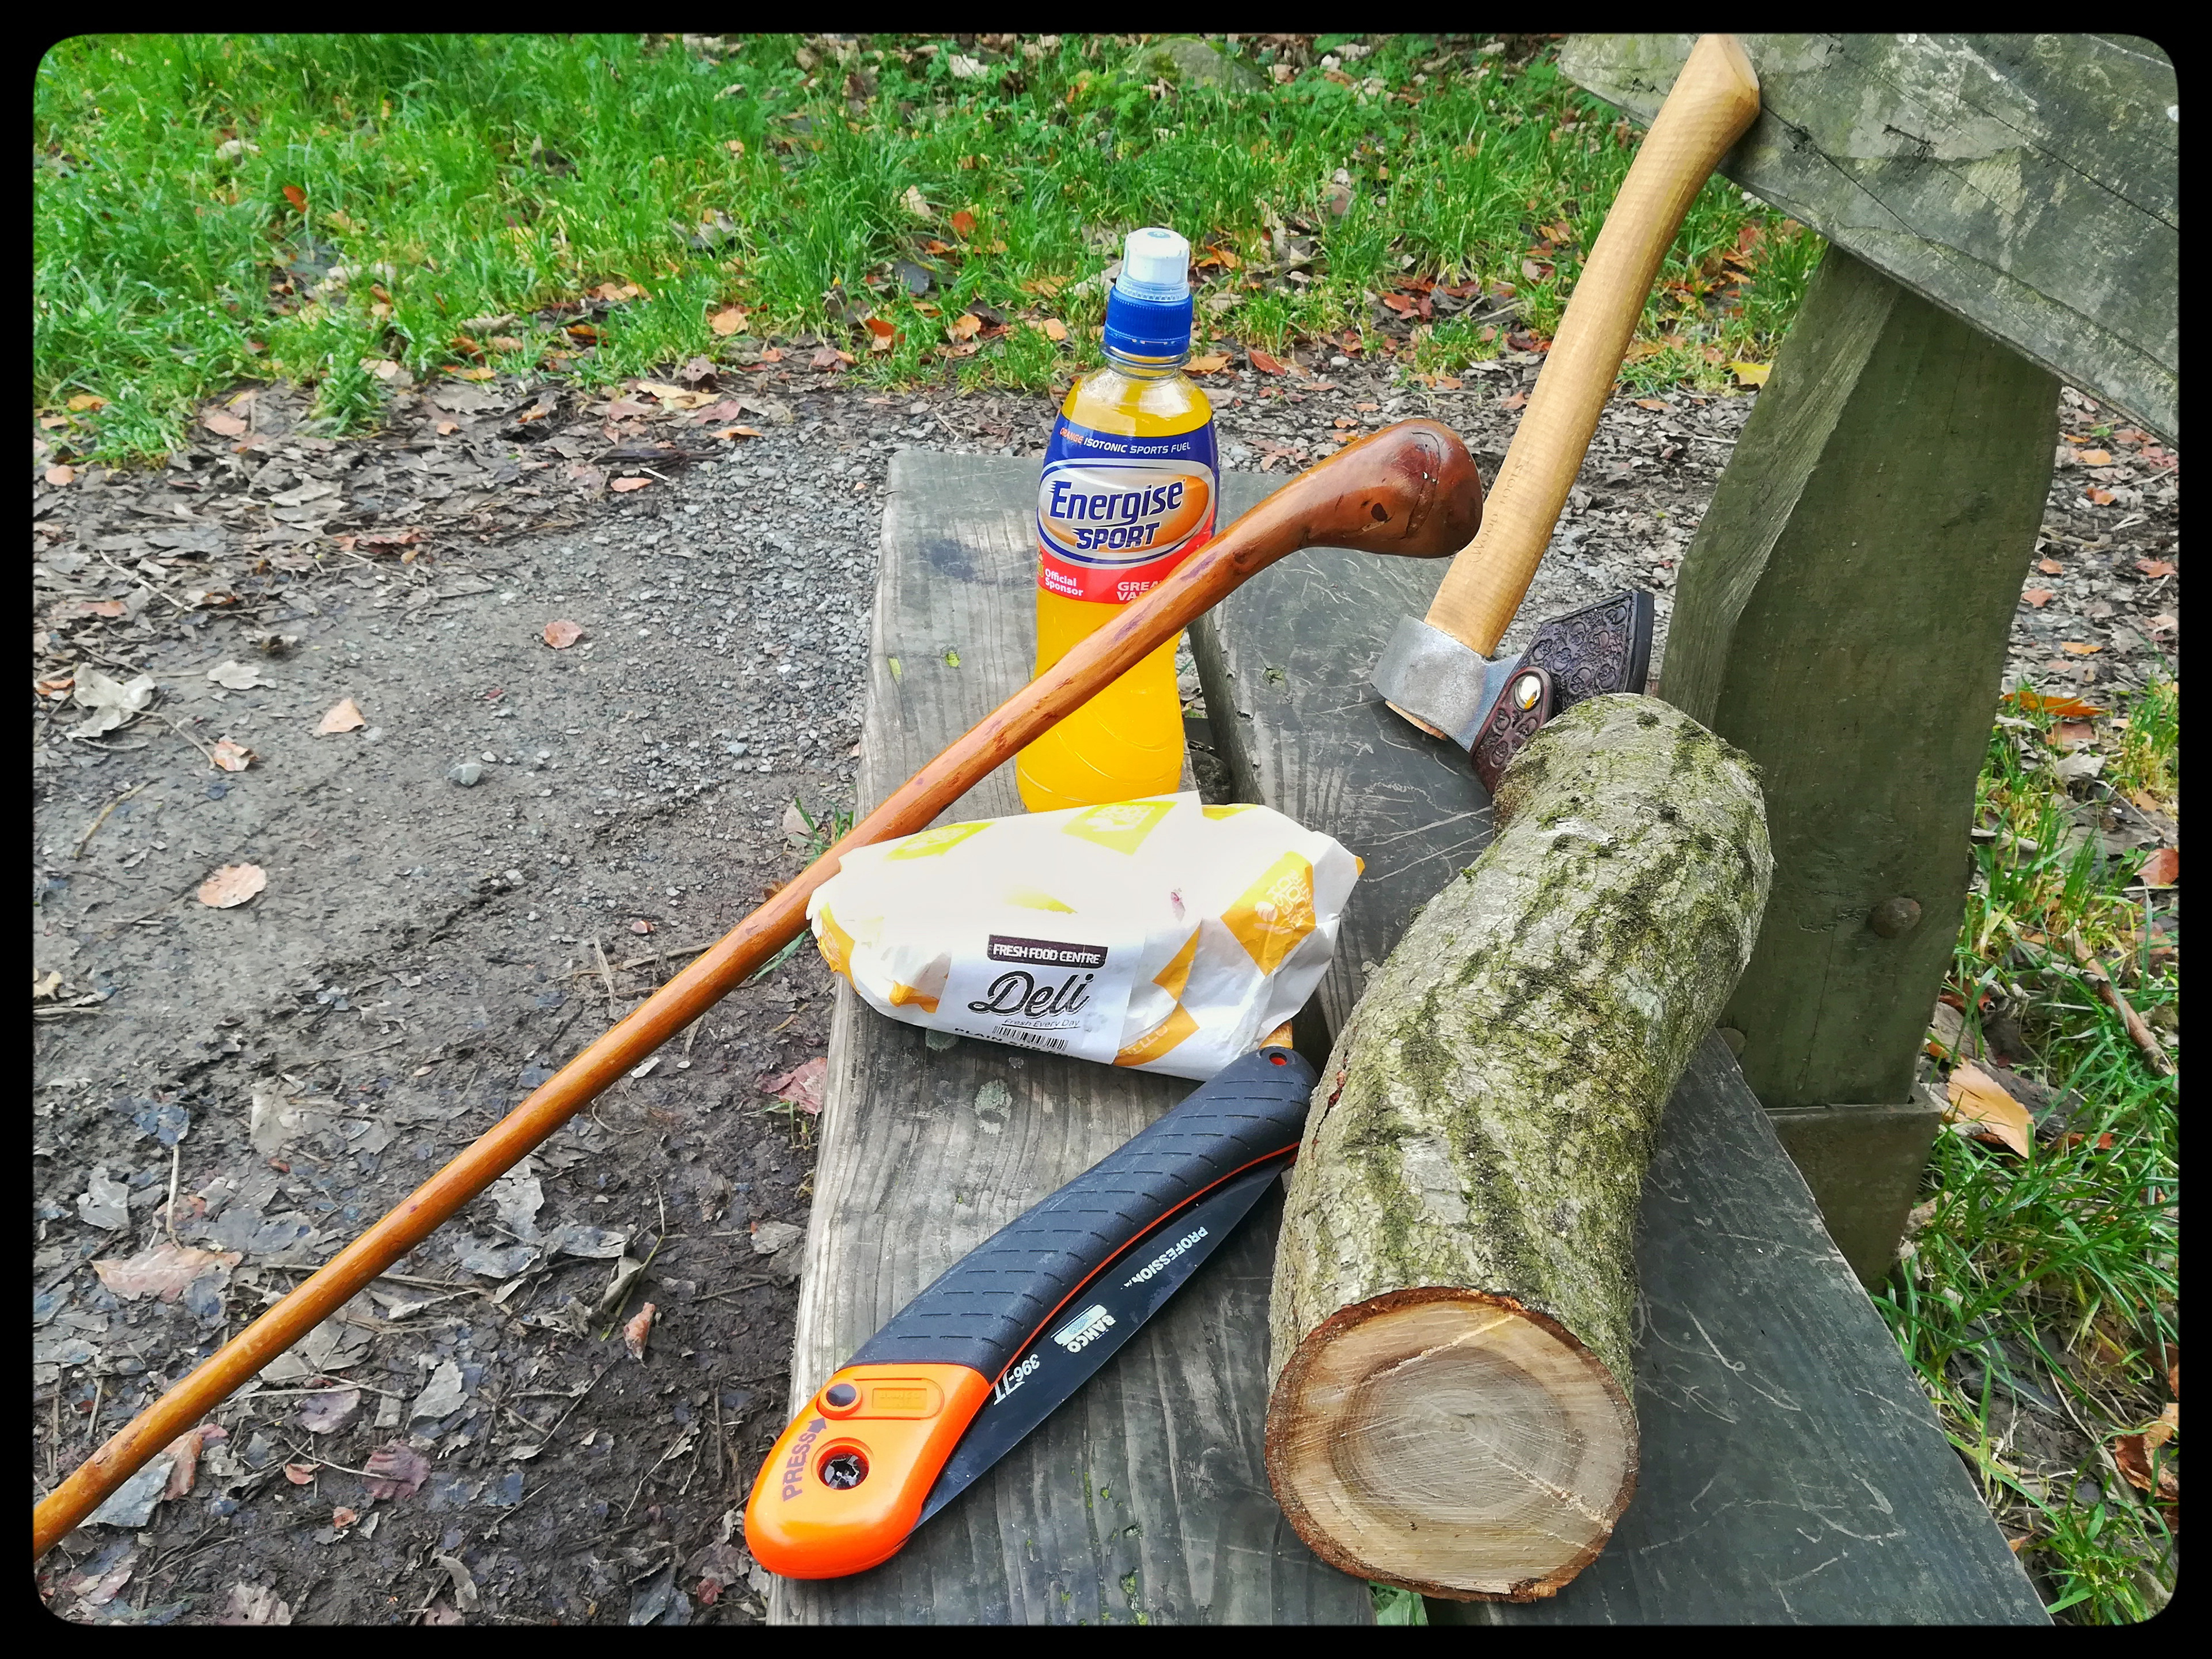
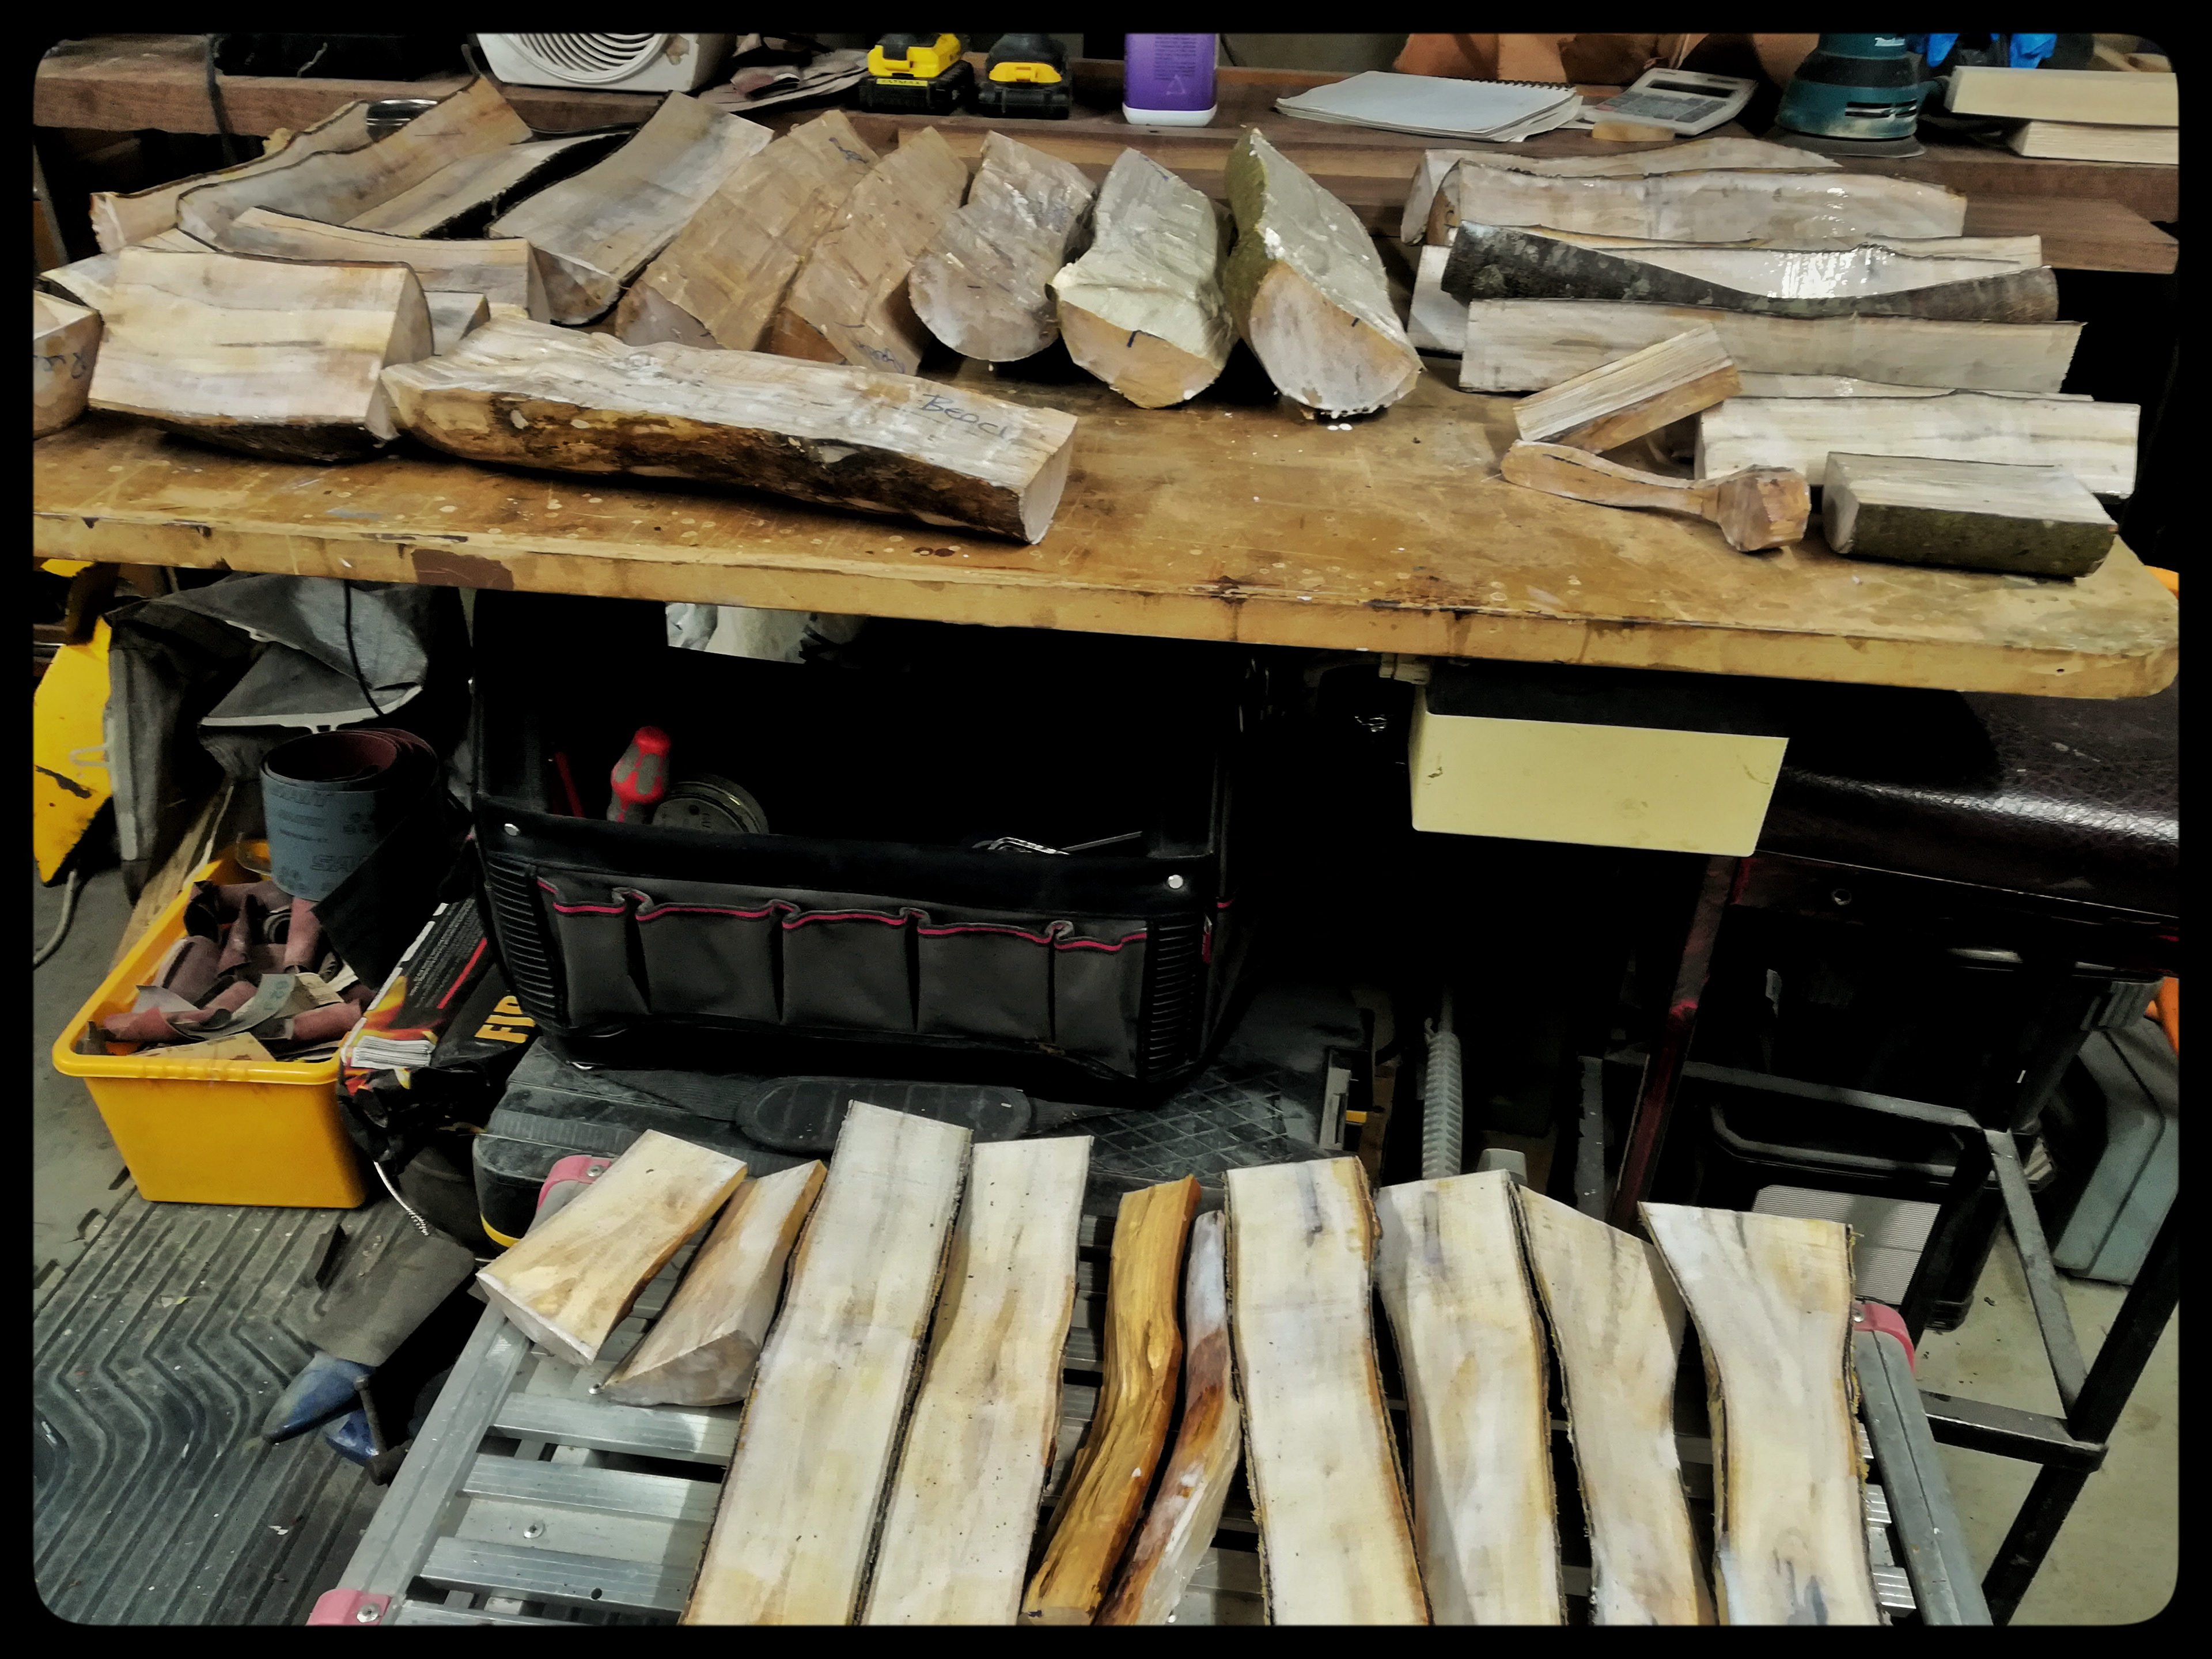
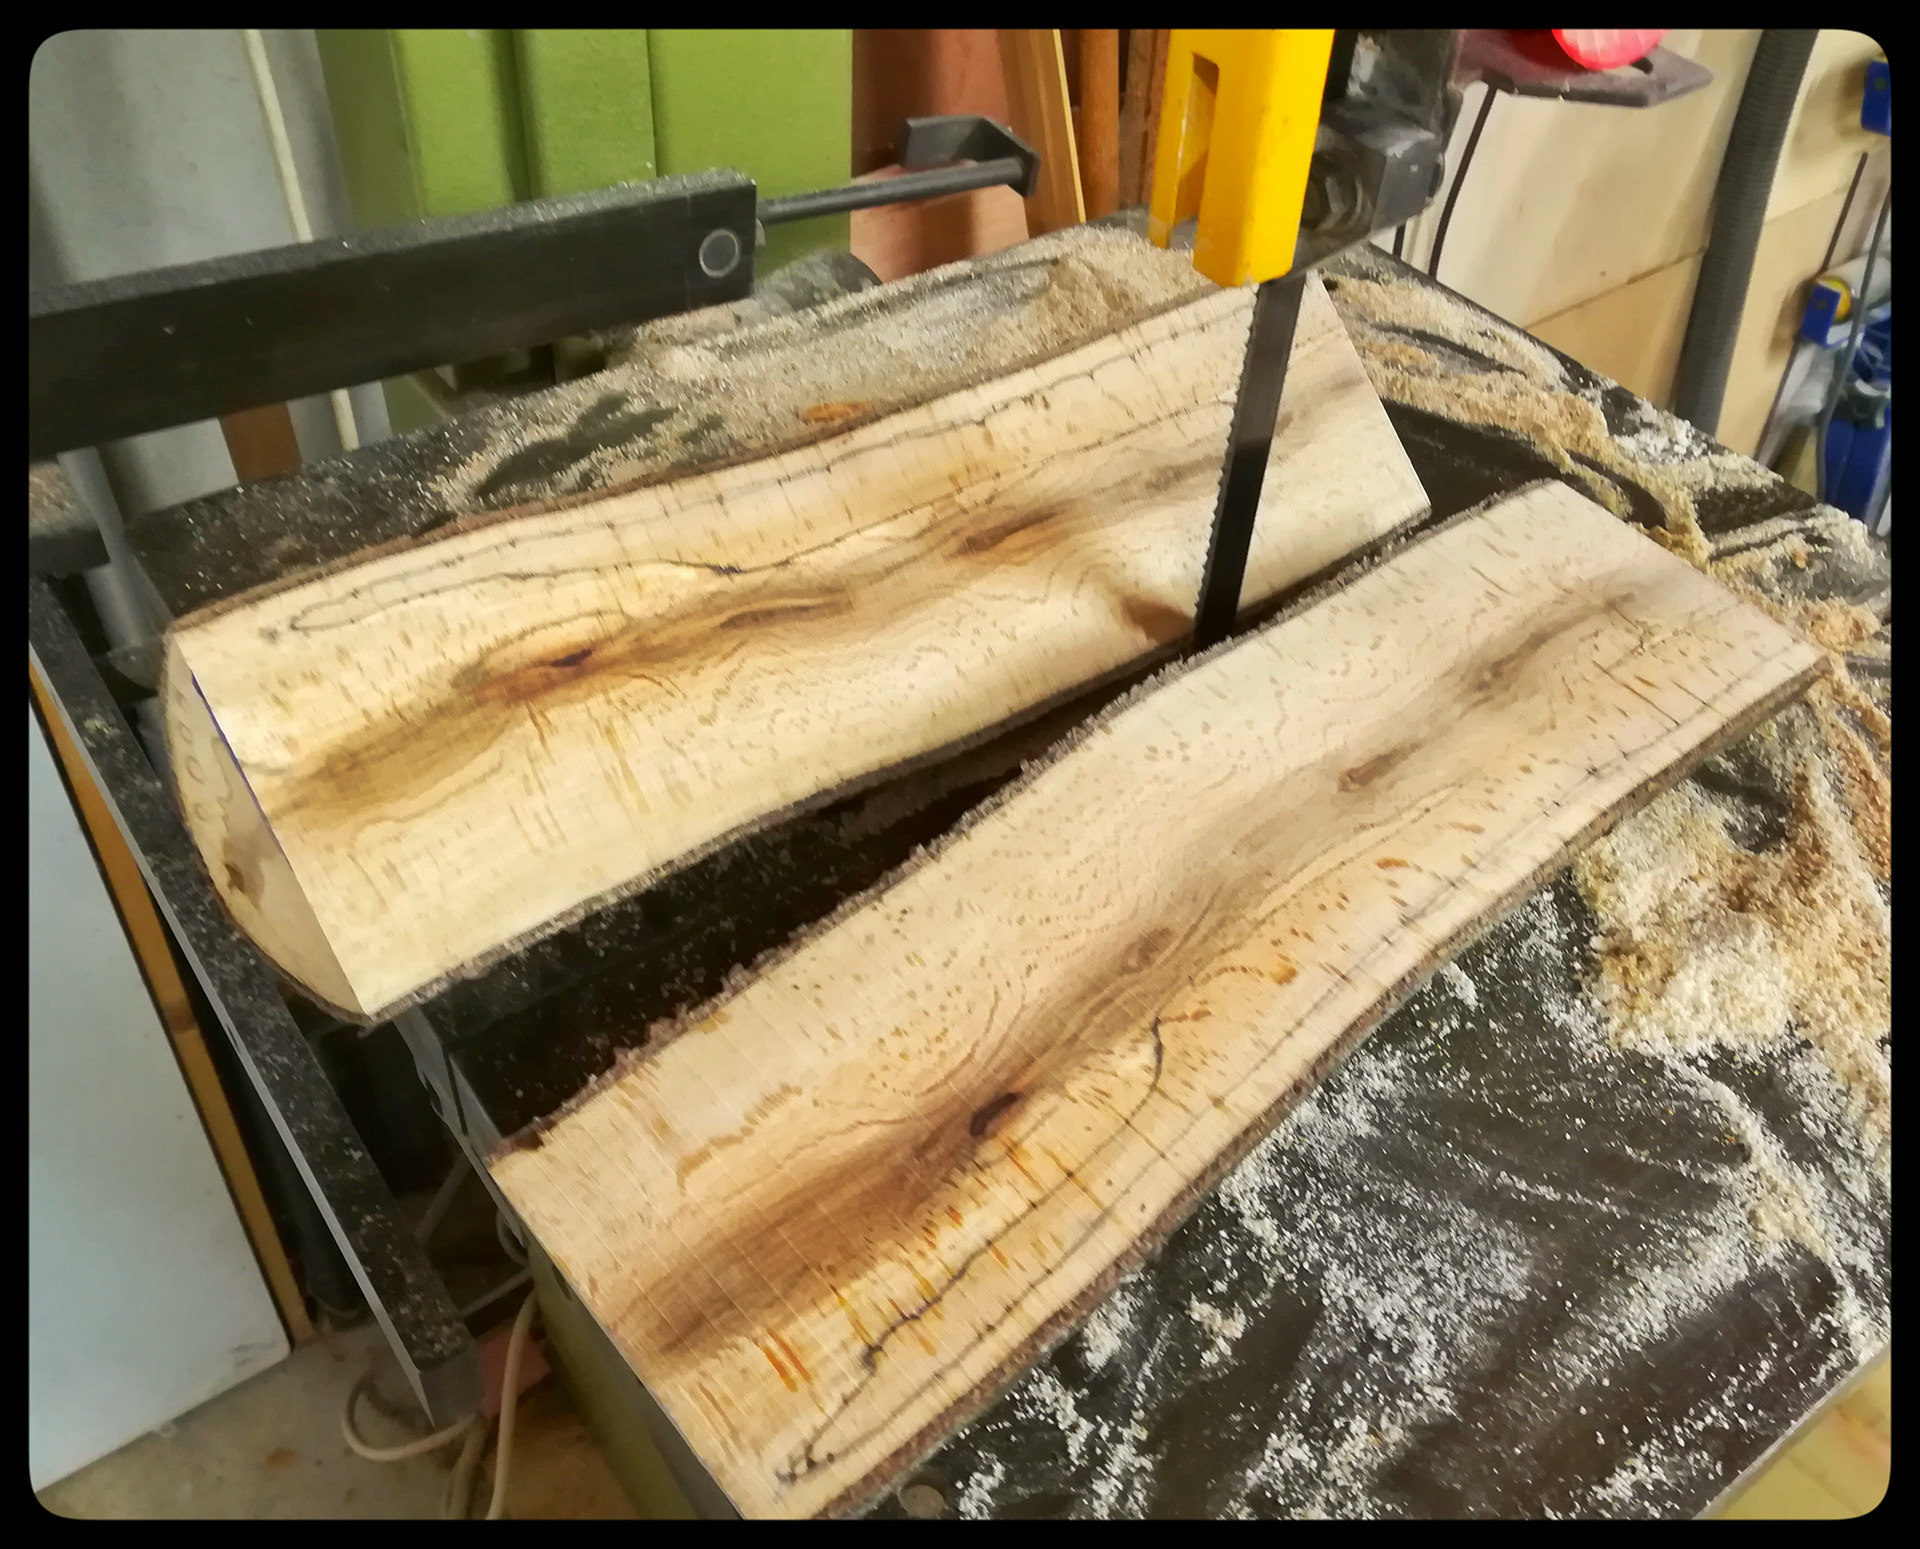
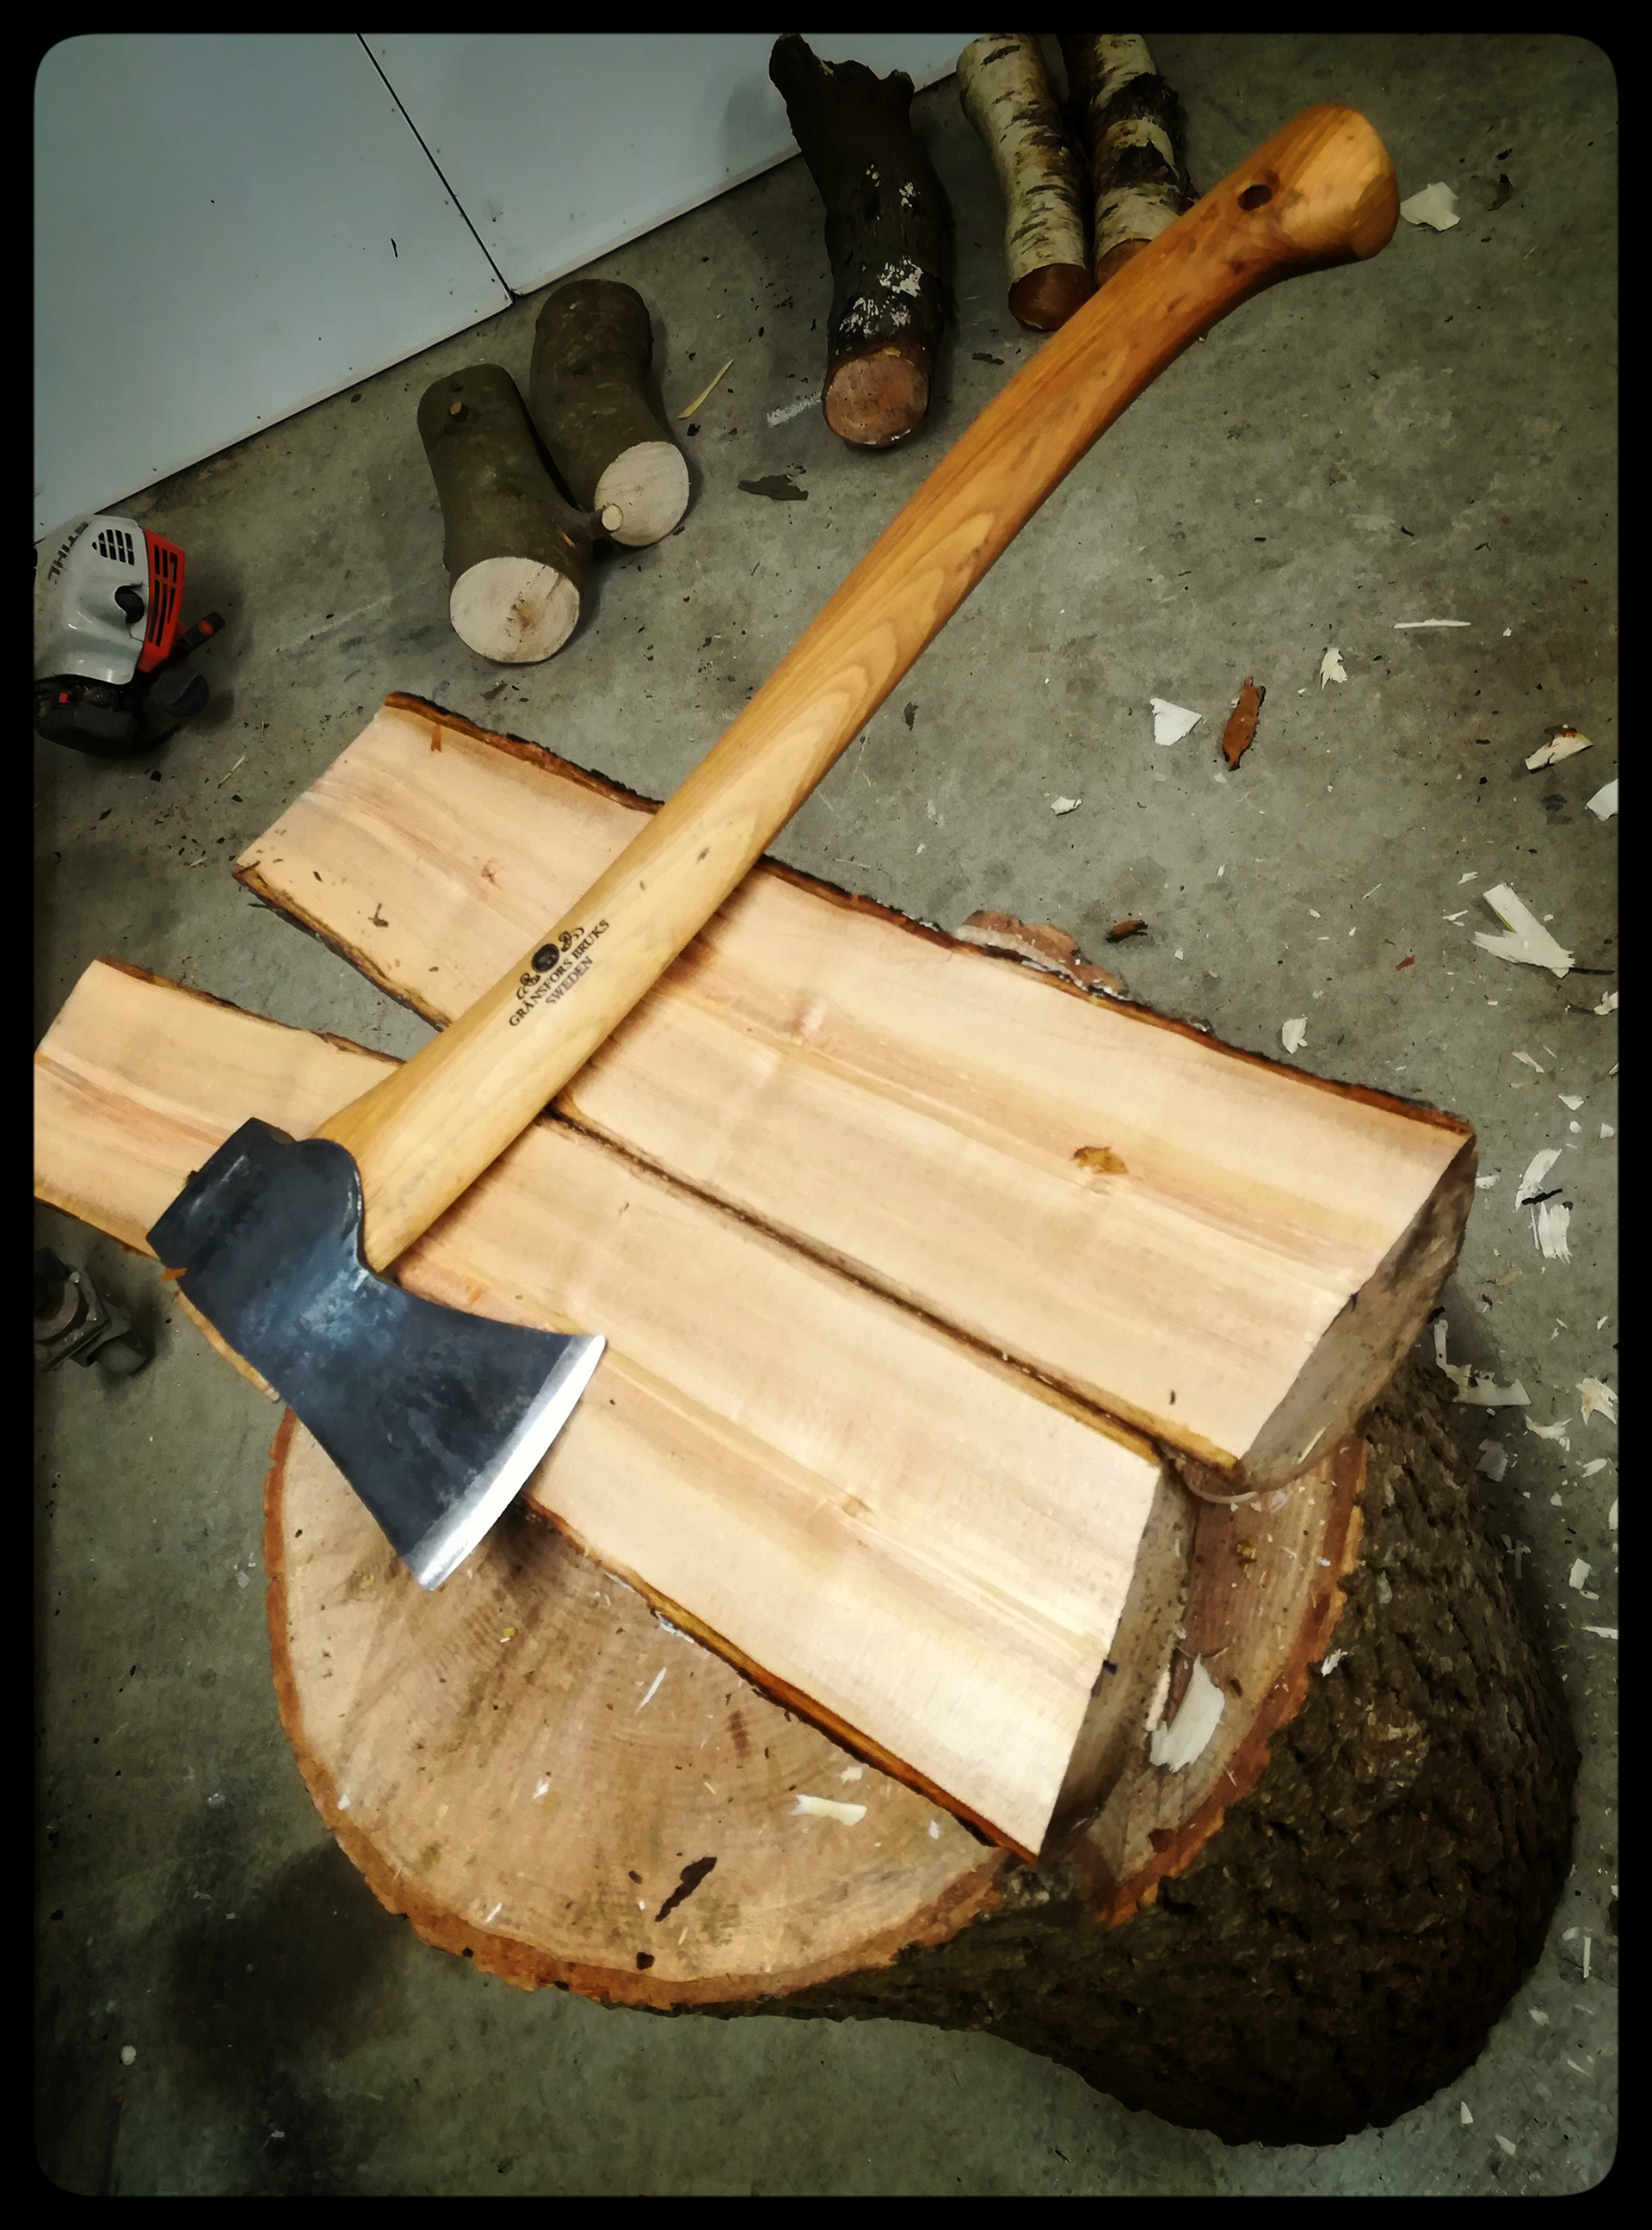
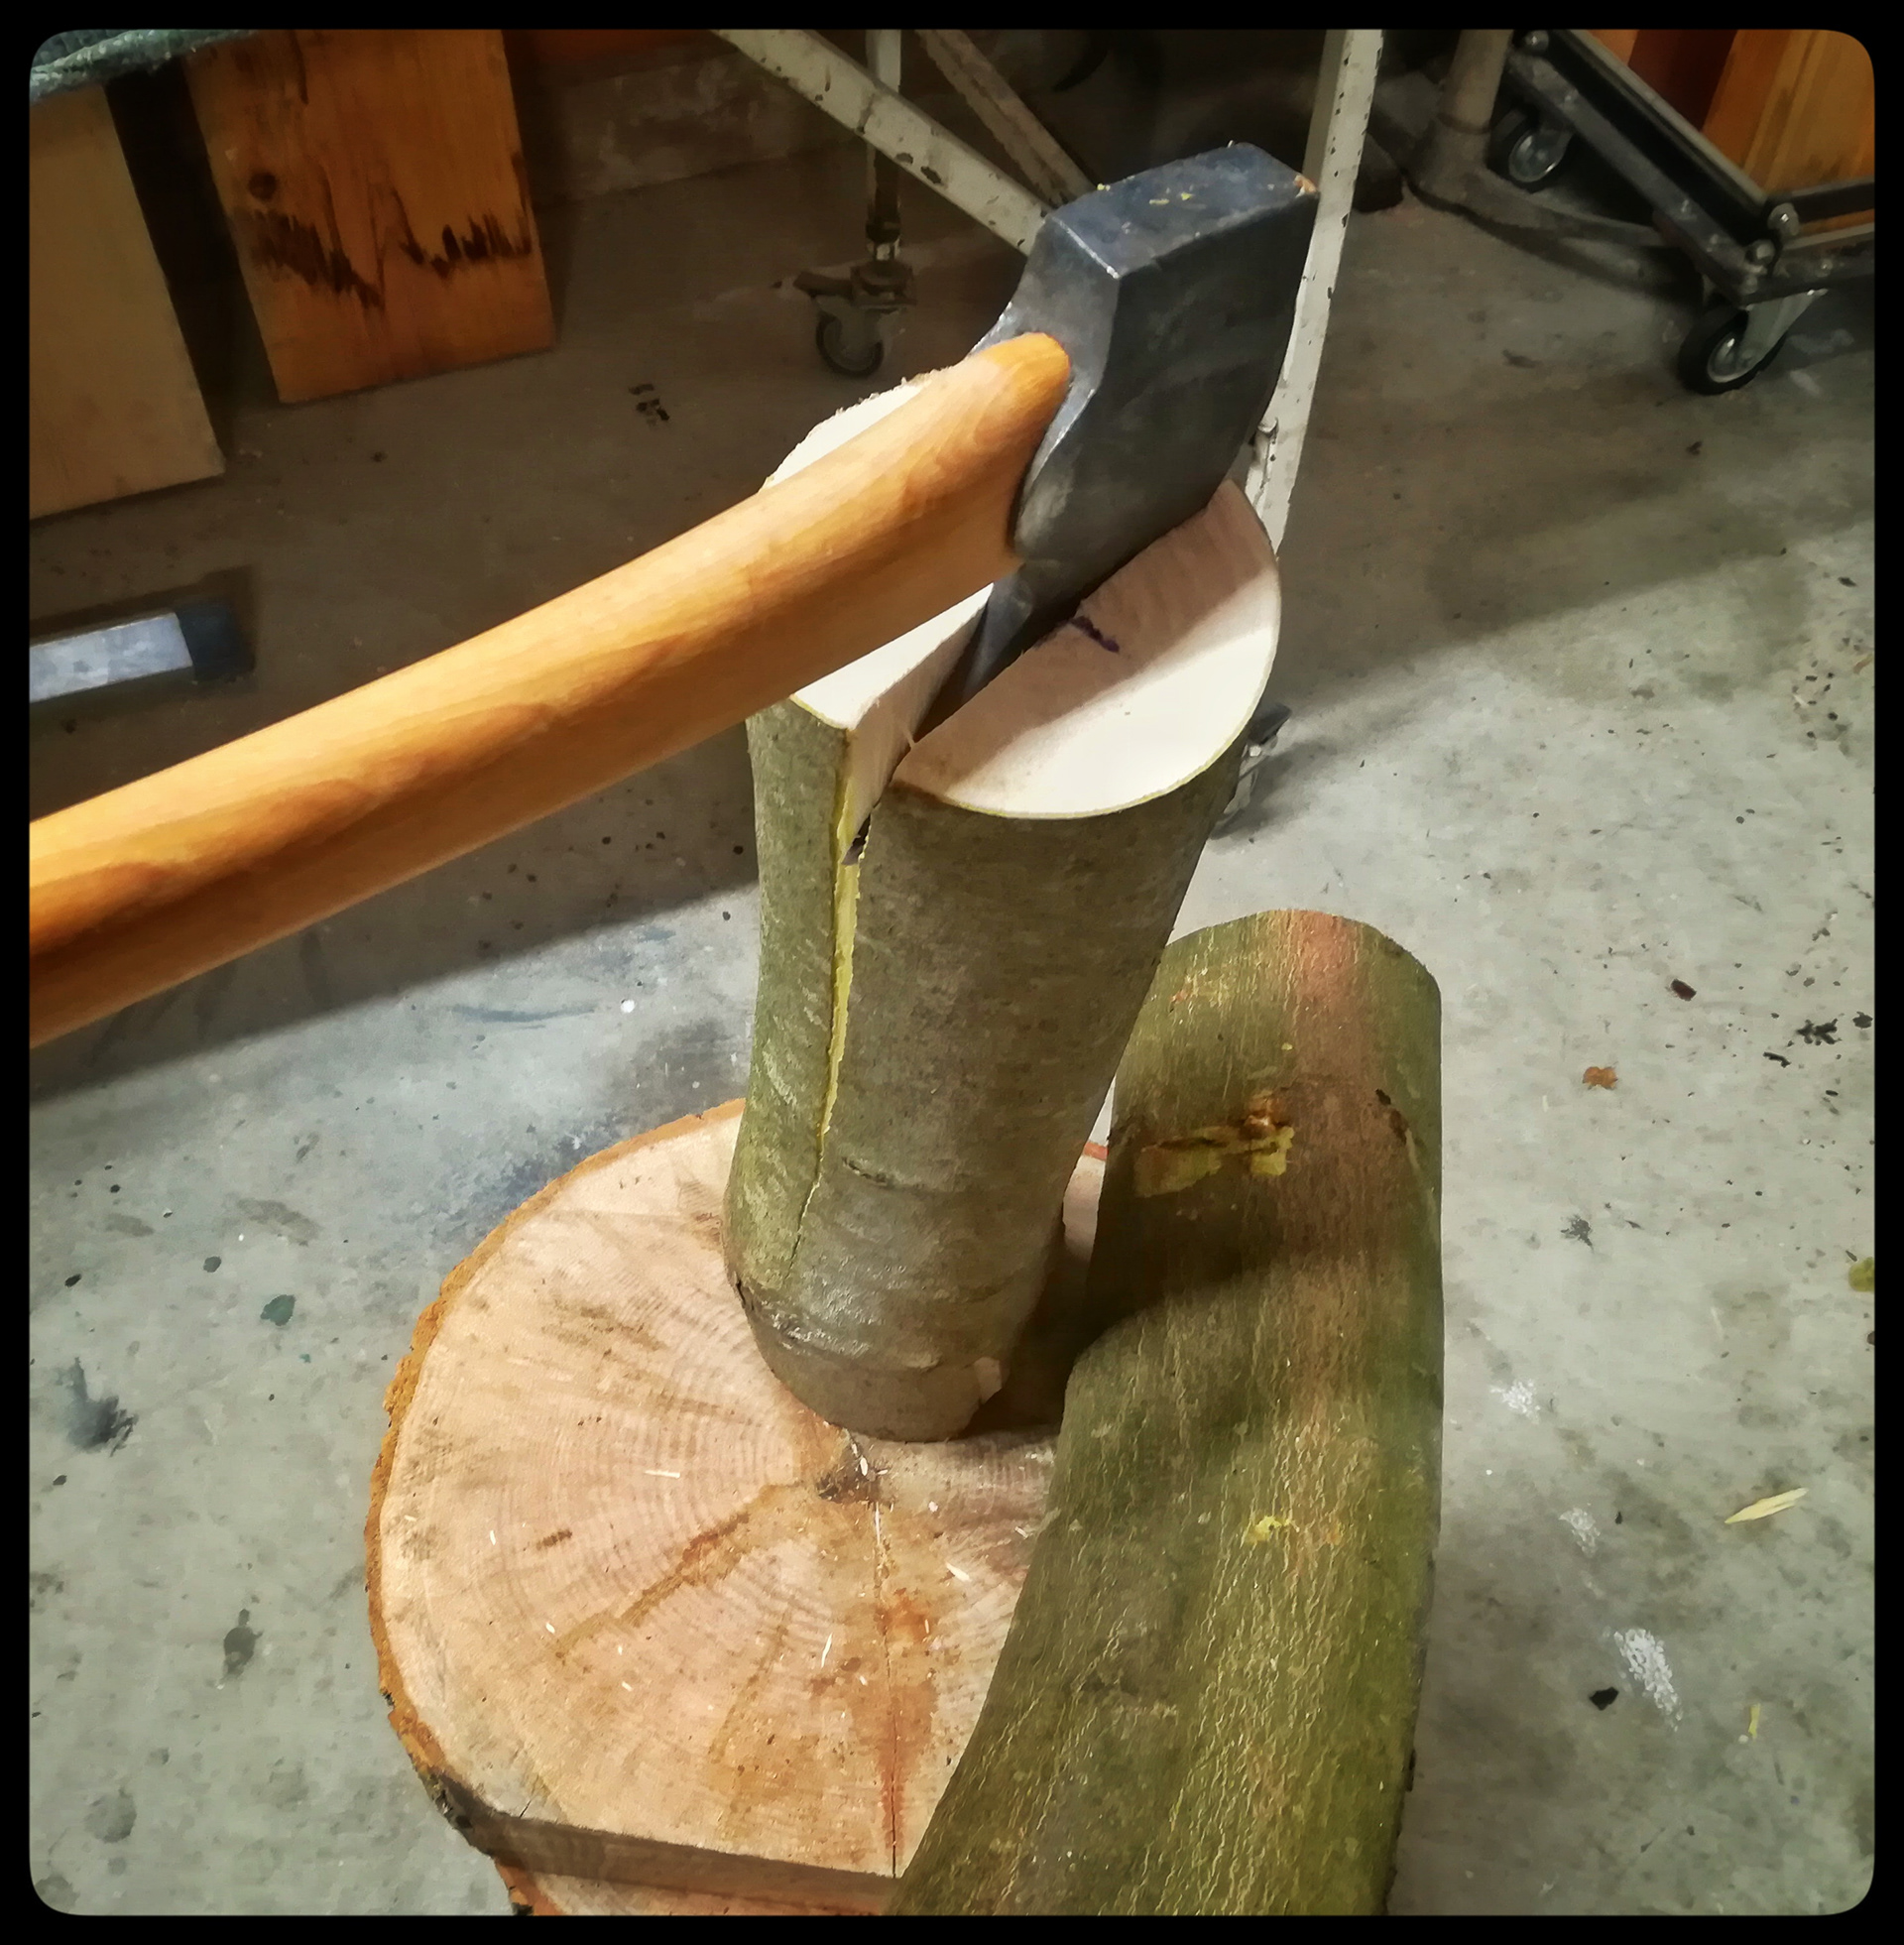
The 2 photos above show 2 ways to open up a small billet or log. I use both a bandsaw and my axe. Many people will say the axe is the correct way. I would say that is because they can't read the wood correctly or use a bandsaw. For me I use what ever suits me at the time and I will always get the correct result. I guess almost 50+ yrs of working with wood and tools has taught me something.

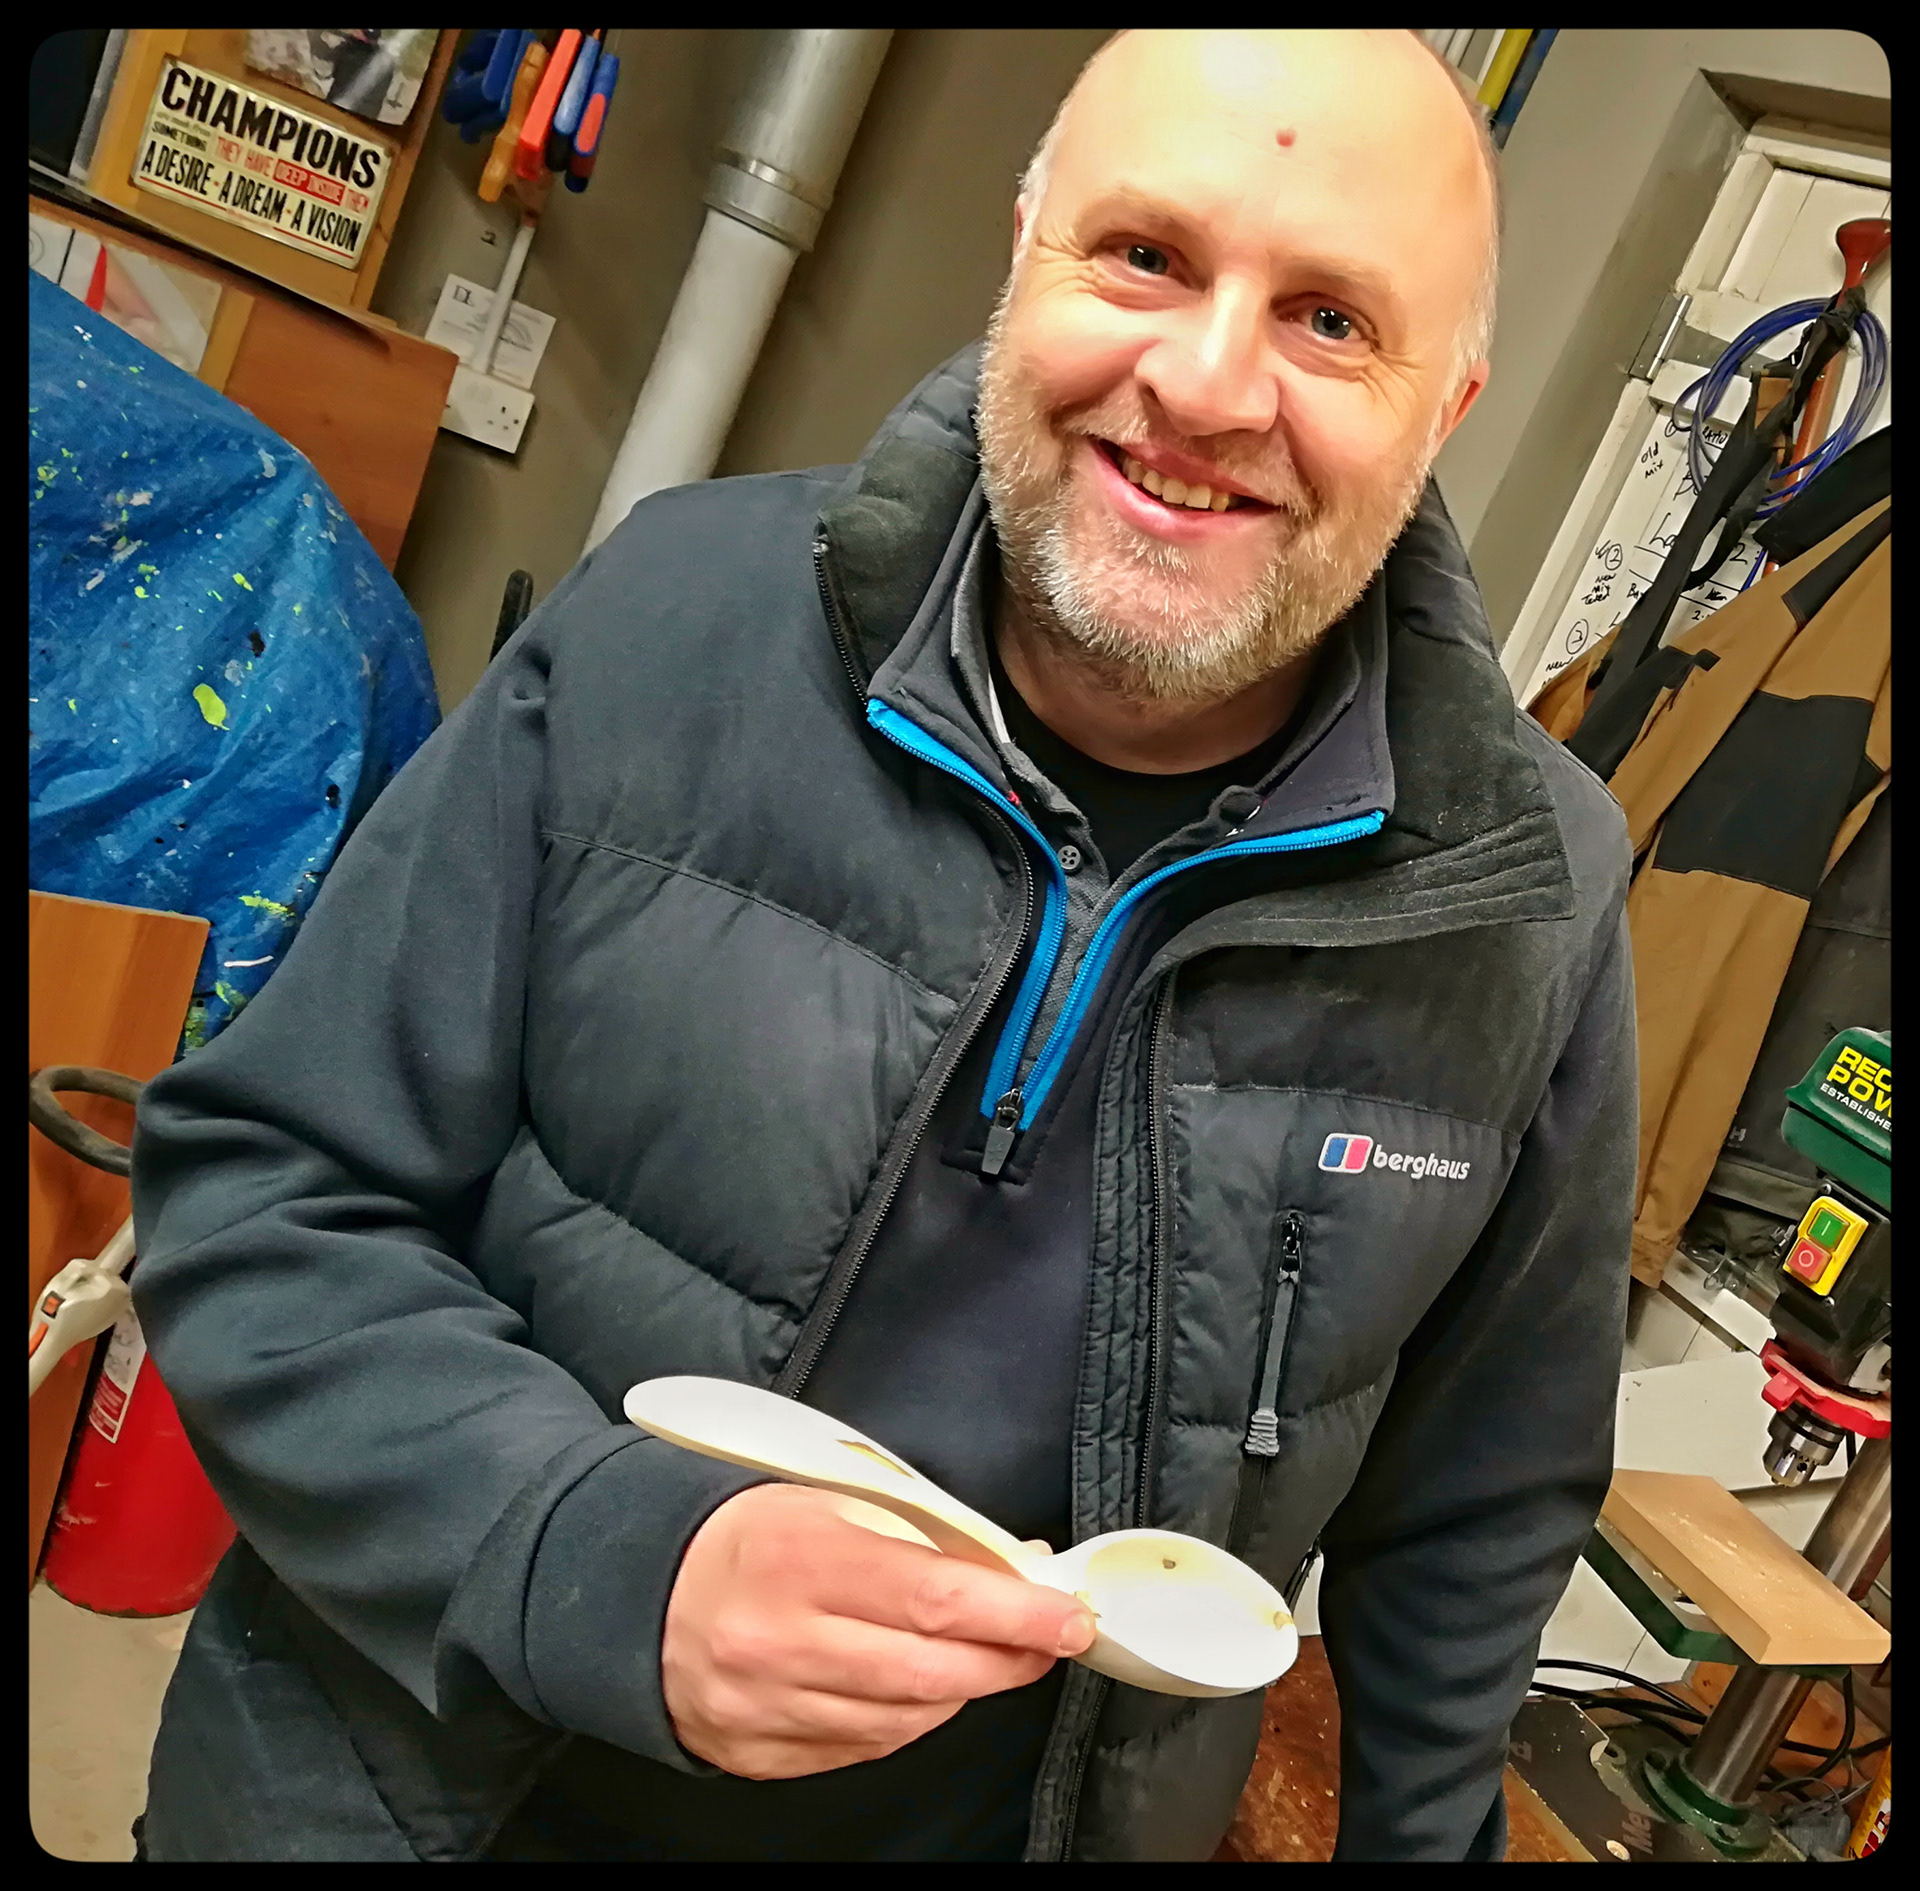
Below is Paul who came to the workshop for a day to get away from his very busy life and to learn spoon carving as a way to relax when not working from his home. I think his smiles say all that needs saying.