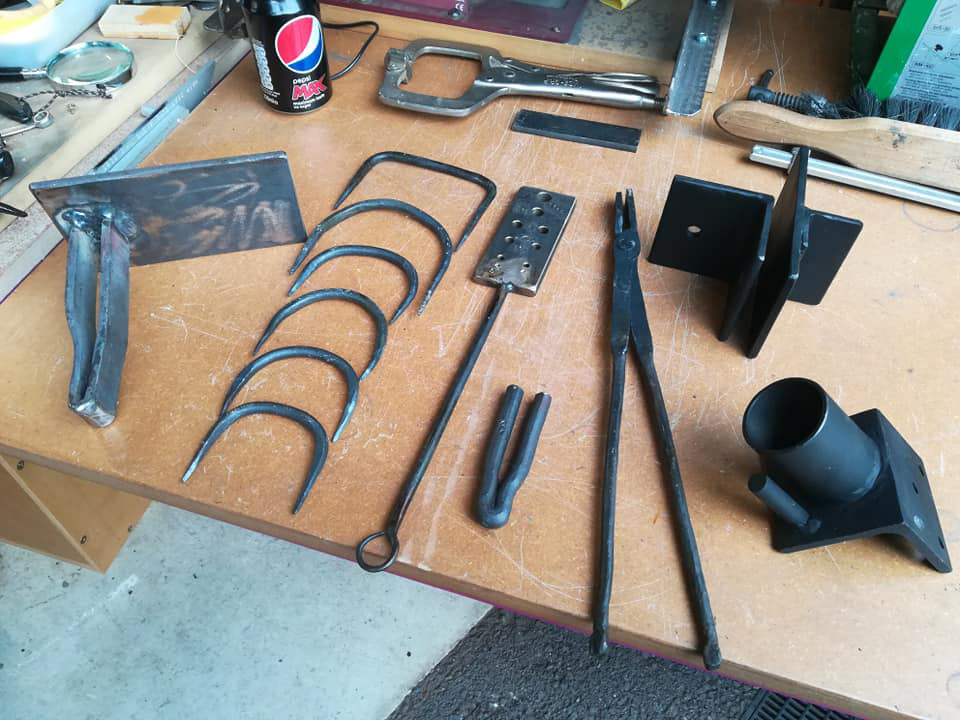
Every blacksmith shop needs a large range of tools; tongs, hammers, drifts, setting tools, etc, etc. This page shows some of the tools I am making to get my blacksmith shop updated. Each tool is a lesson in the techniques and skills a blacksmith uses. Never shy away from making a tool you need to do the job. Each job I plan, I start with, "what tools do I need for this job?" Then if required, I make those tools first. This way you learn new skills and tool up your shop for future work. Below I have made the following:
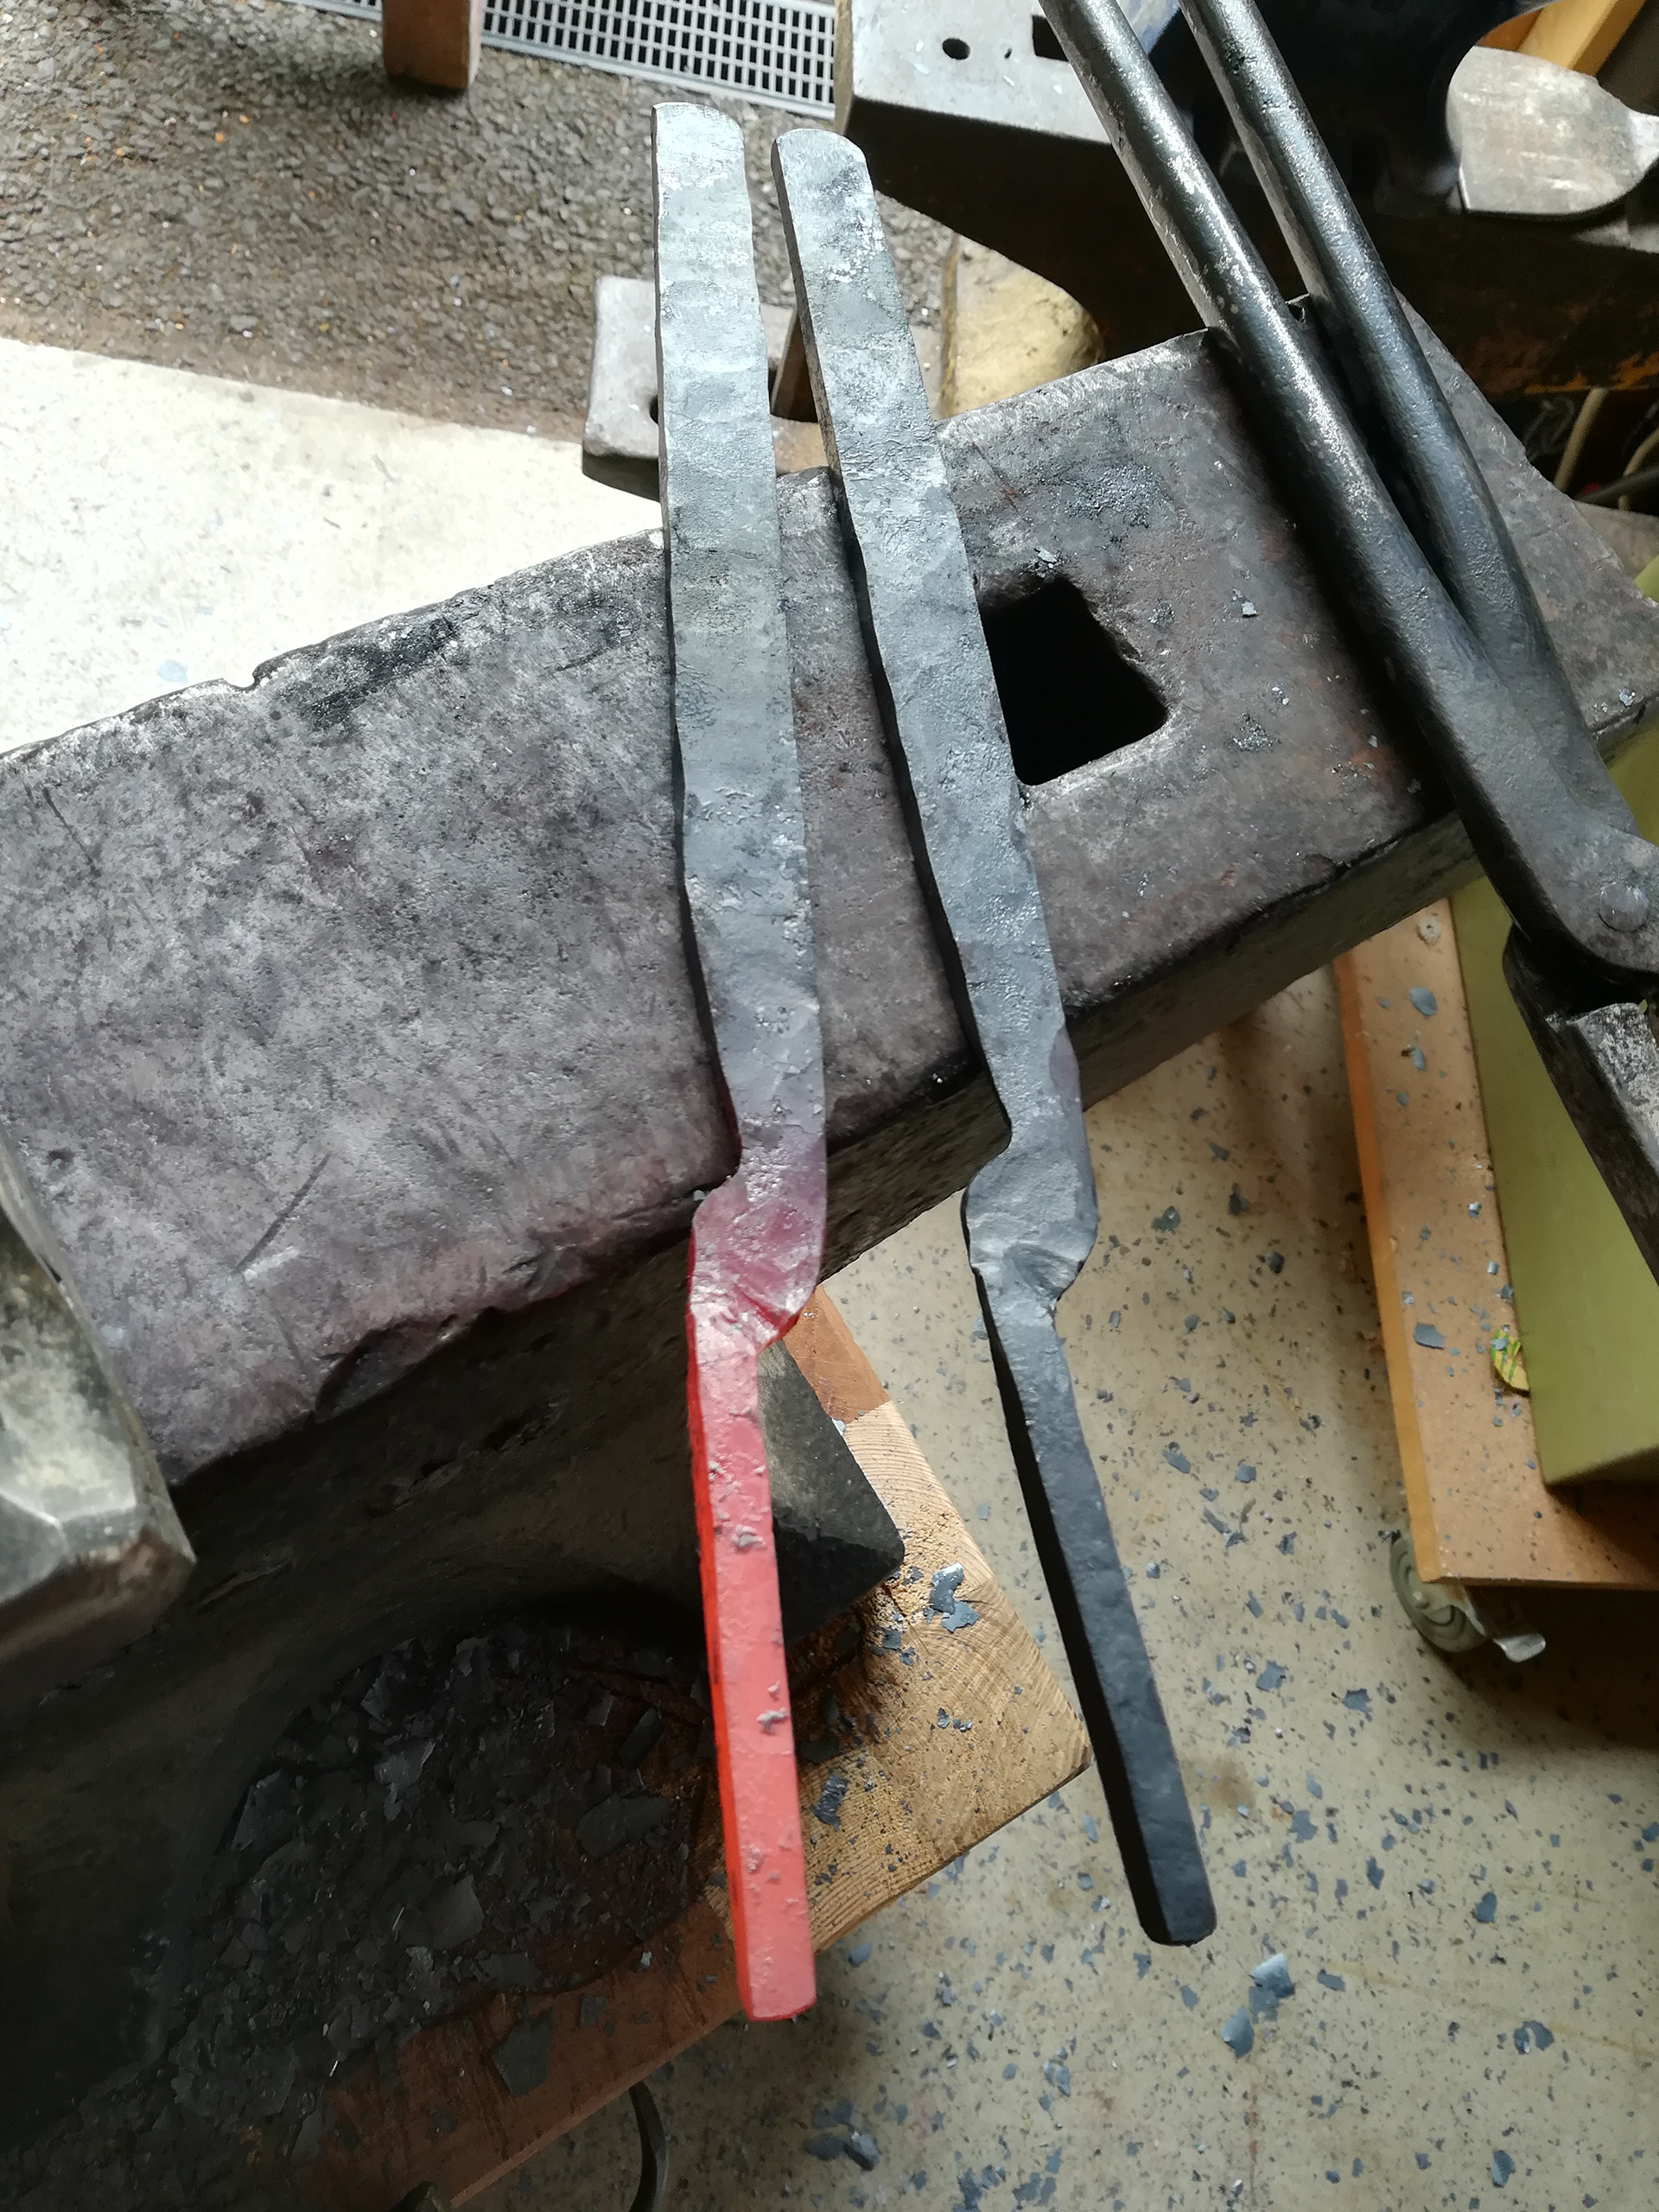
1. Drawing out the reins for my hammer tongs, setting the boss etc.
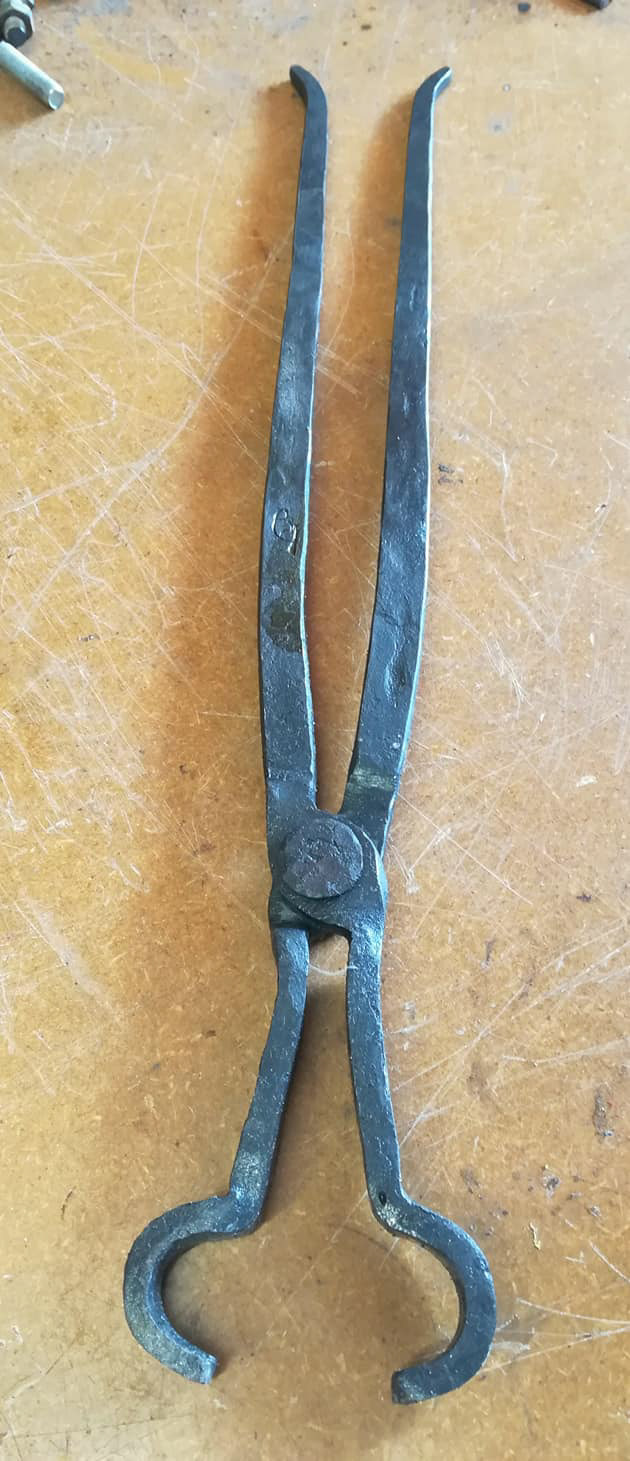
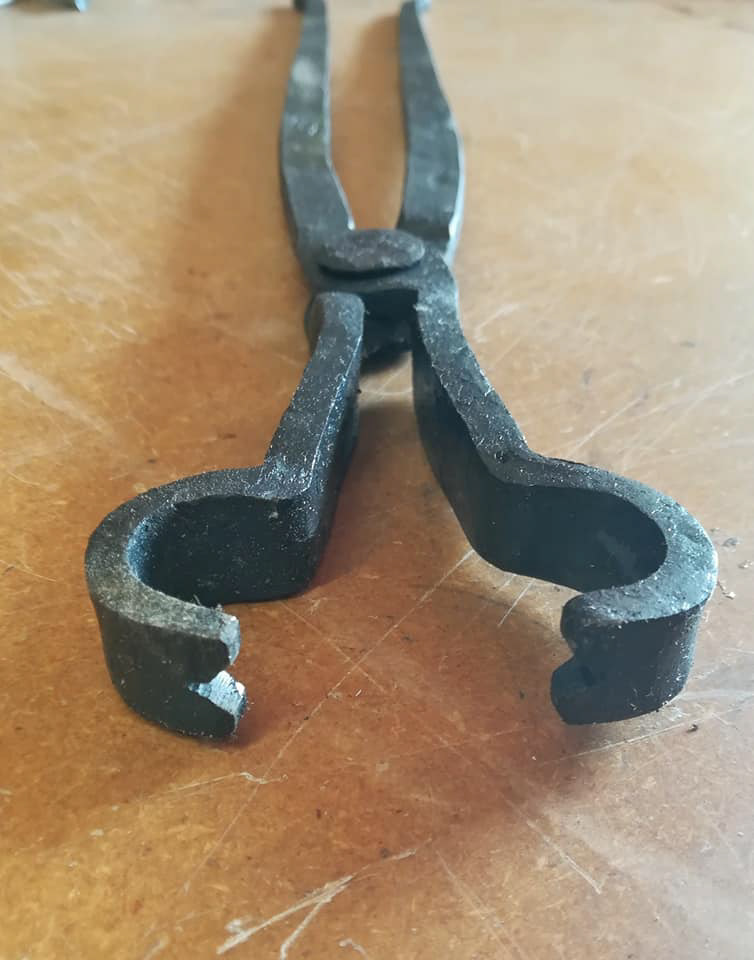
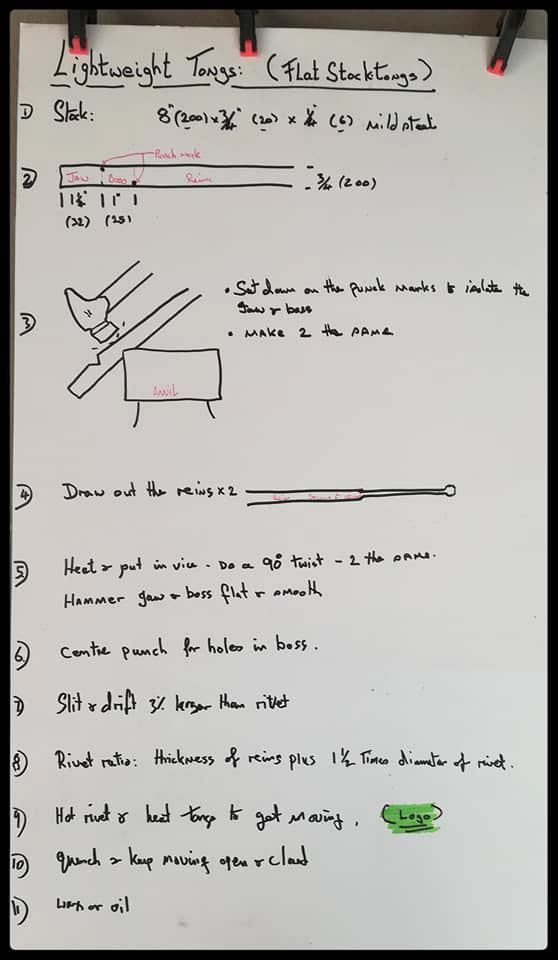
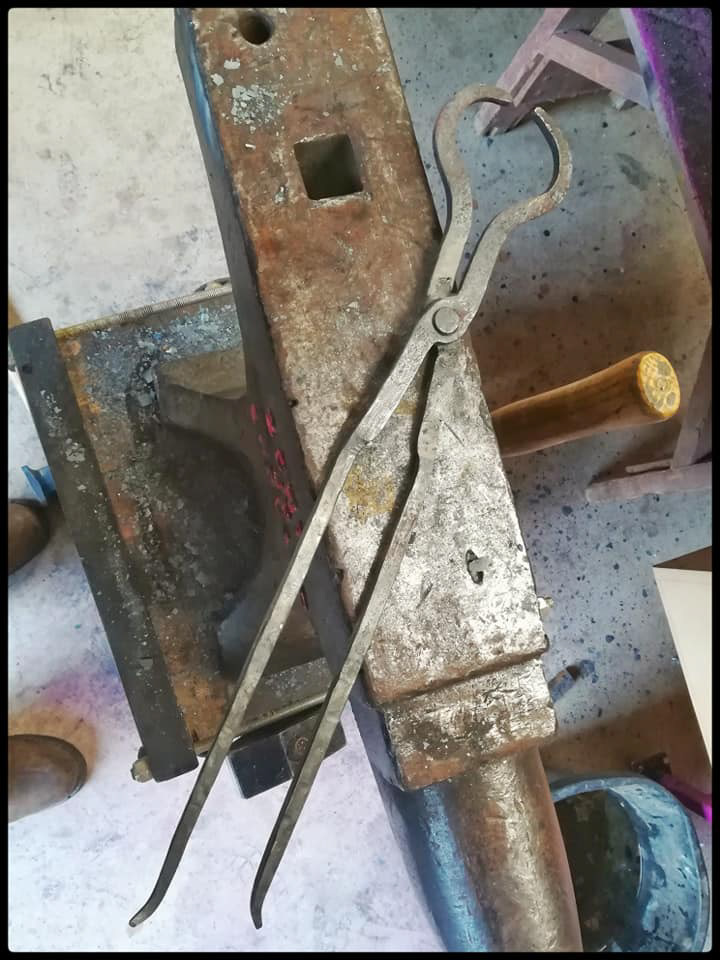
2. Simple general tongs. These are very light but I use them all the time.
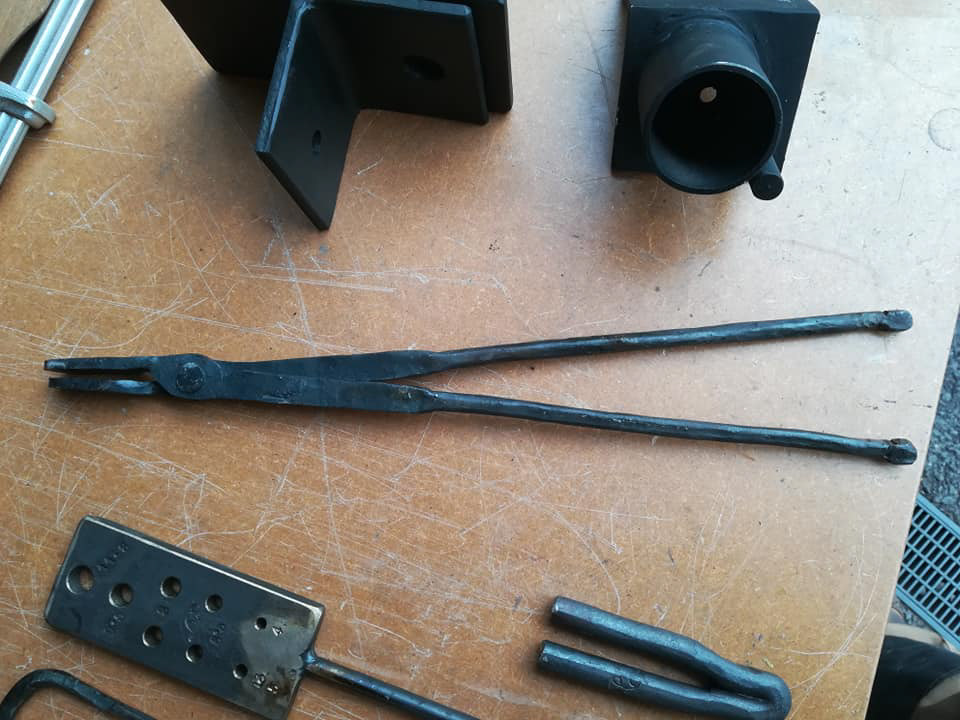
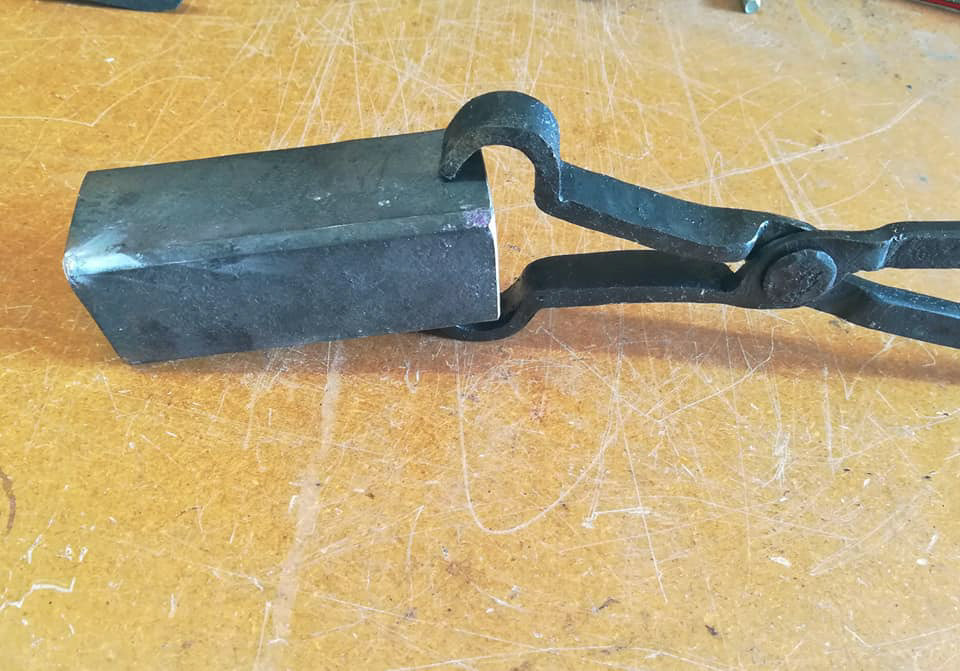
3. Next is hammer tong. I made these to pick up and manage the solid iron block I am going to make a hammer out of.
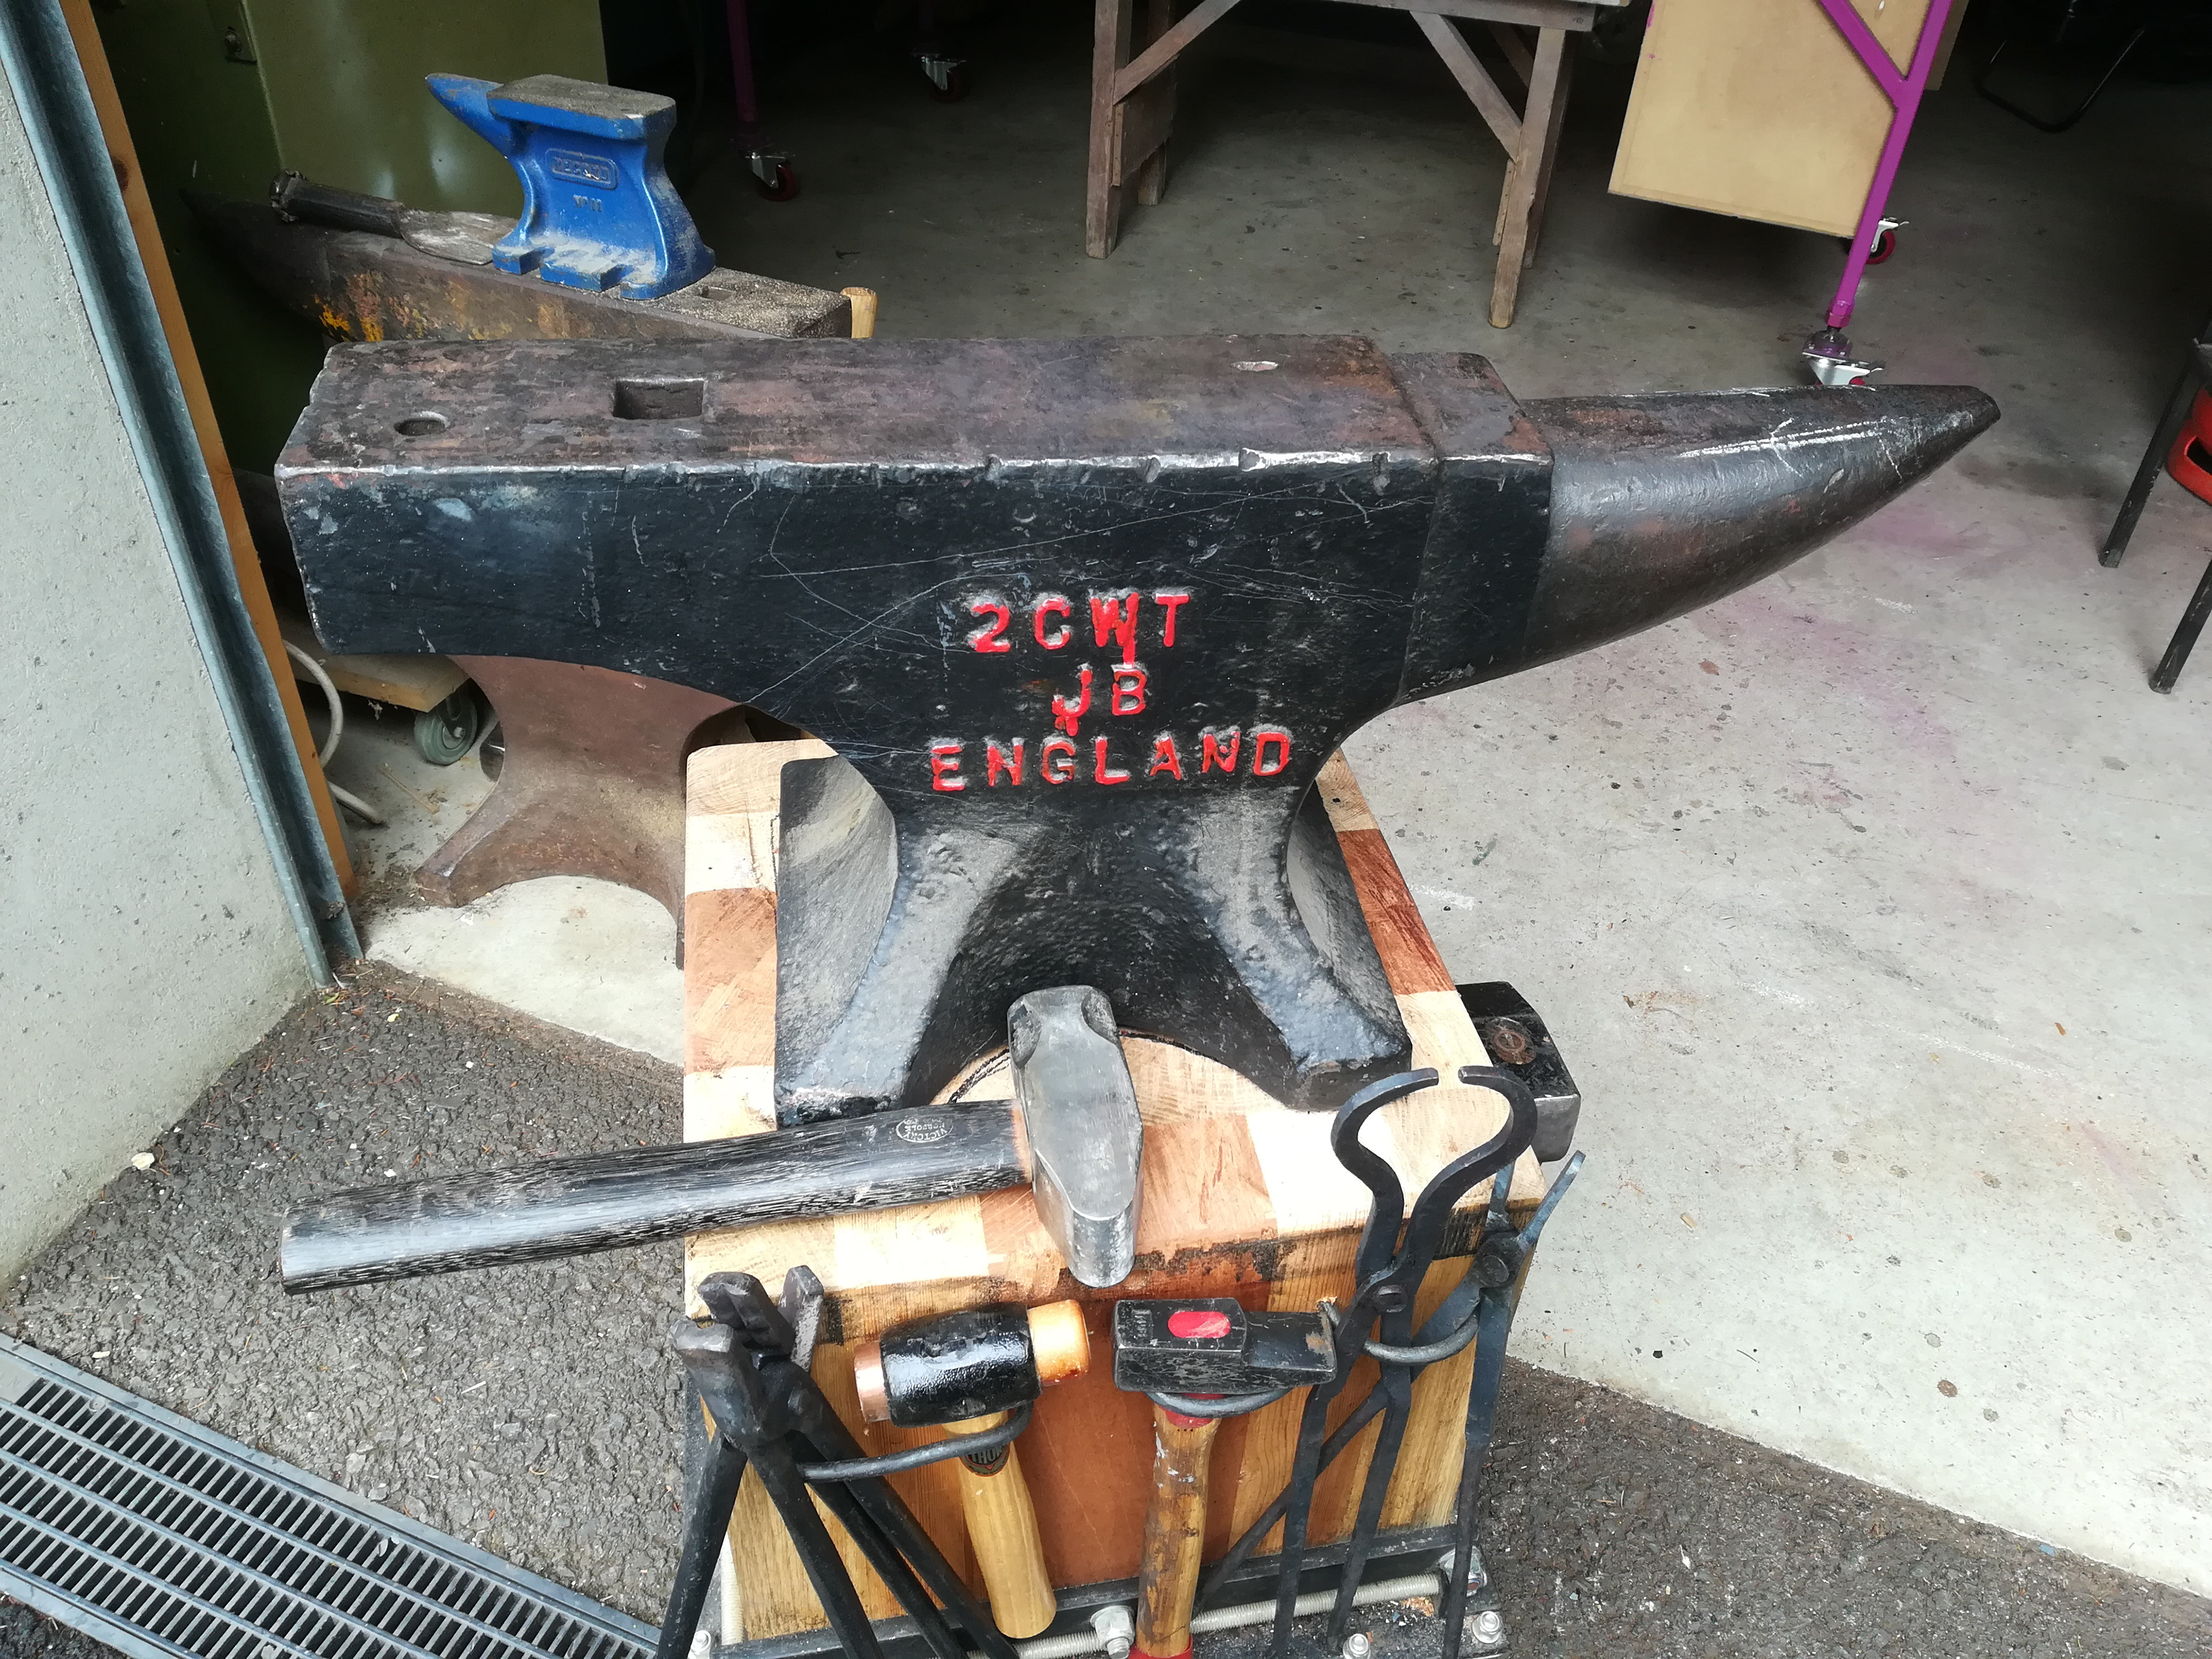
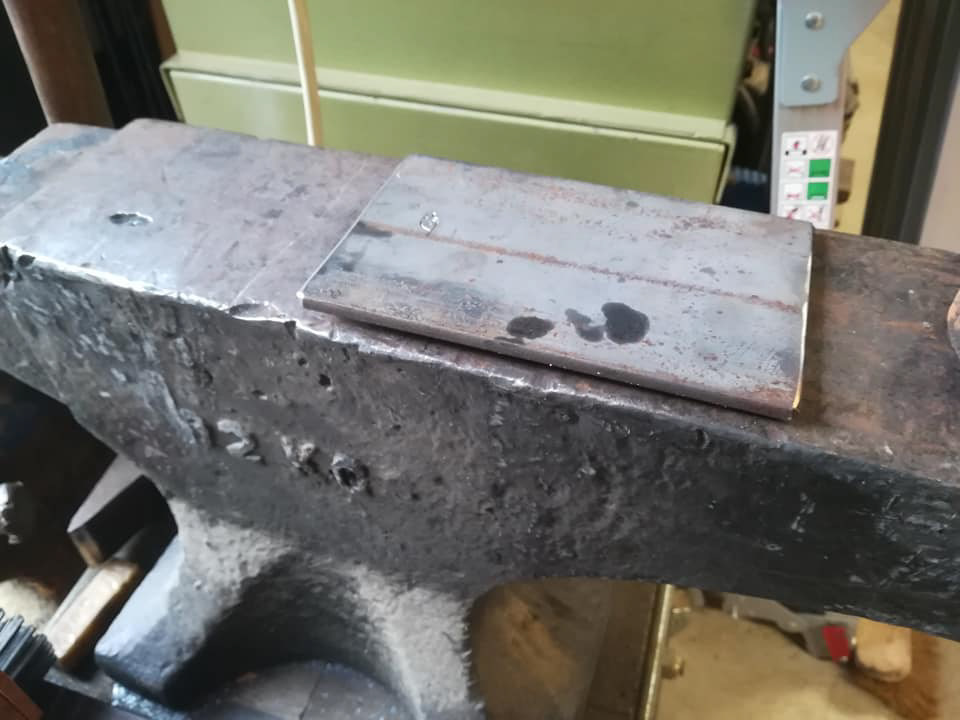
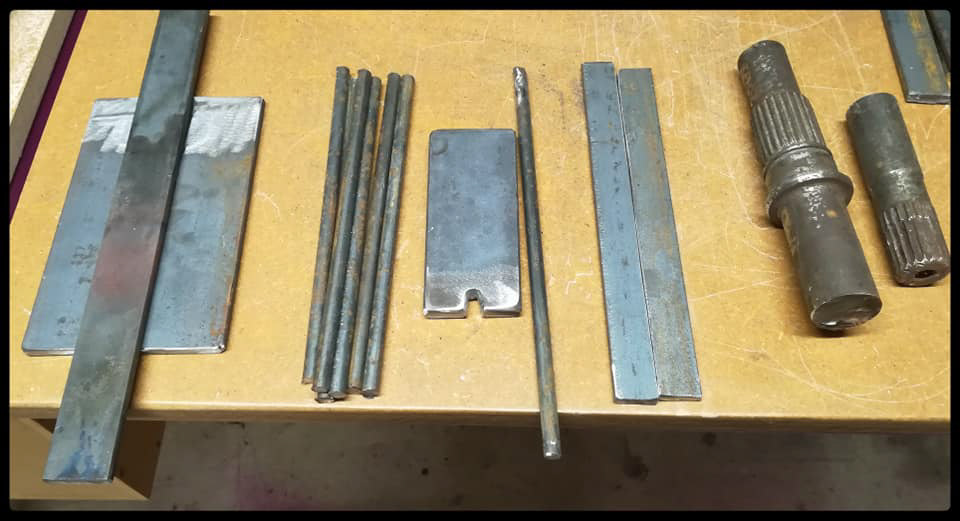
4. Next to protect my anvil face I fabricated a cutting plate. When cutting through steel with a chisel, the plate stops the anvil from being damaged.
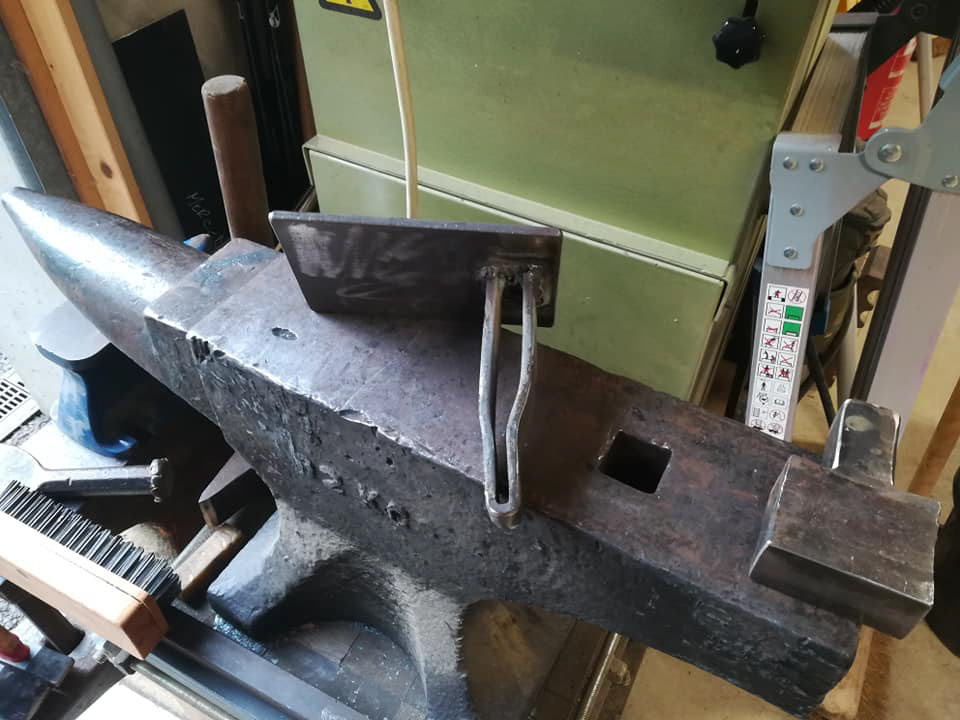
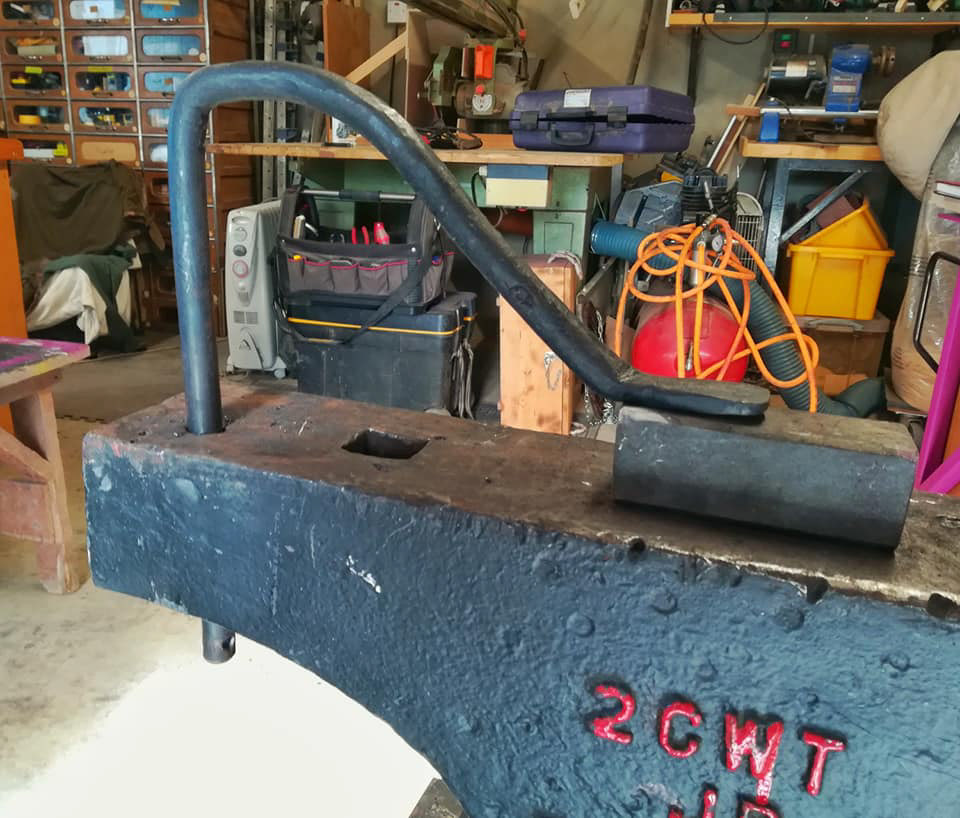
5. When working alone at the anvil, it is sometimes useful to have some way to hold down your work securely. The hold fast does this well. Tap it into the anvil's pritchel hole on the anvil and its lock down the work. Tap the side of it when finished, it releases immediately.
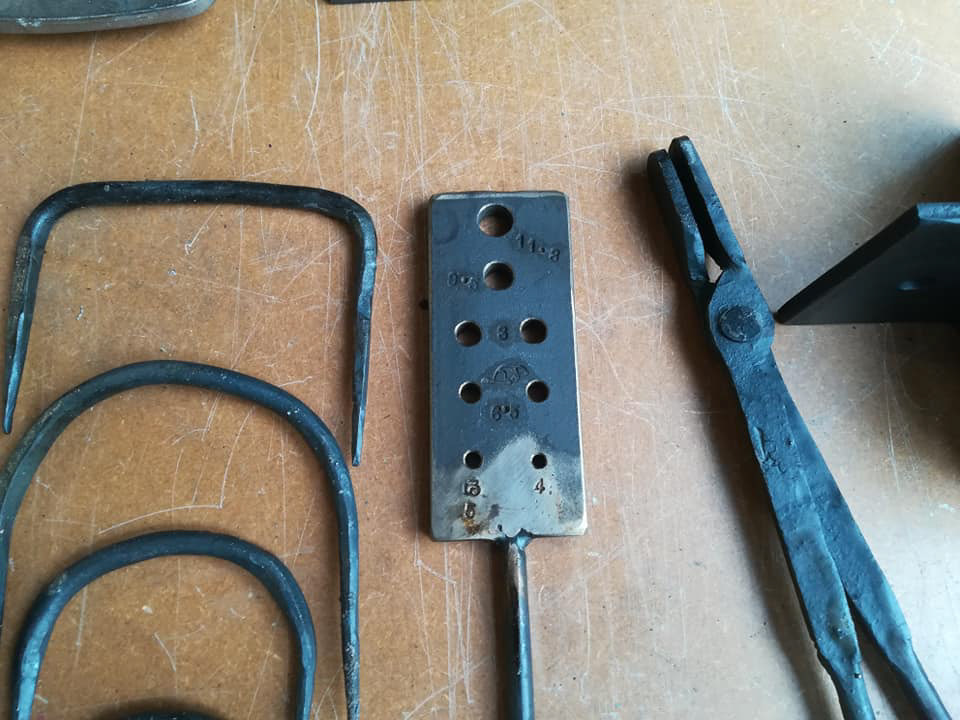
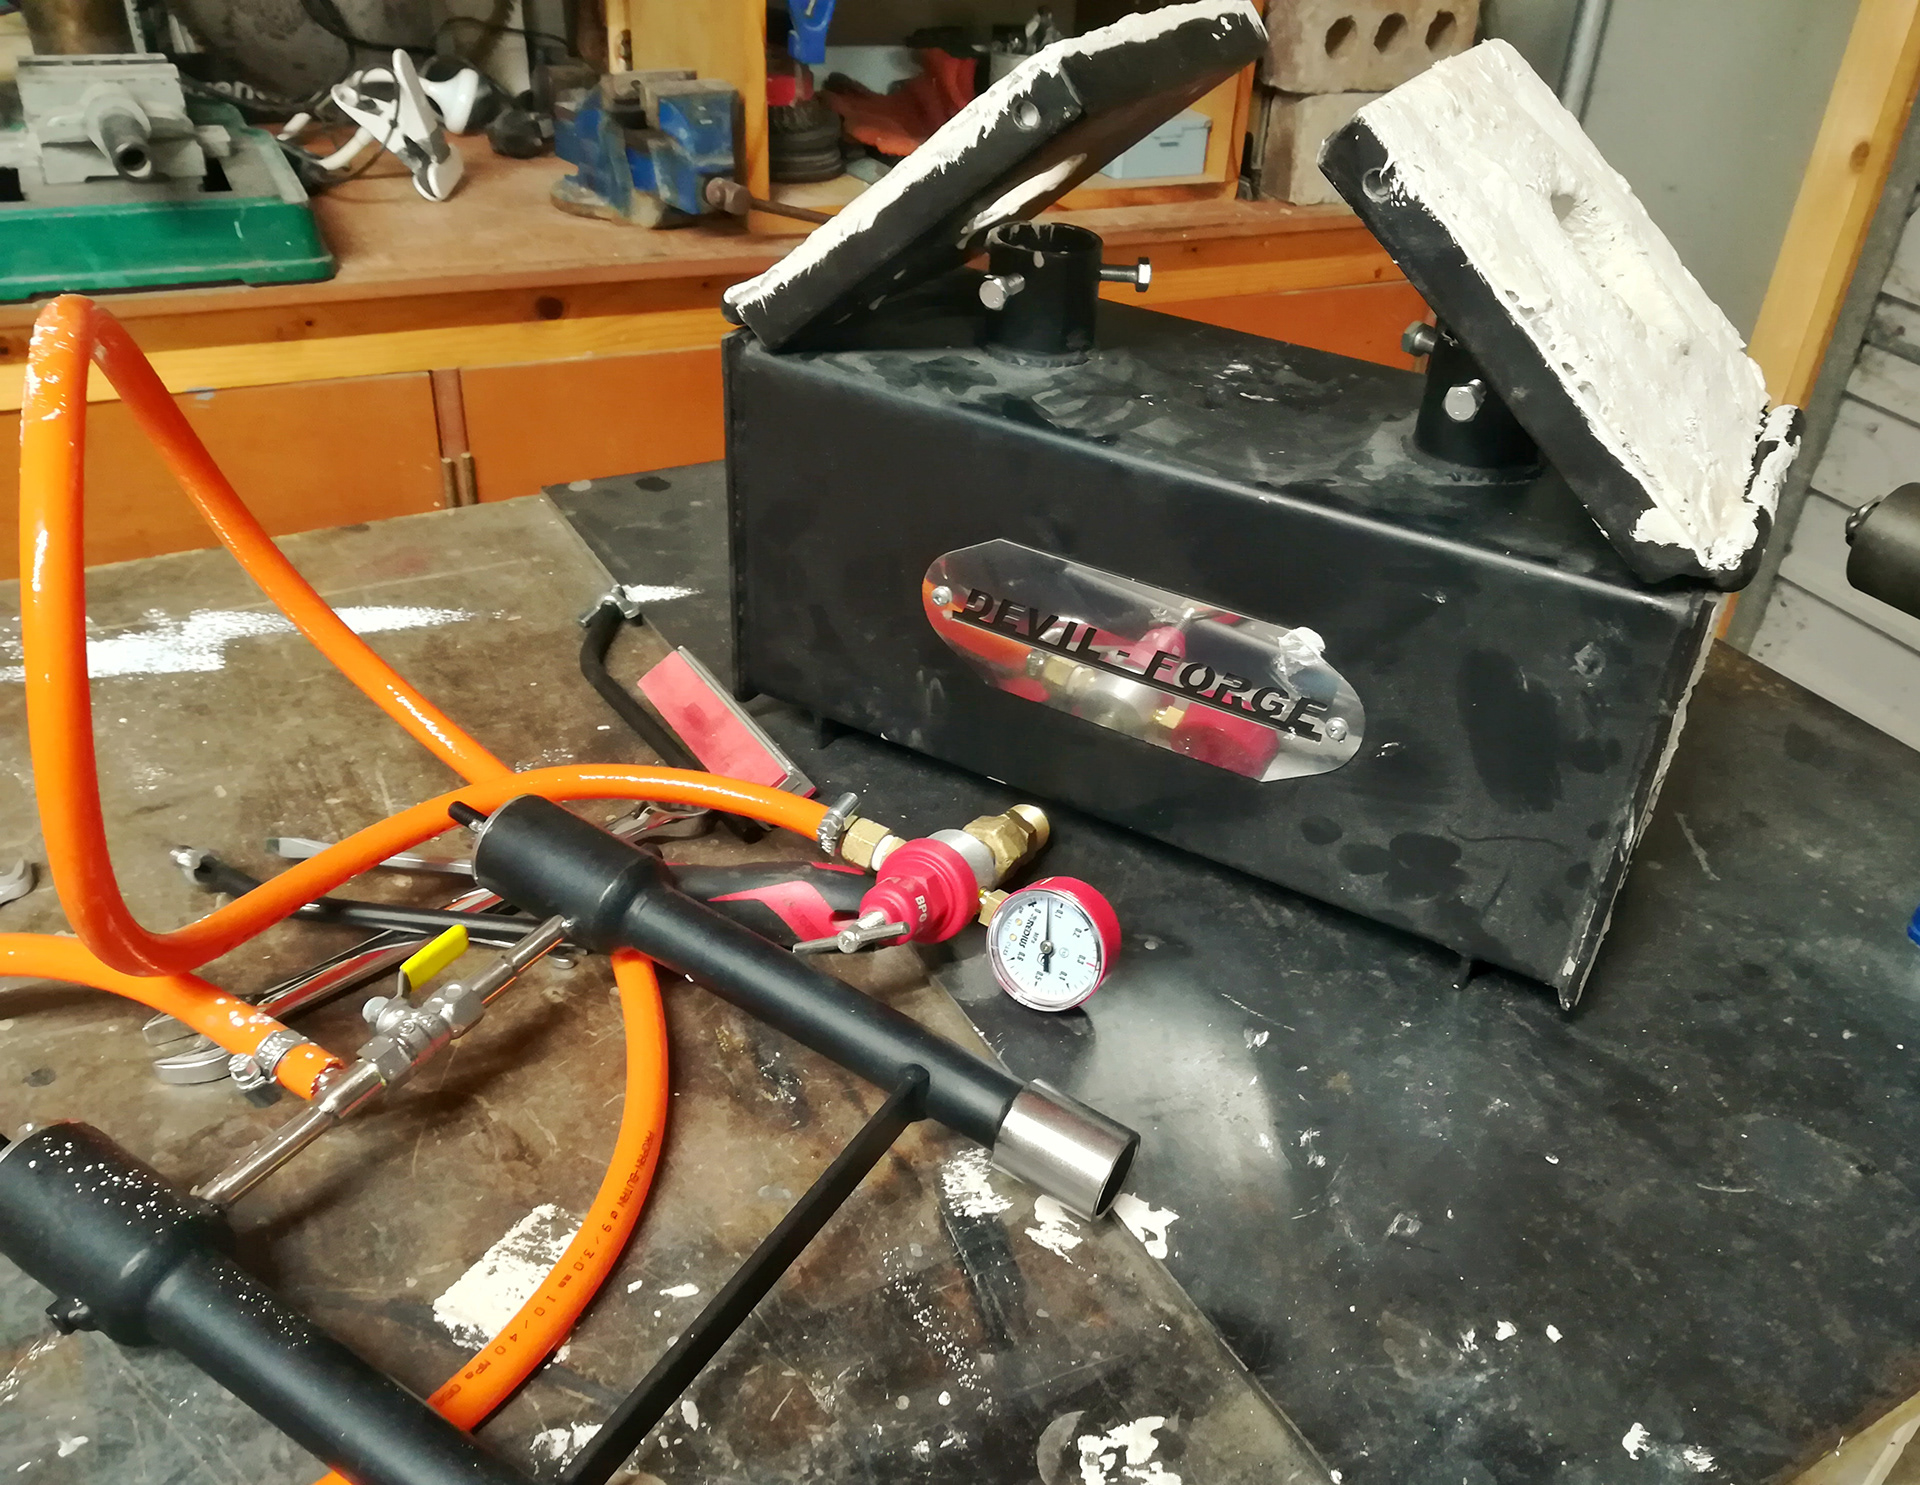
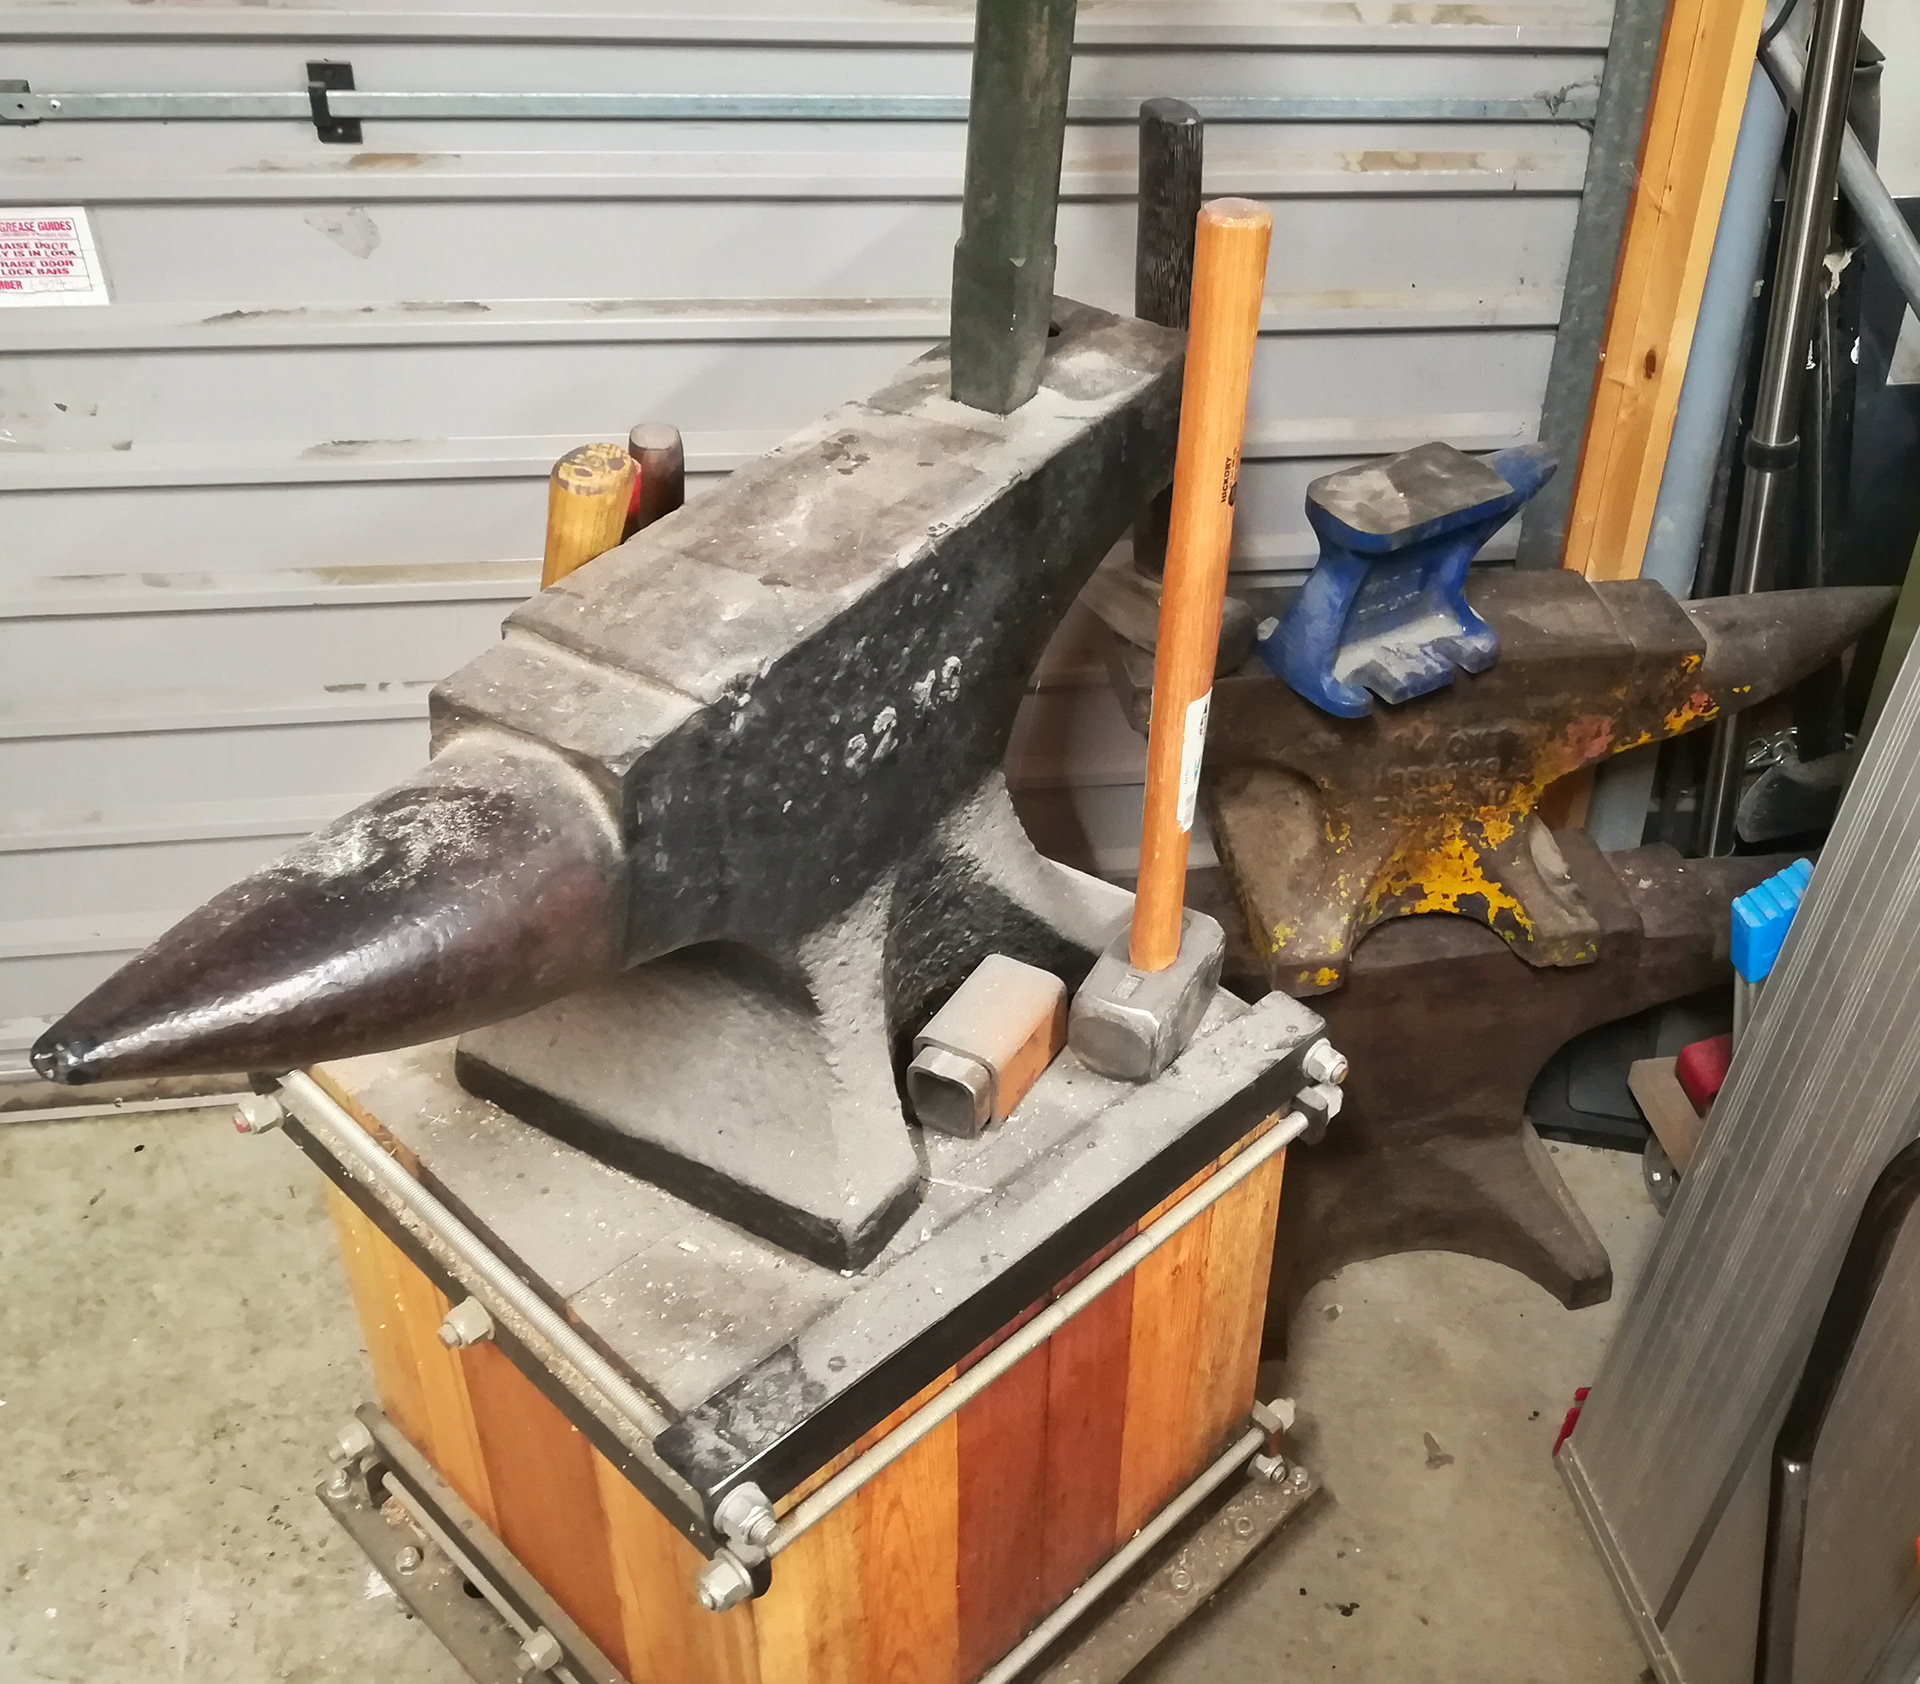
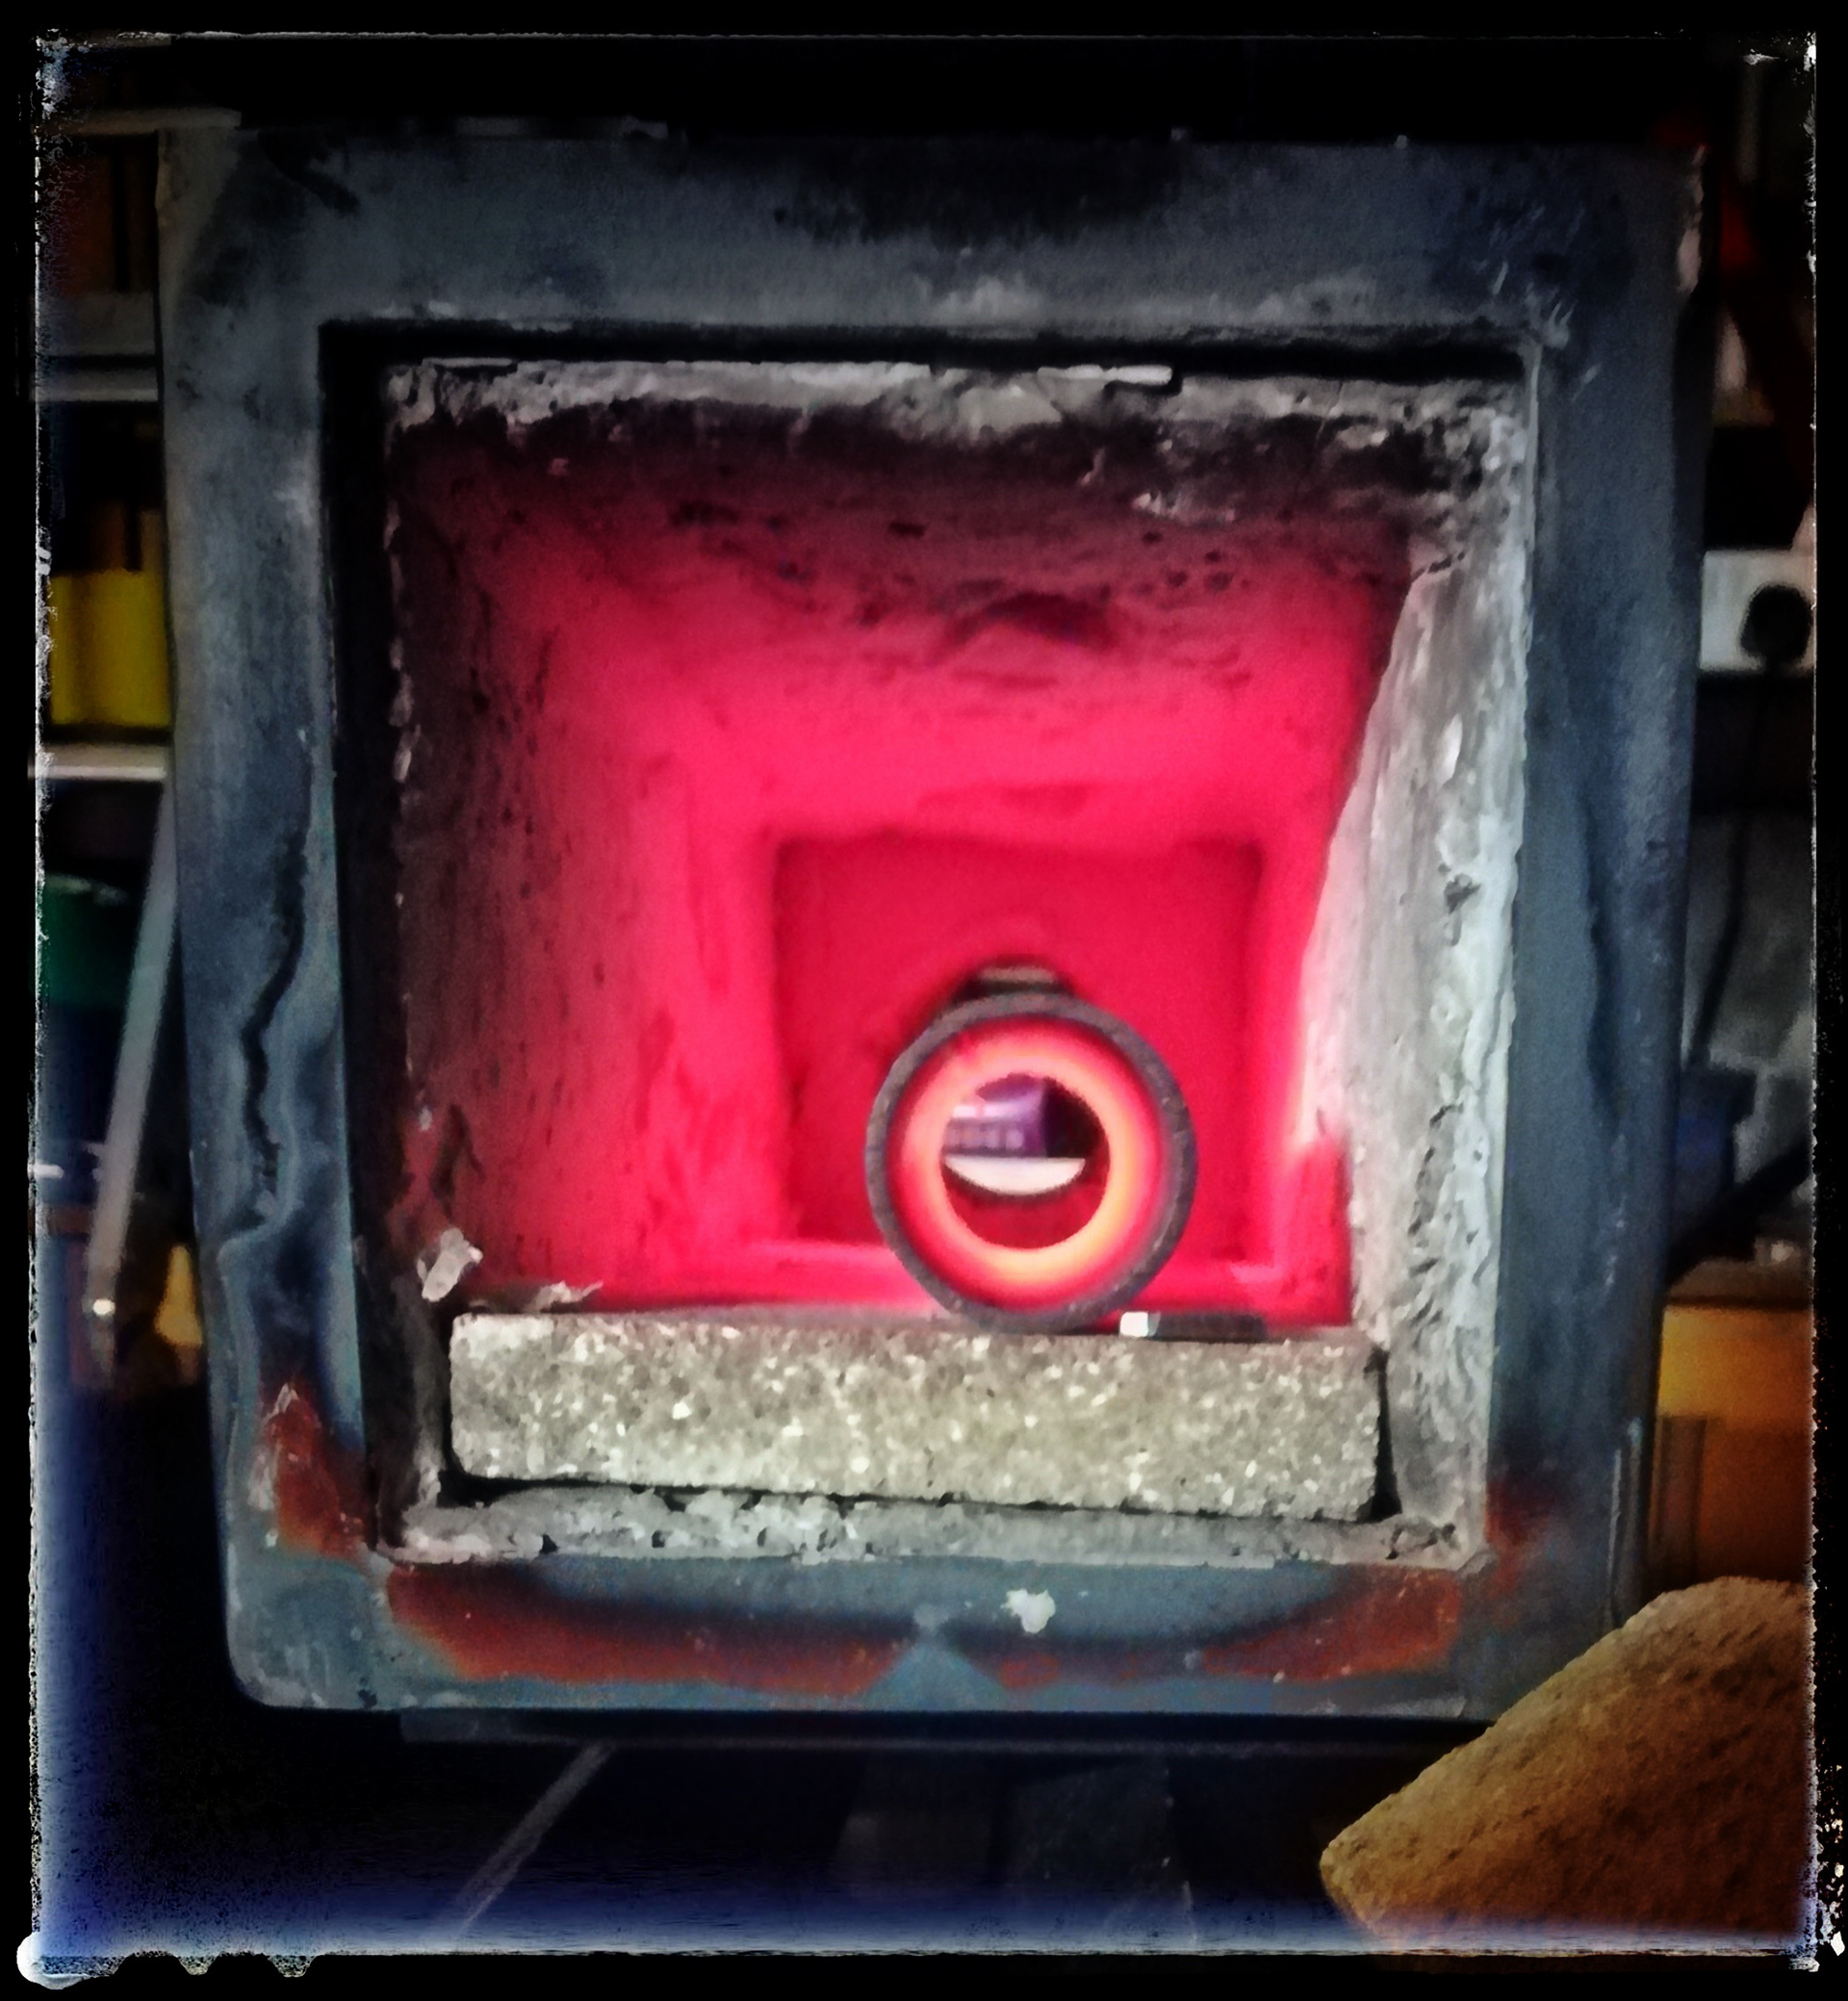
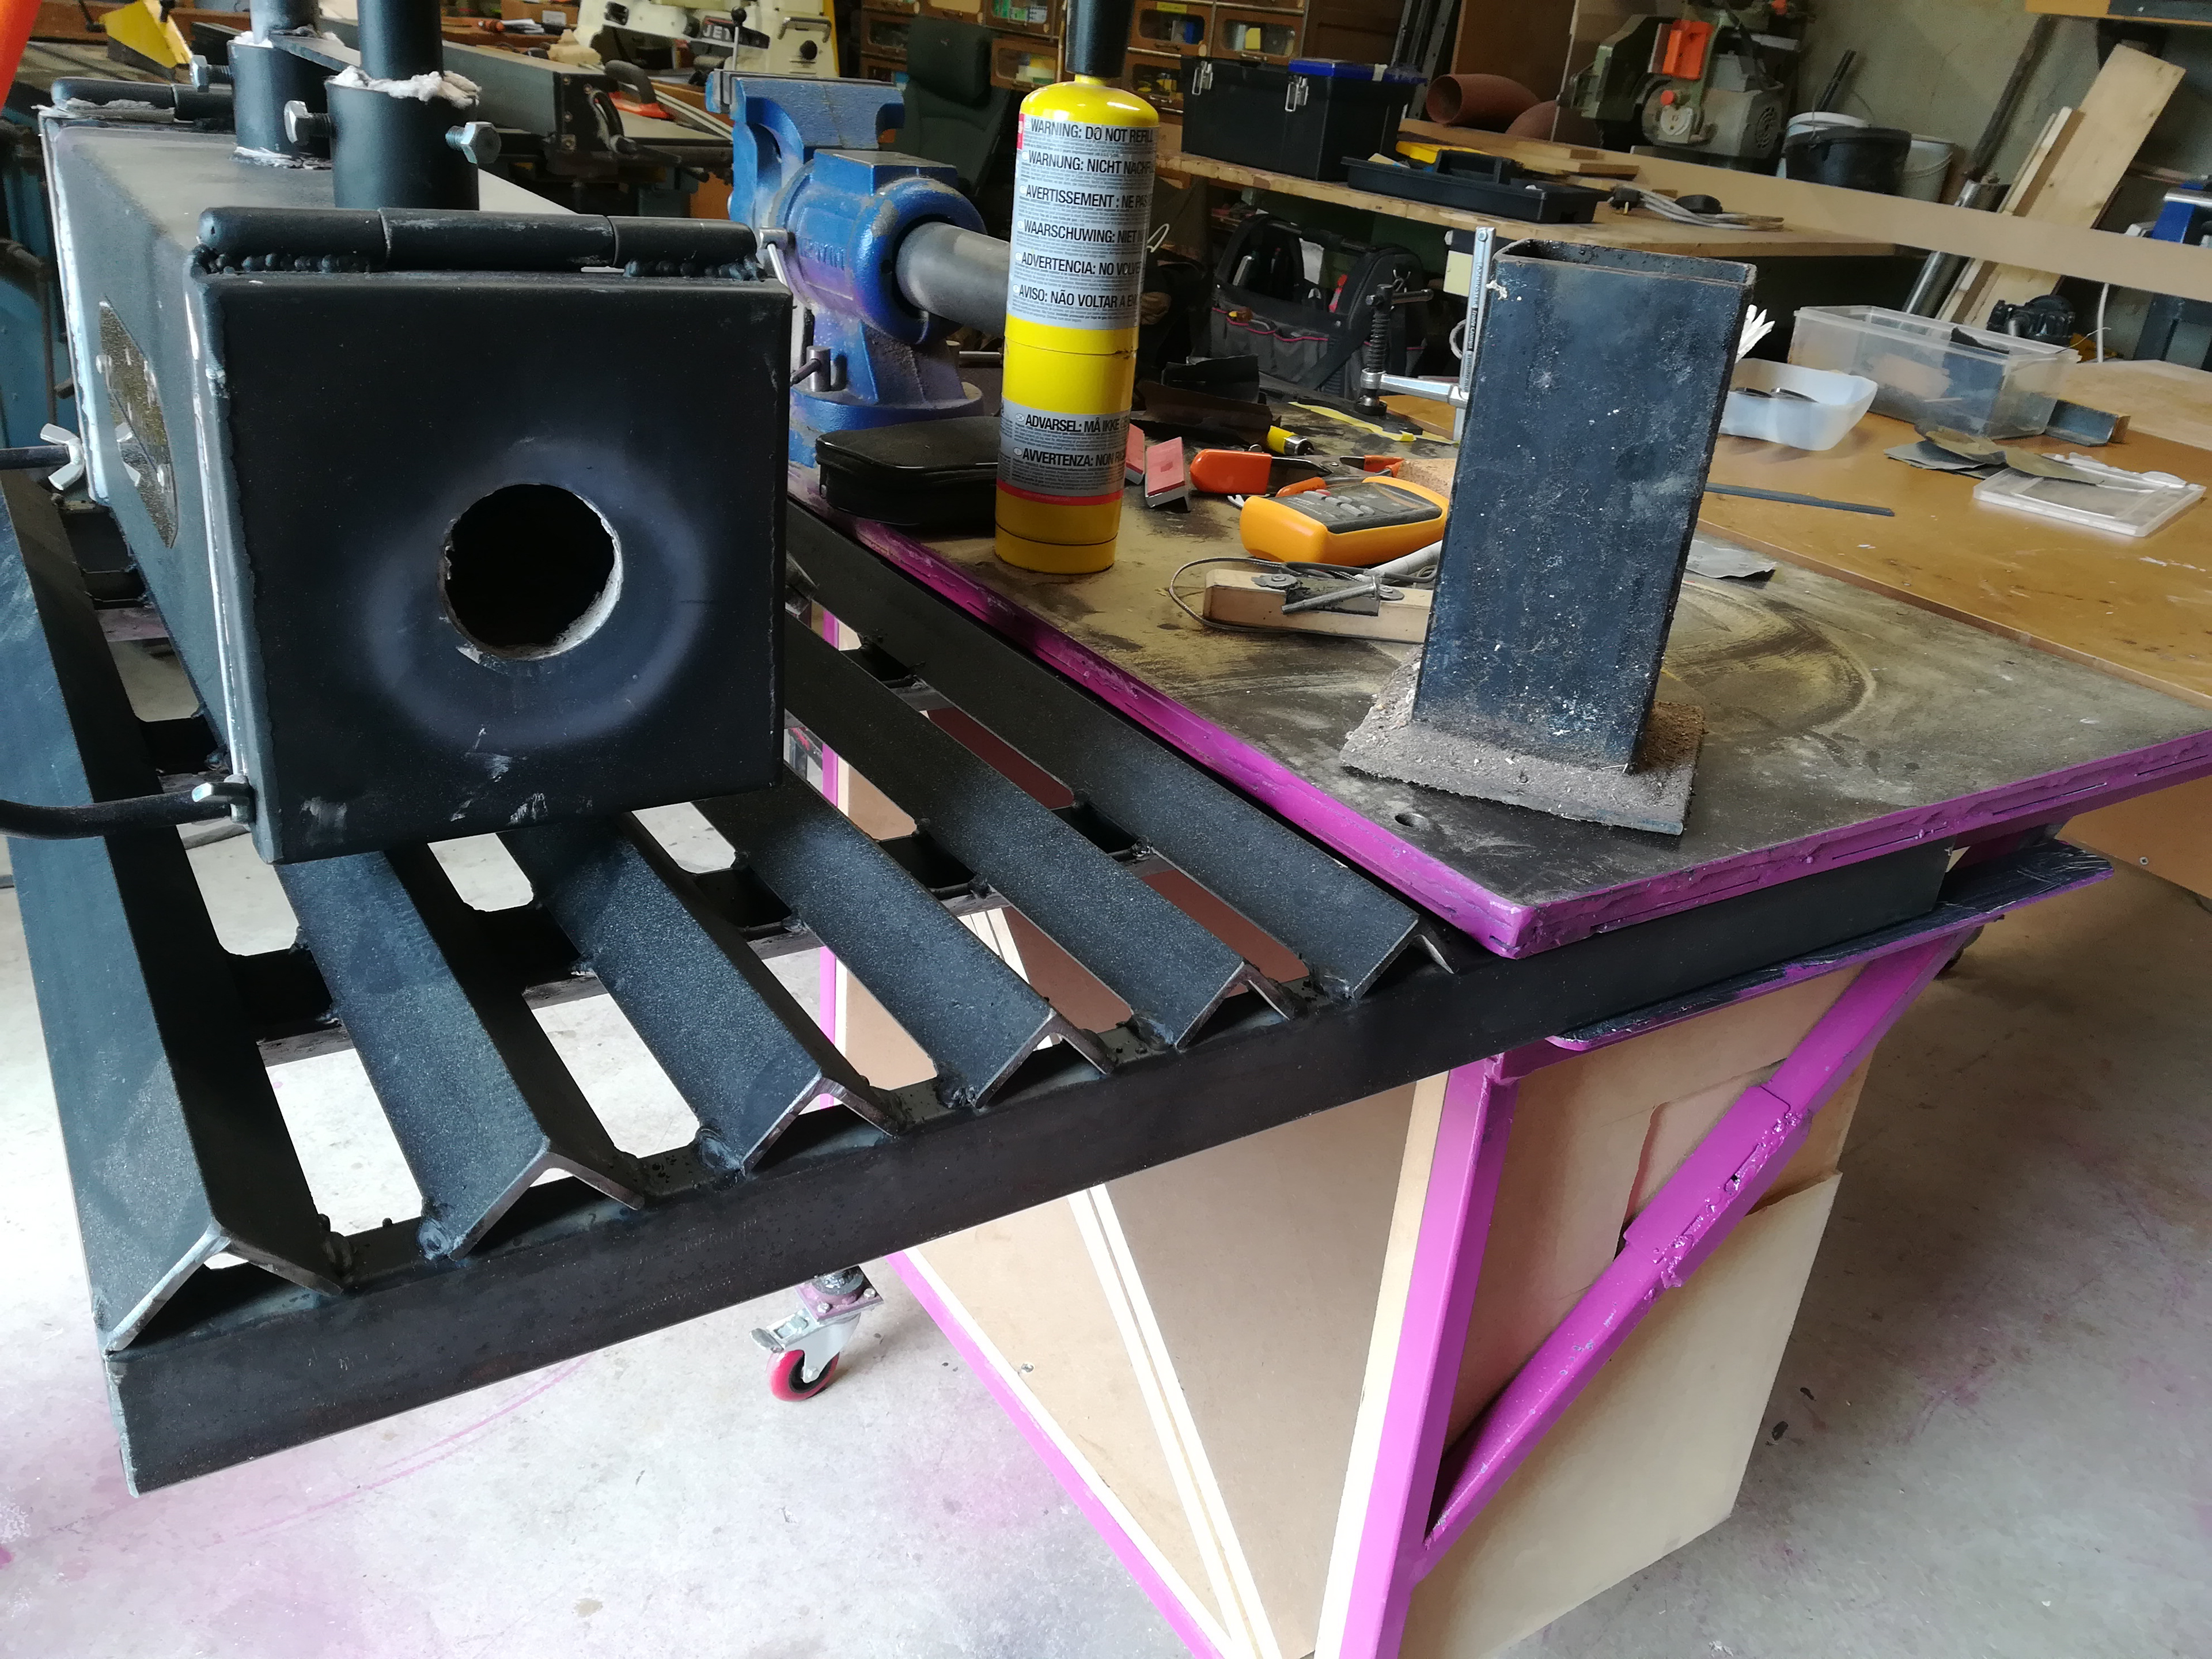
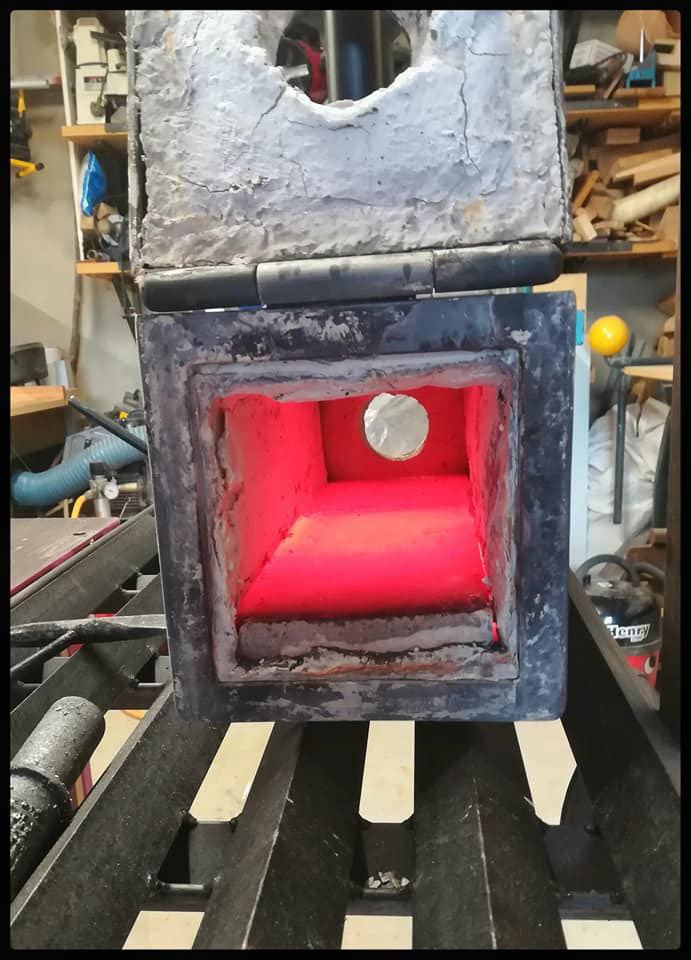
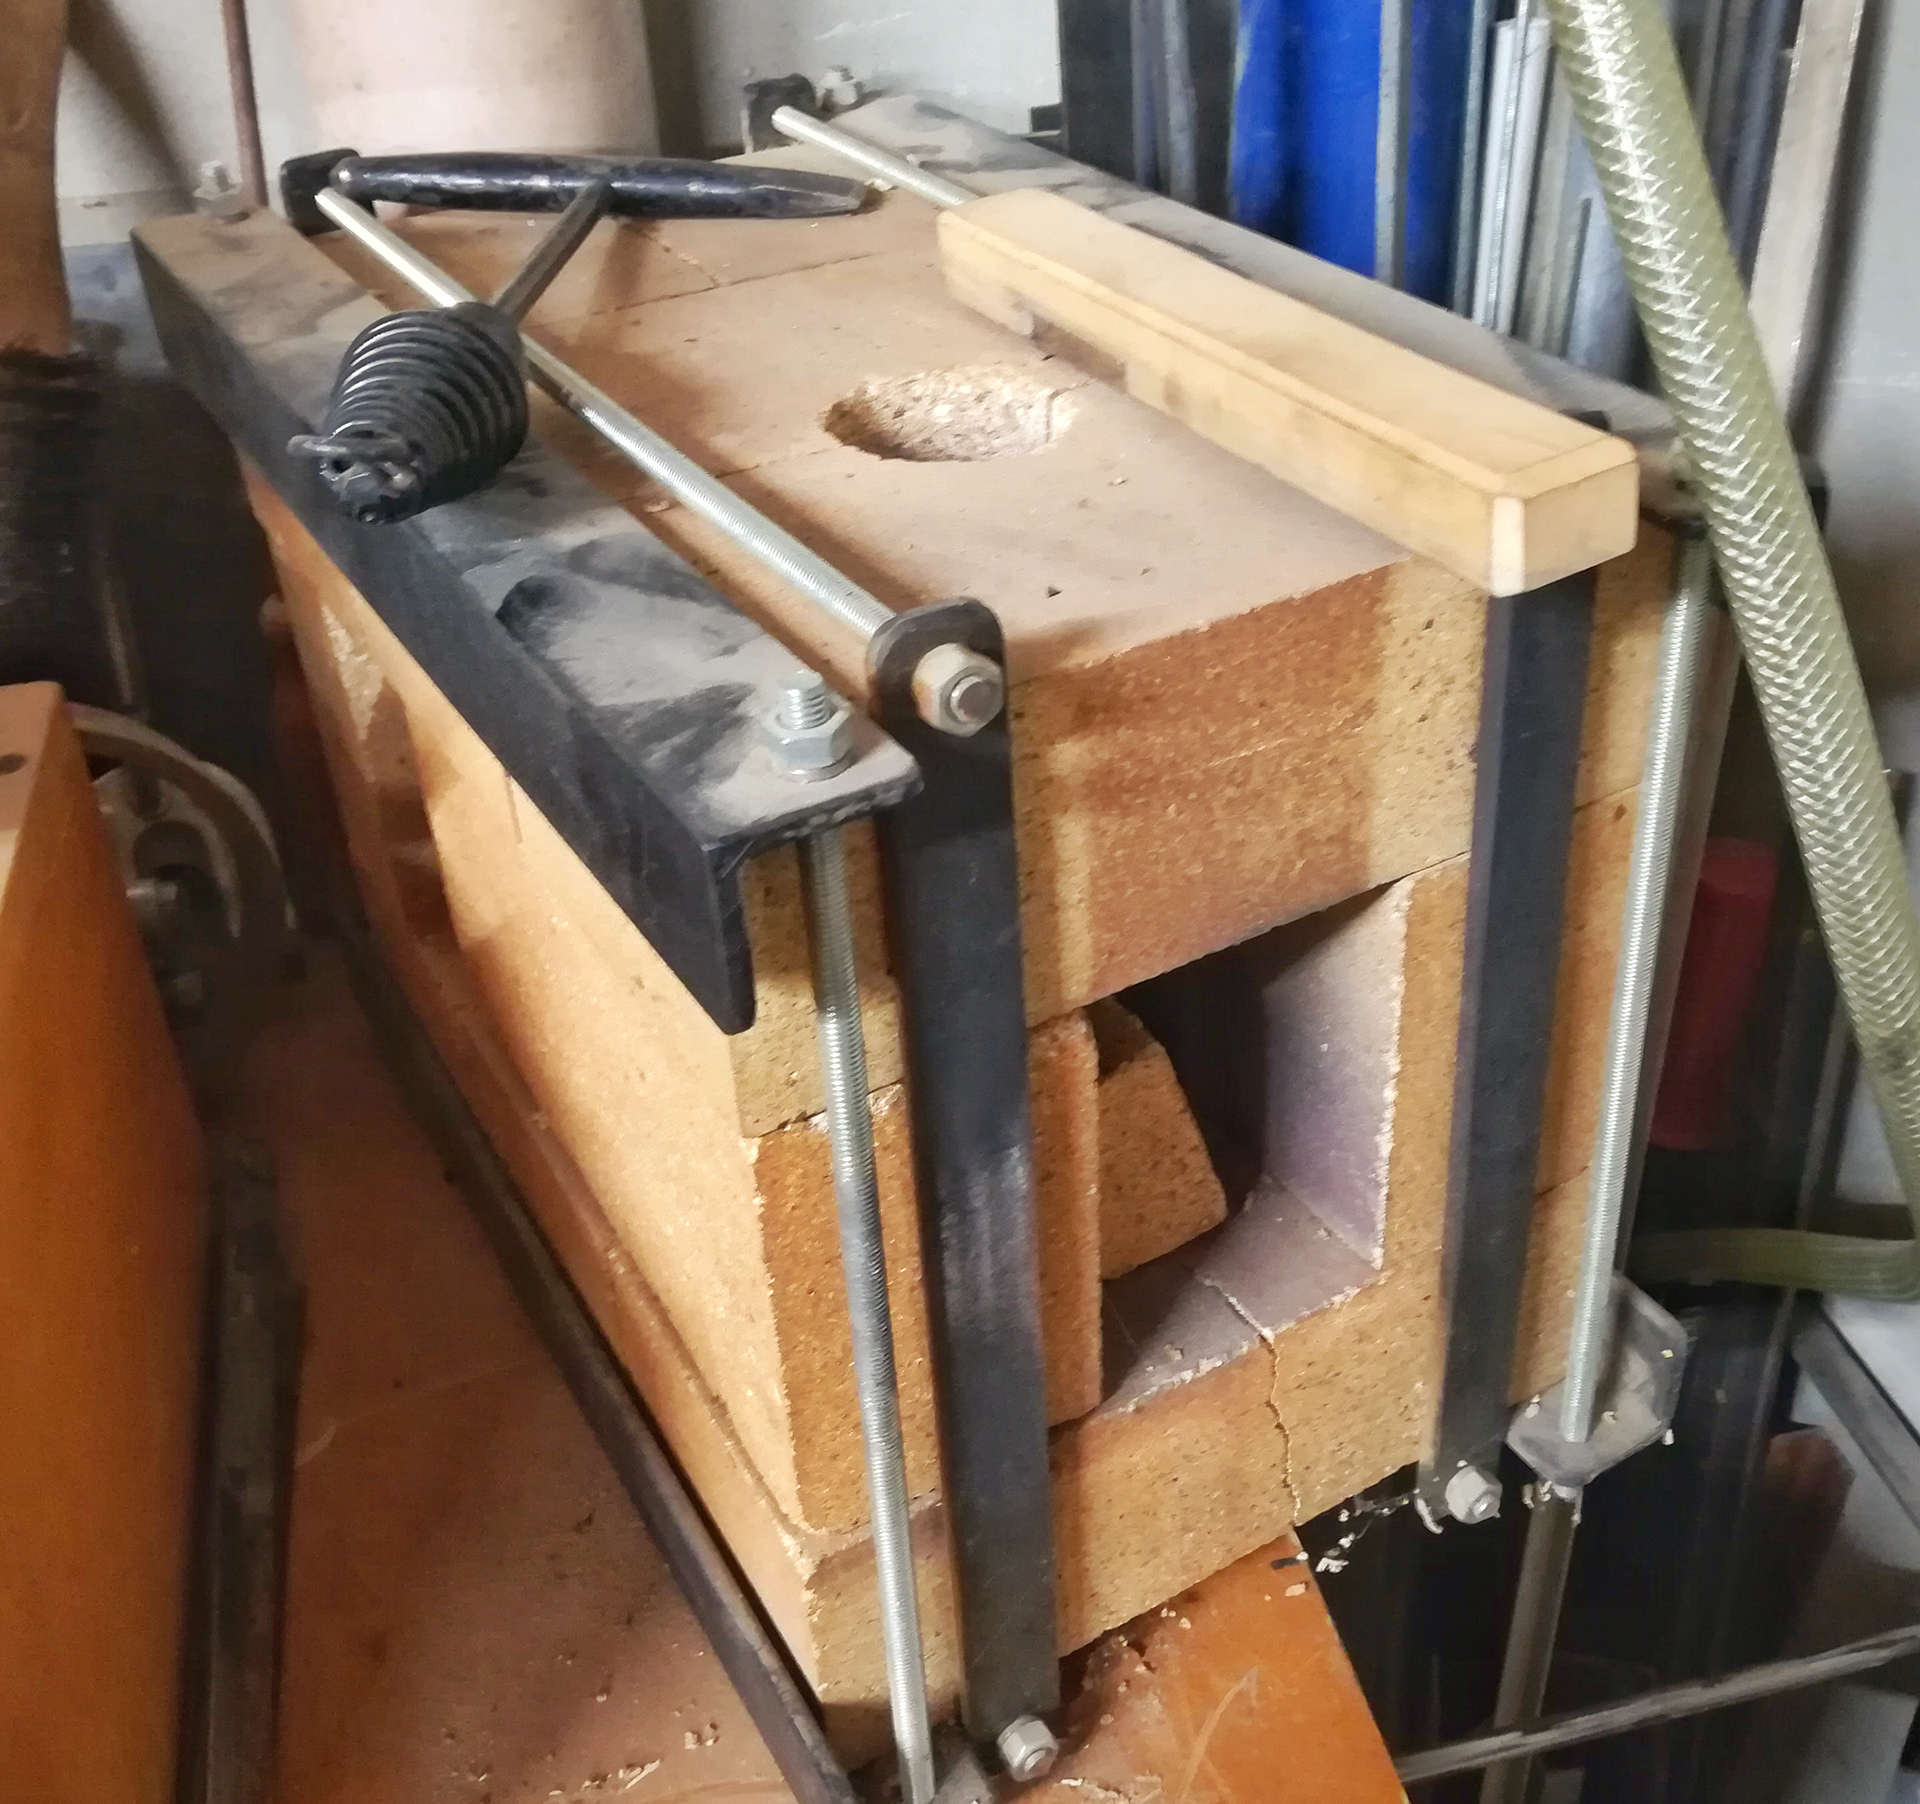
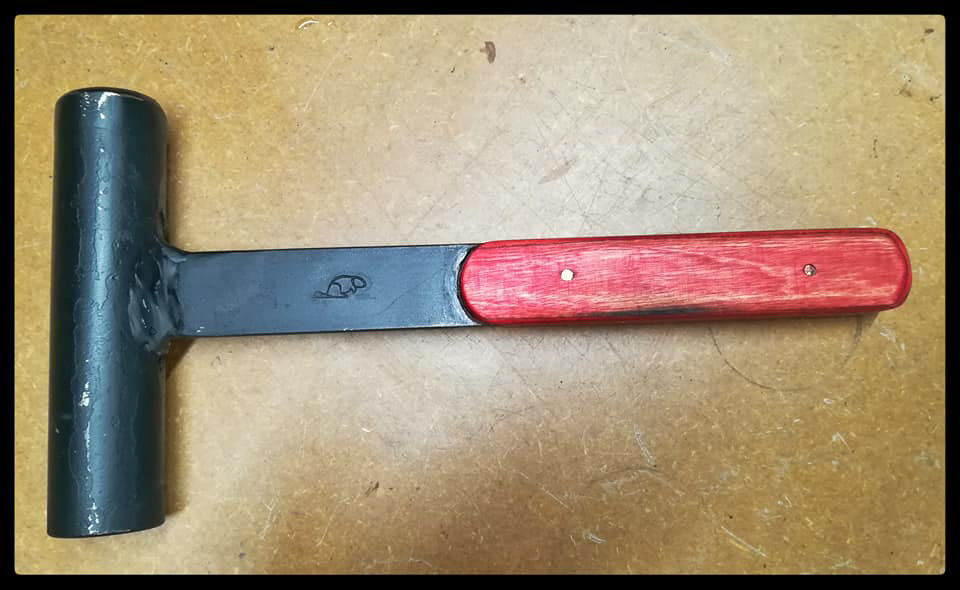
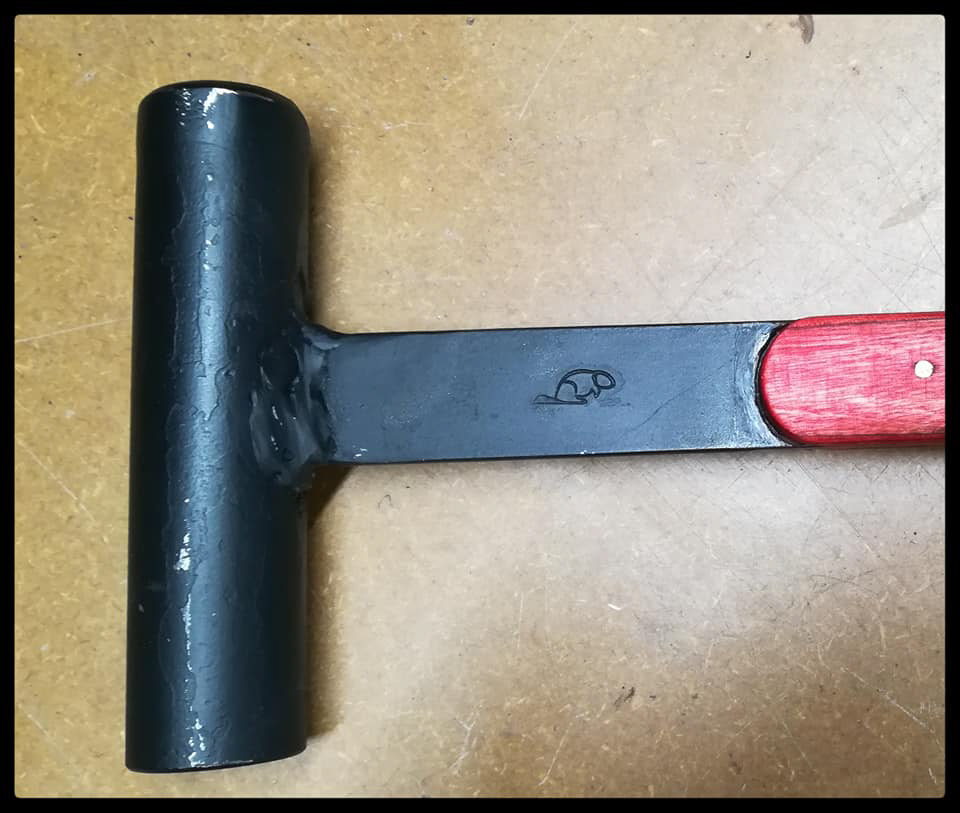
6. The rest are just some photos of my forges, currently all gas as I can't use coal or coke here, tools to help with punching or drifting holes, various jigs, bending fork and a round setting hammer. This is just mild steel which I use to set the boss indent in my tongs. Finally, I wanted to make my shop door open from both sides as it is frustrating having to go to open it every time someone knock it. It's a very simple bit of mostly fabrication but works a treat.
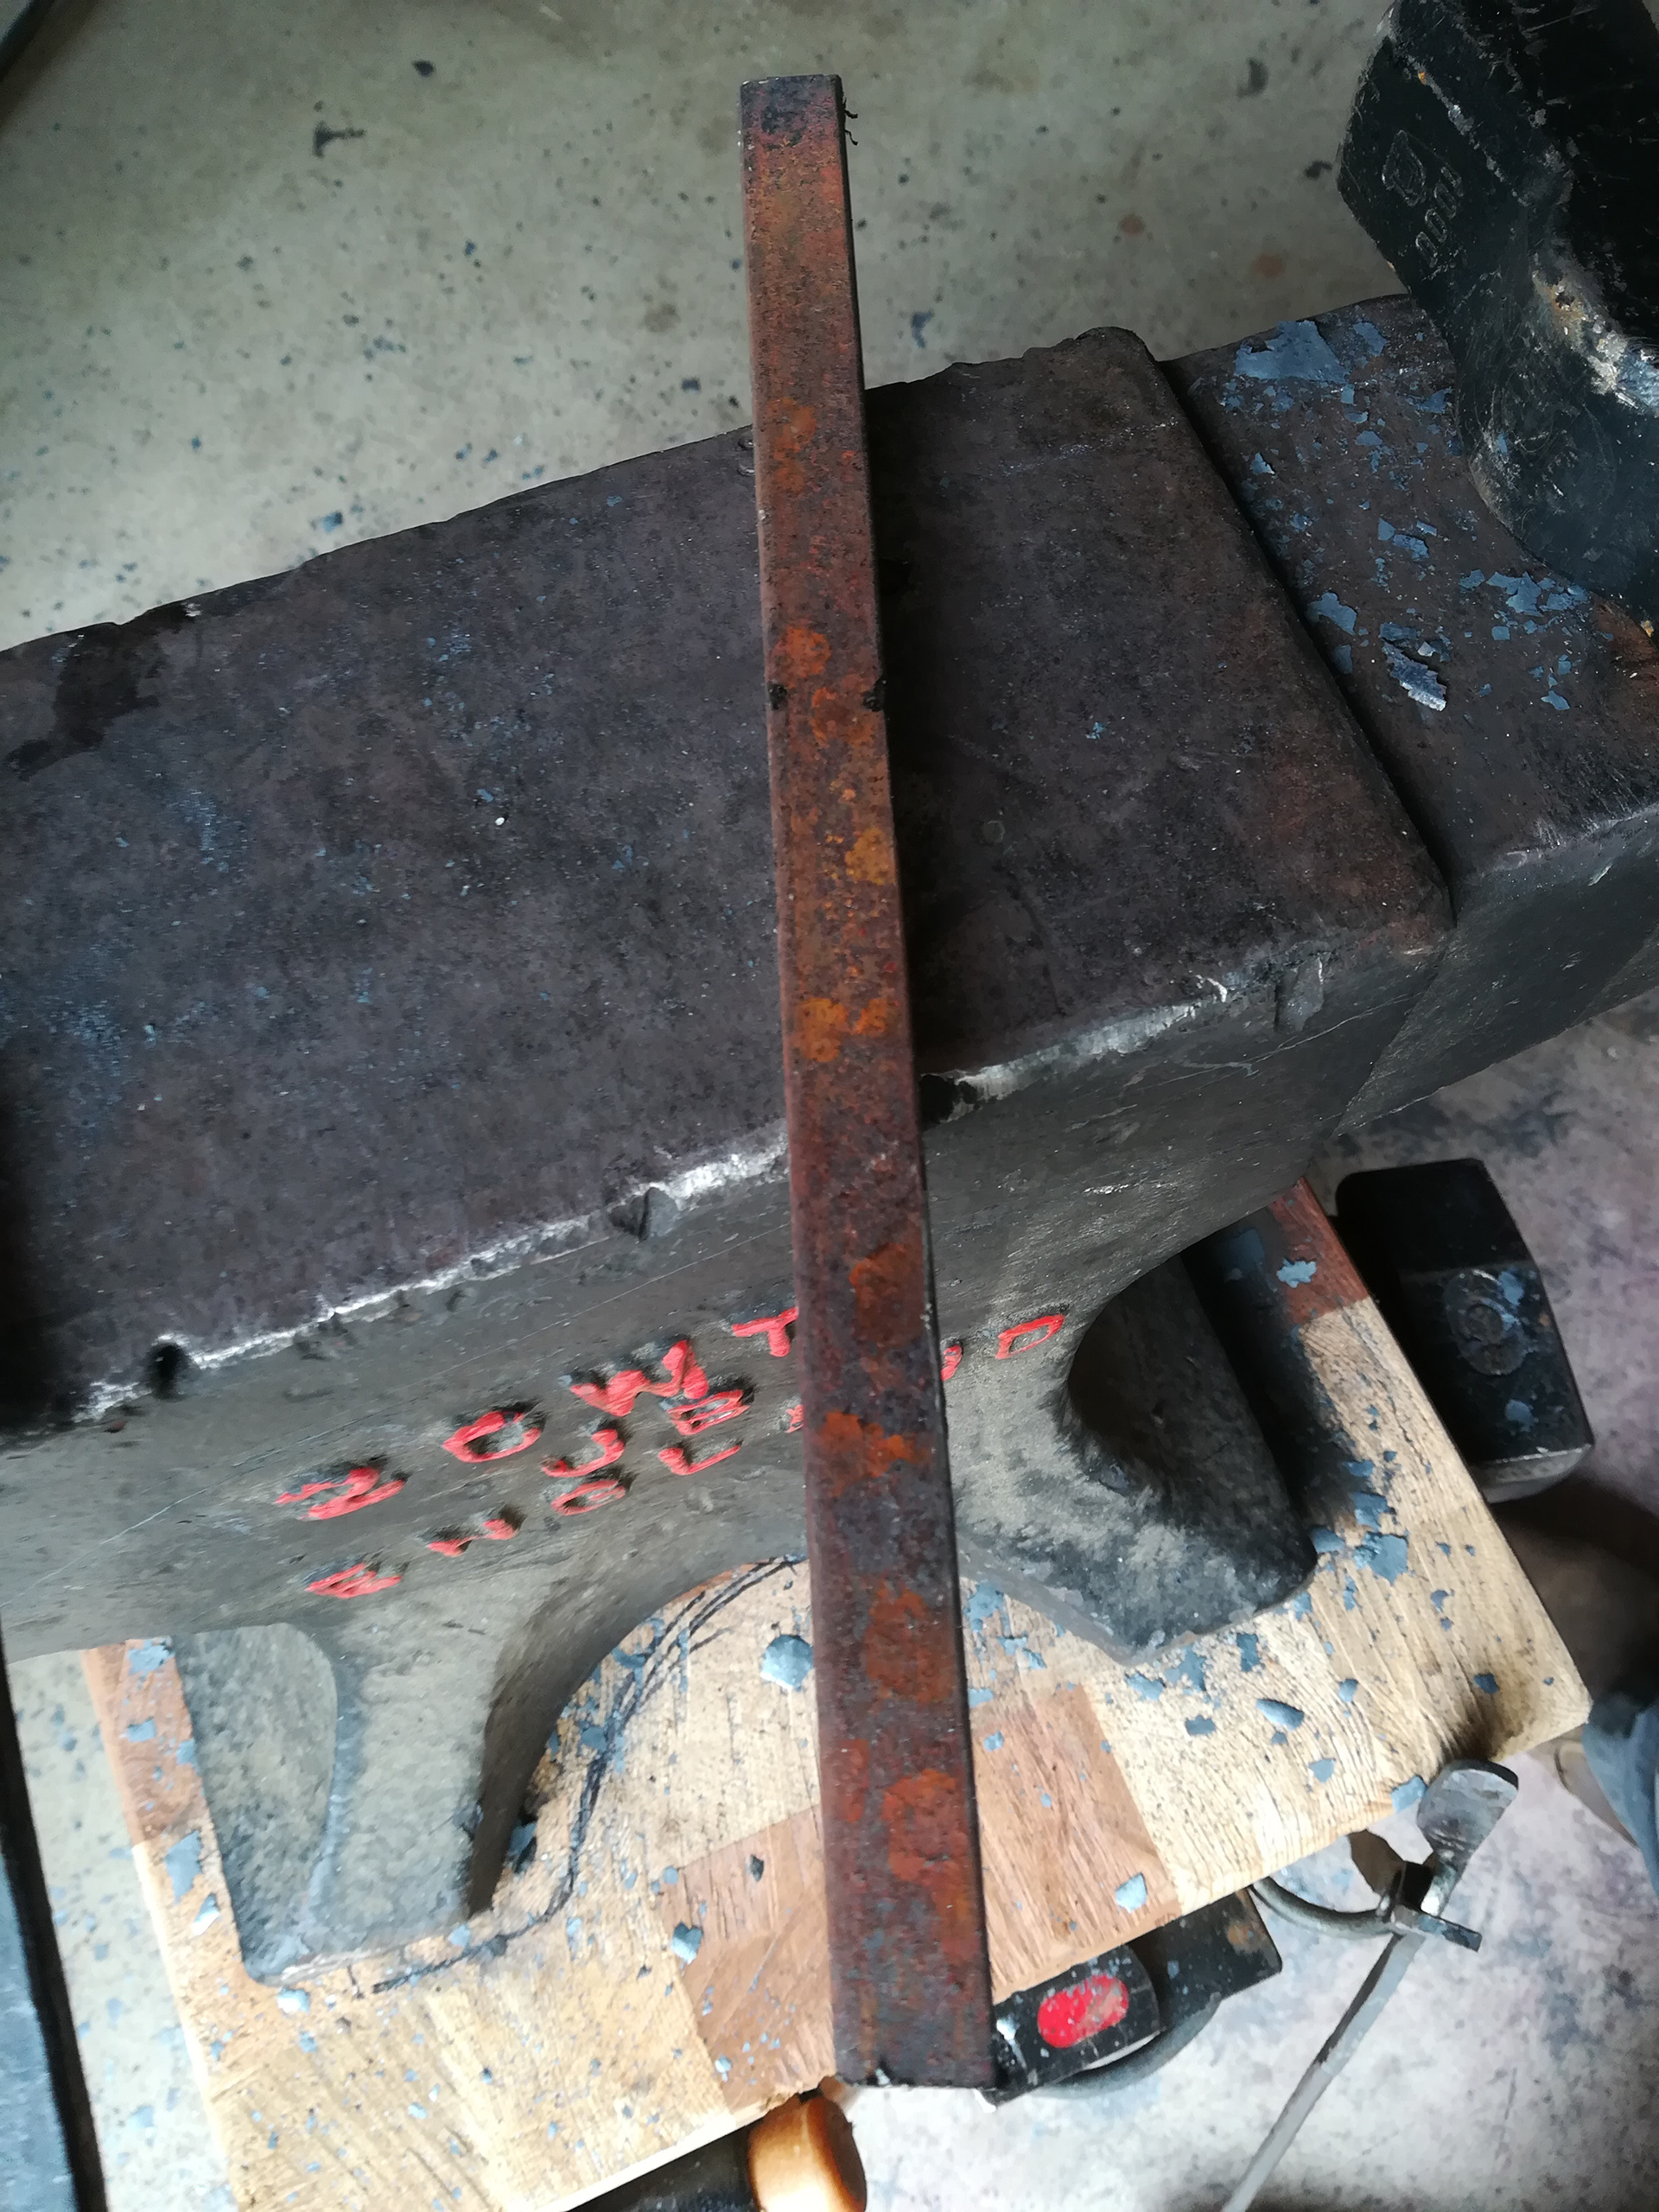
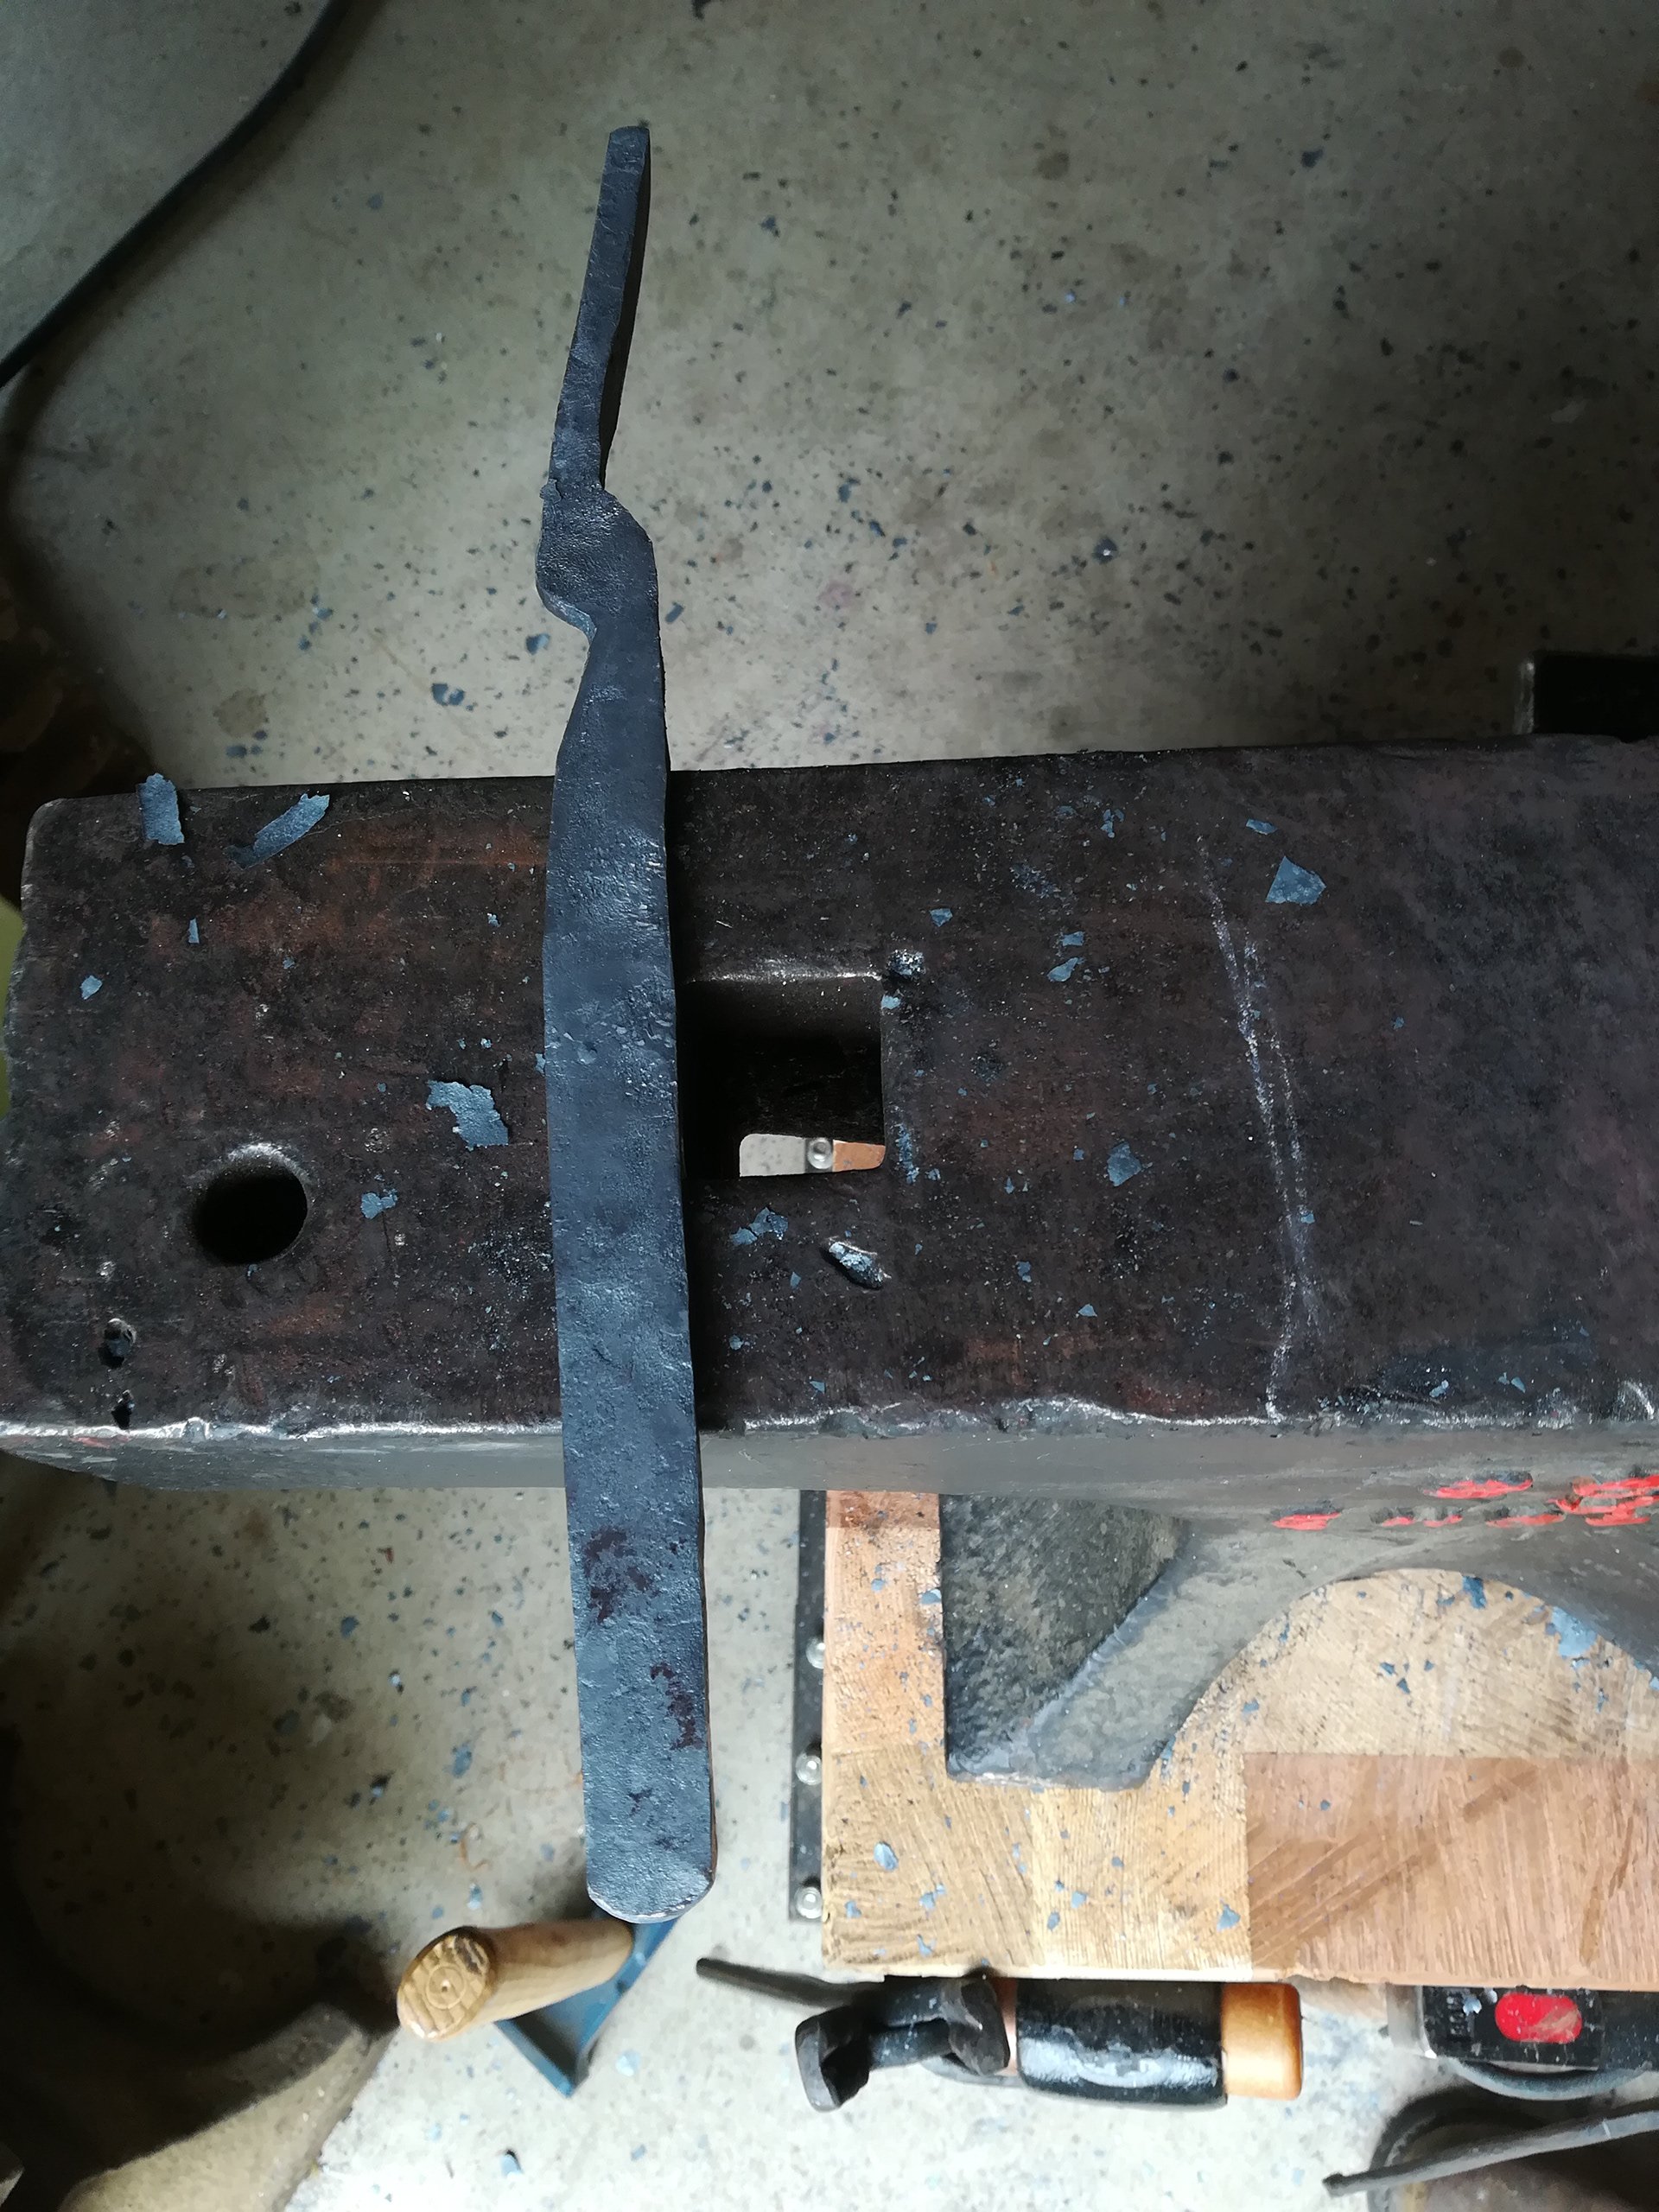
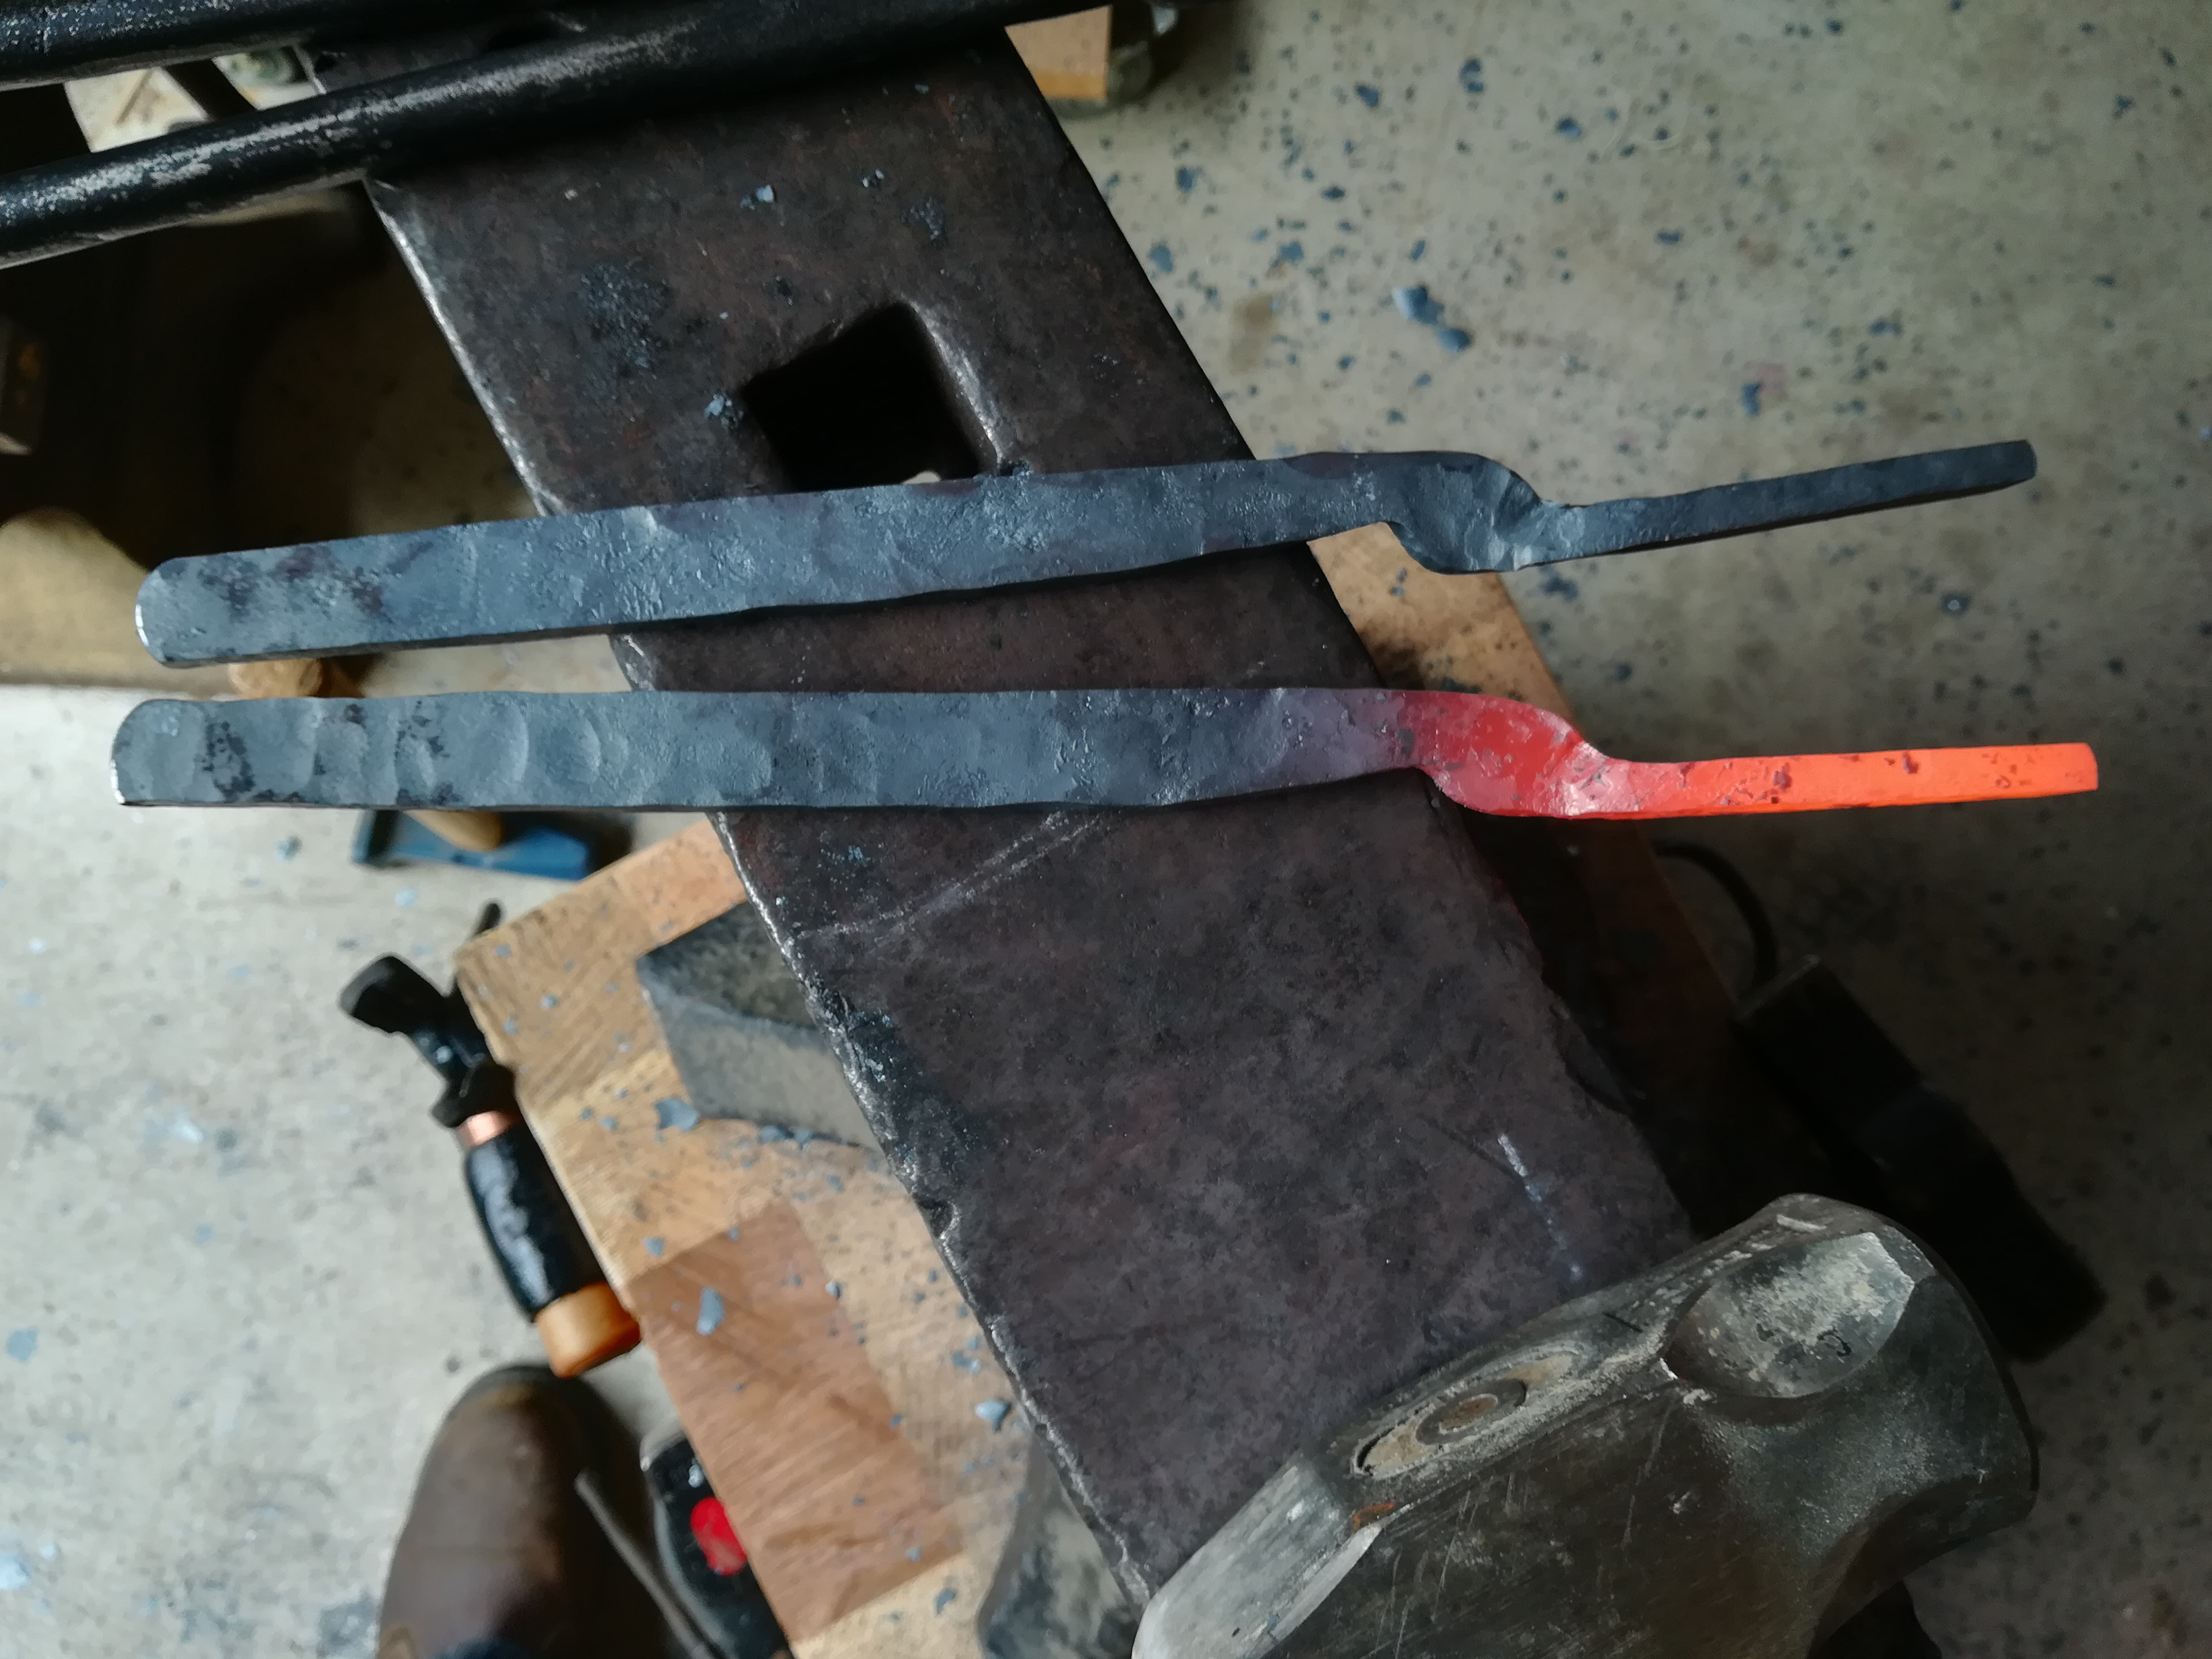
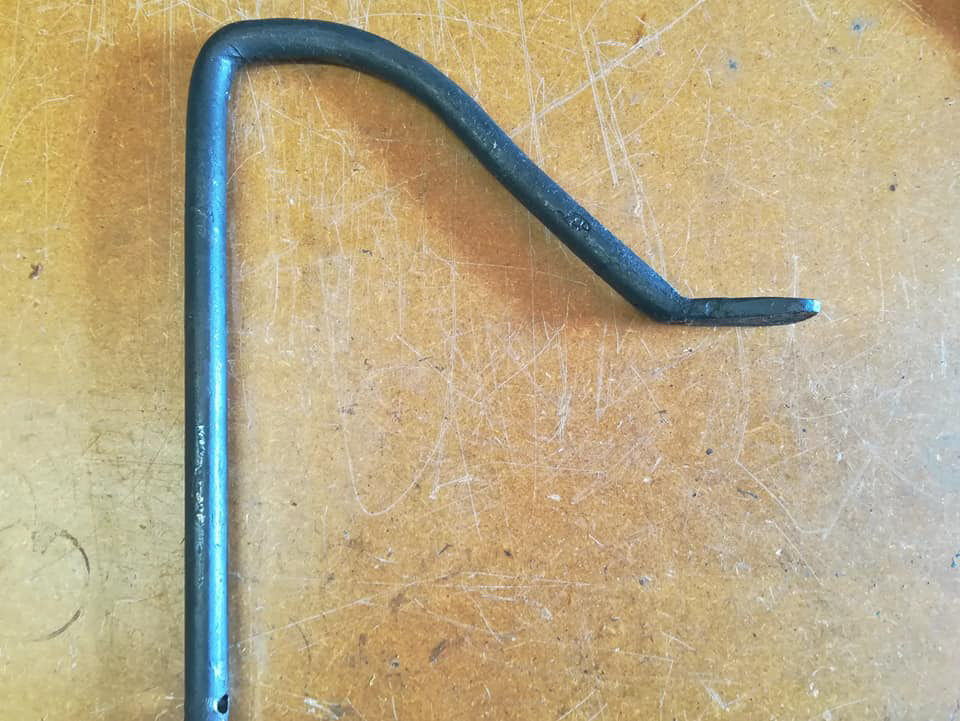
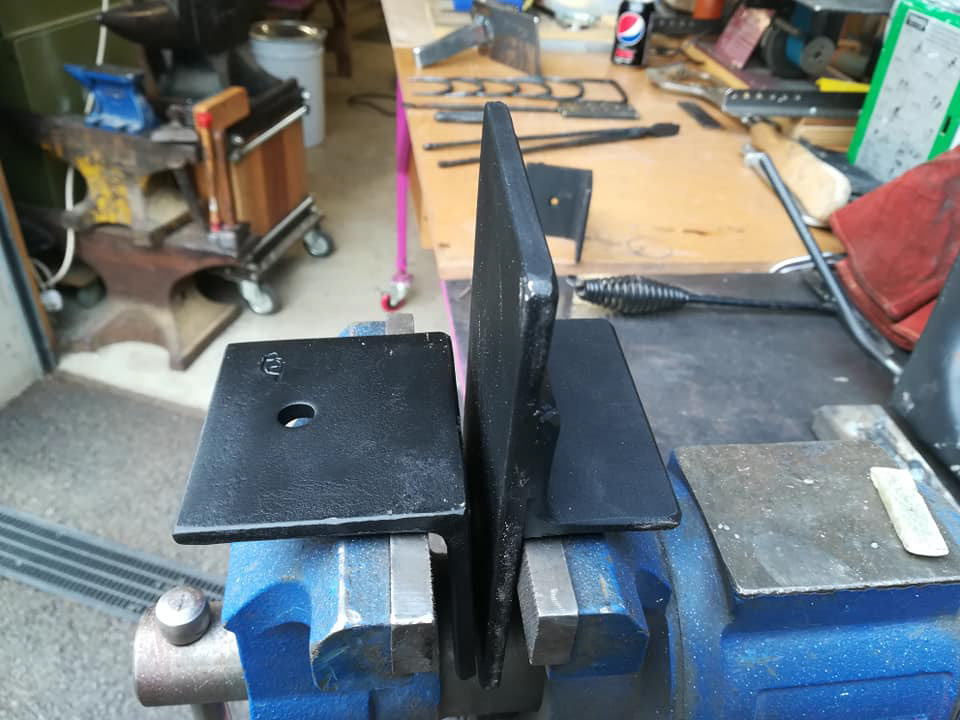
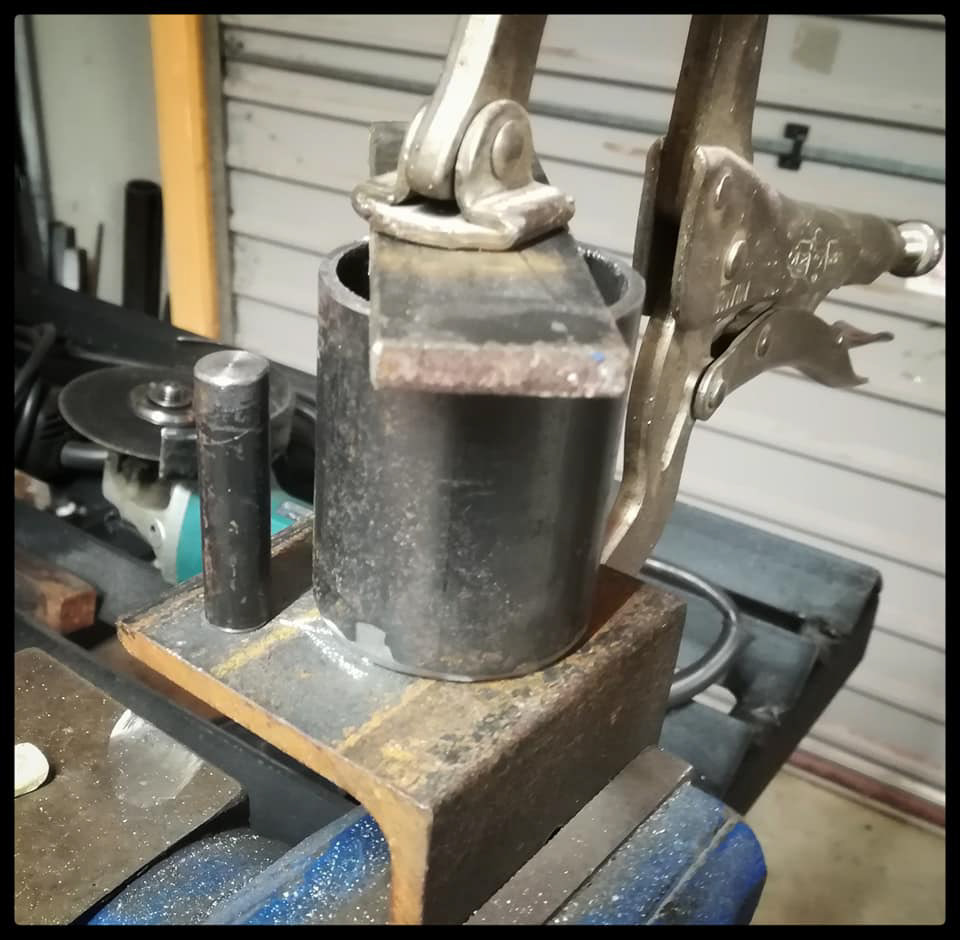
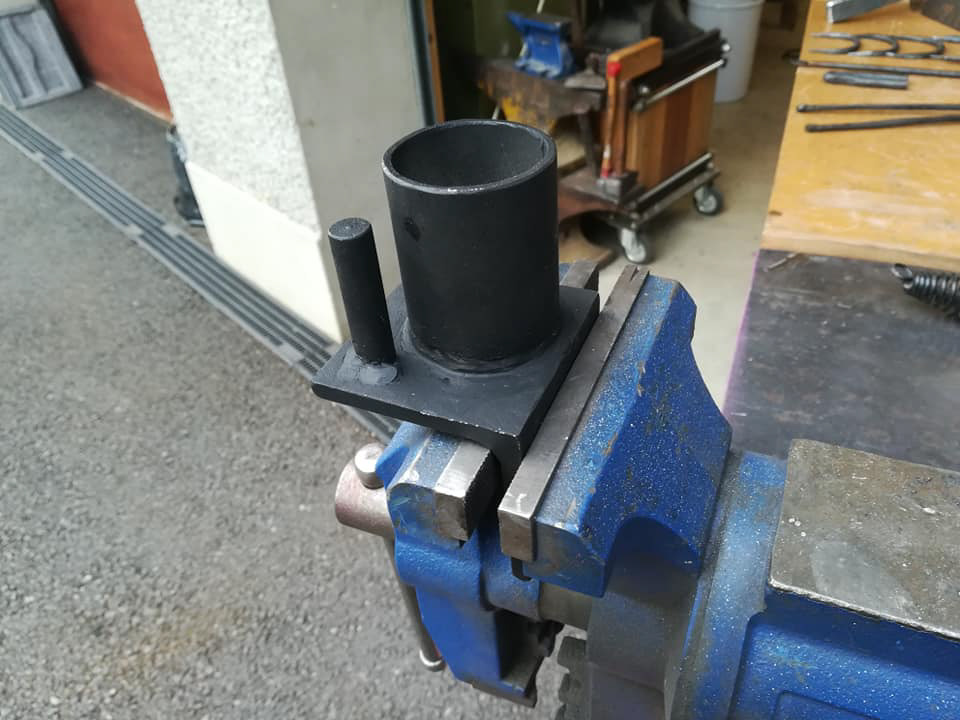
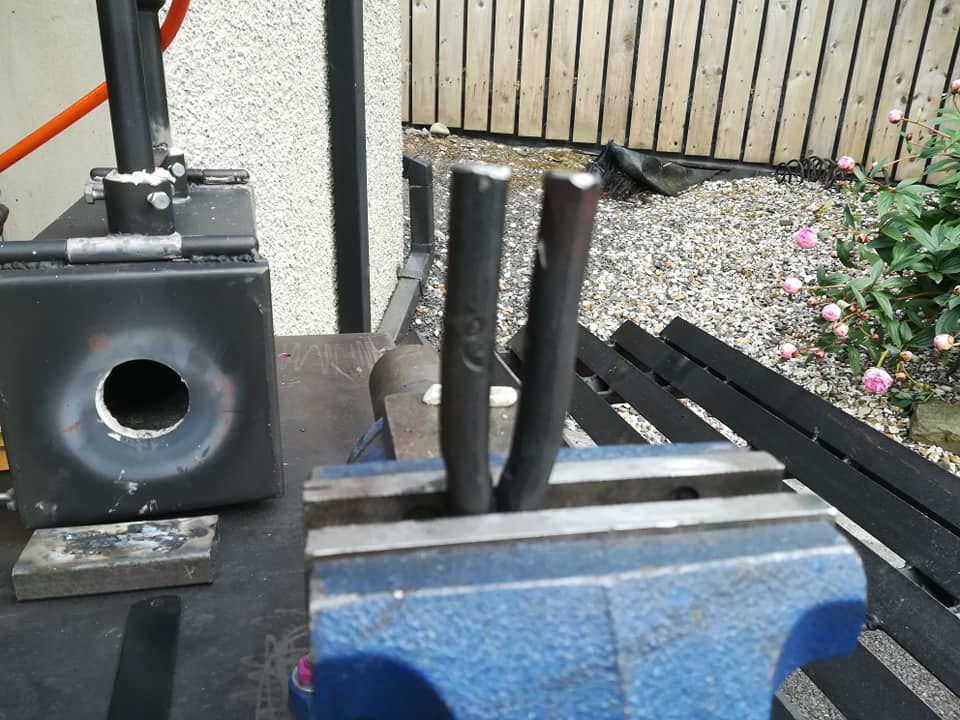
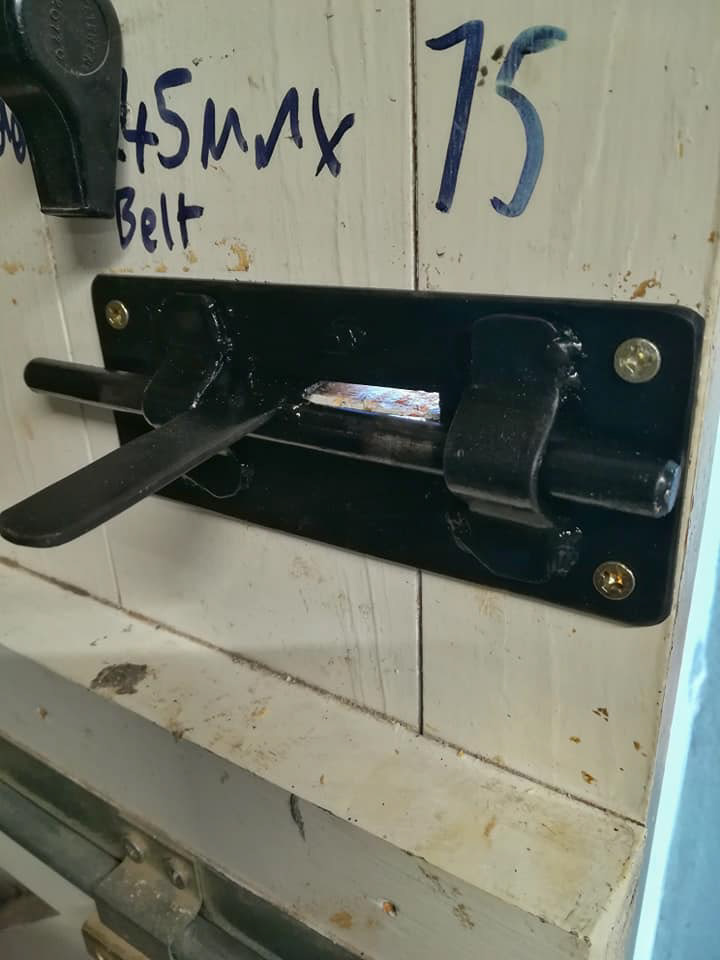
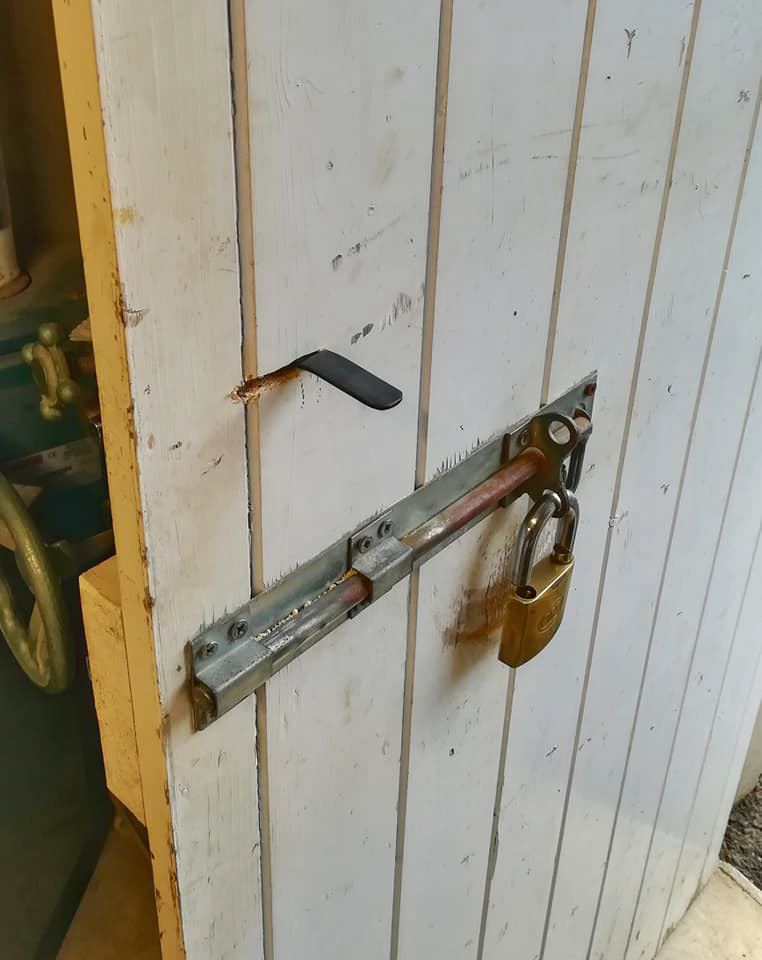
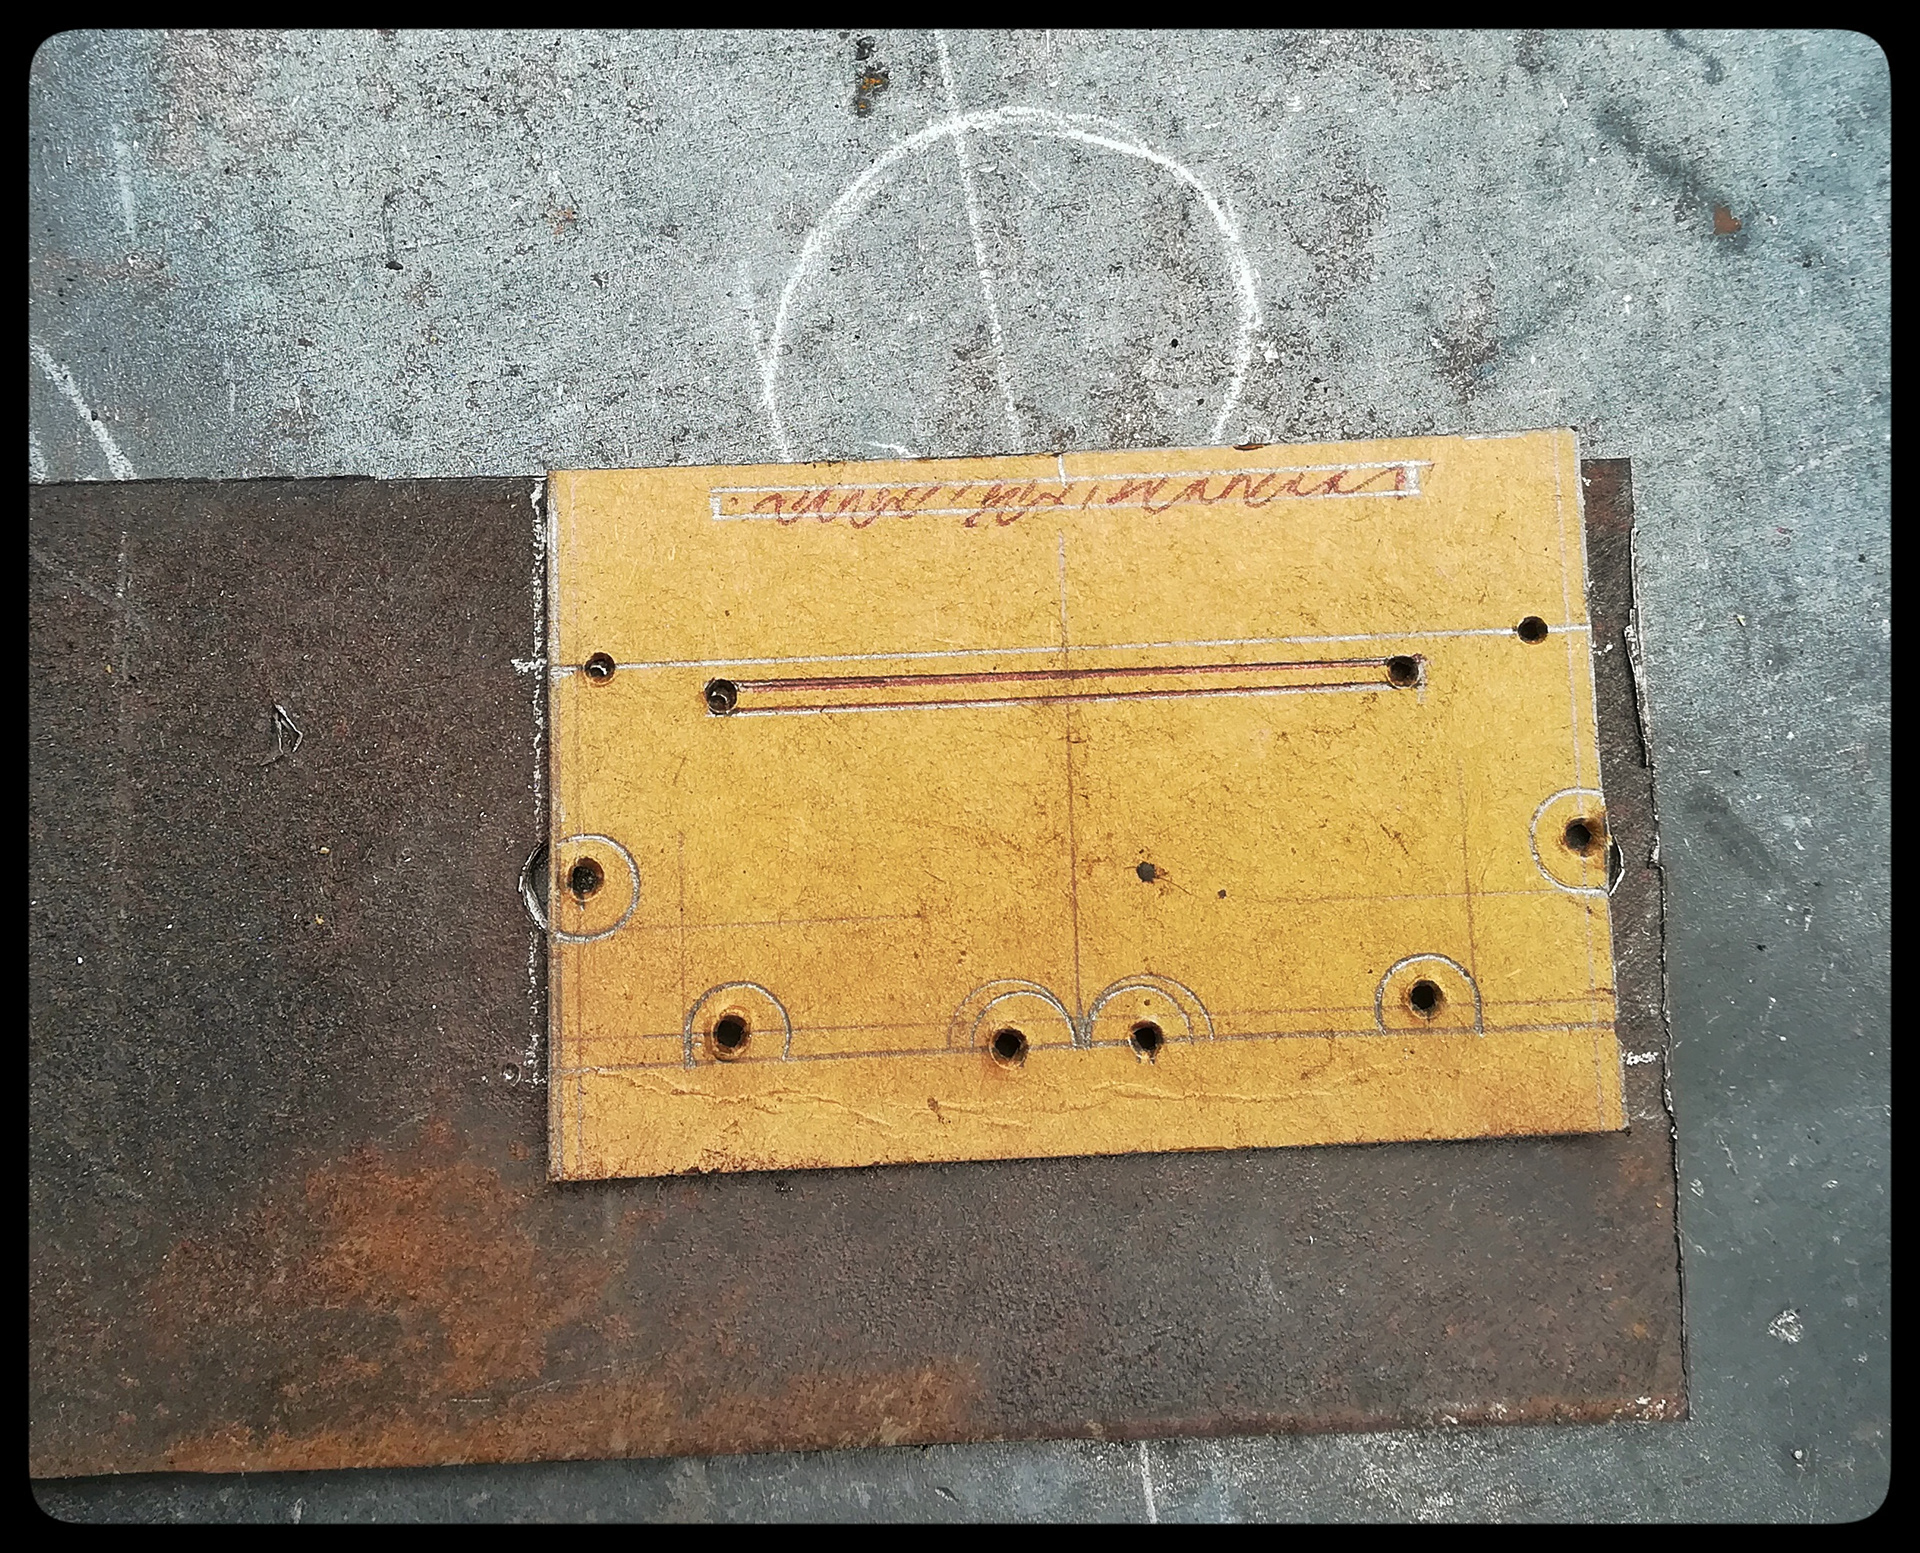
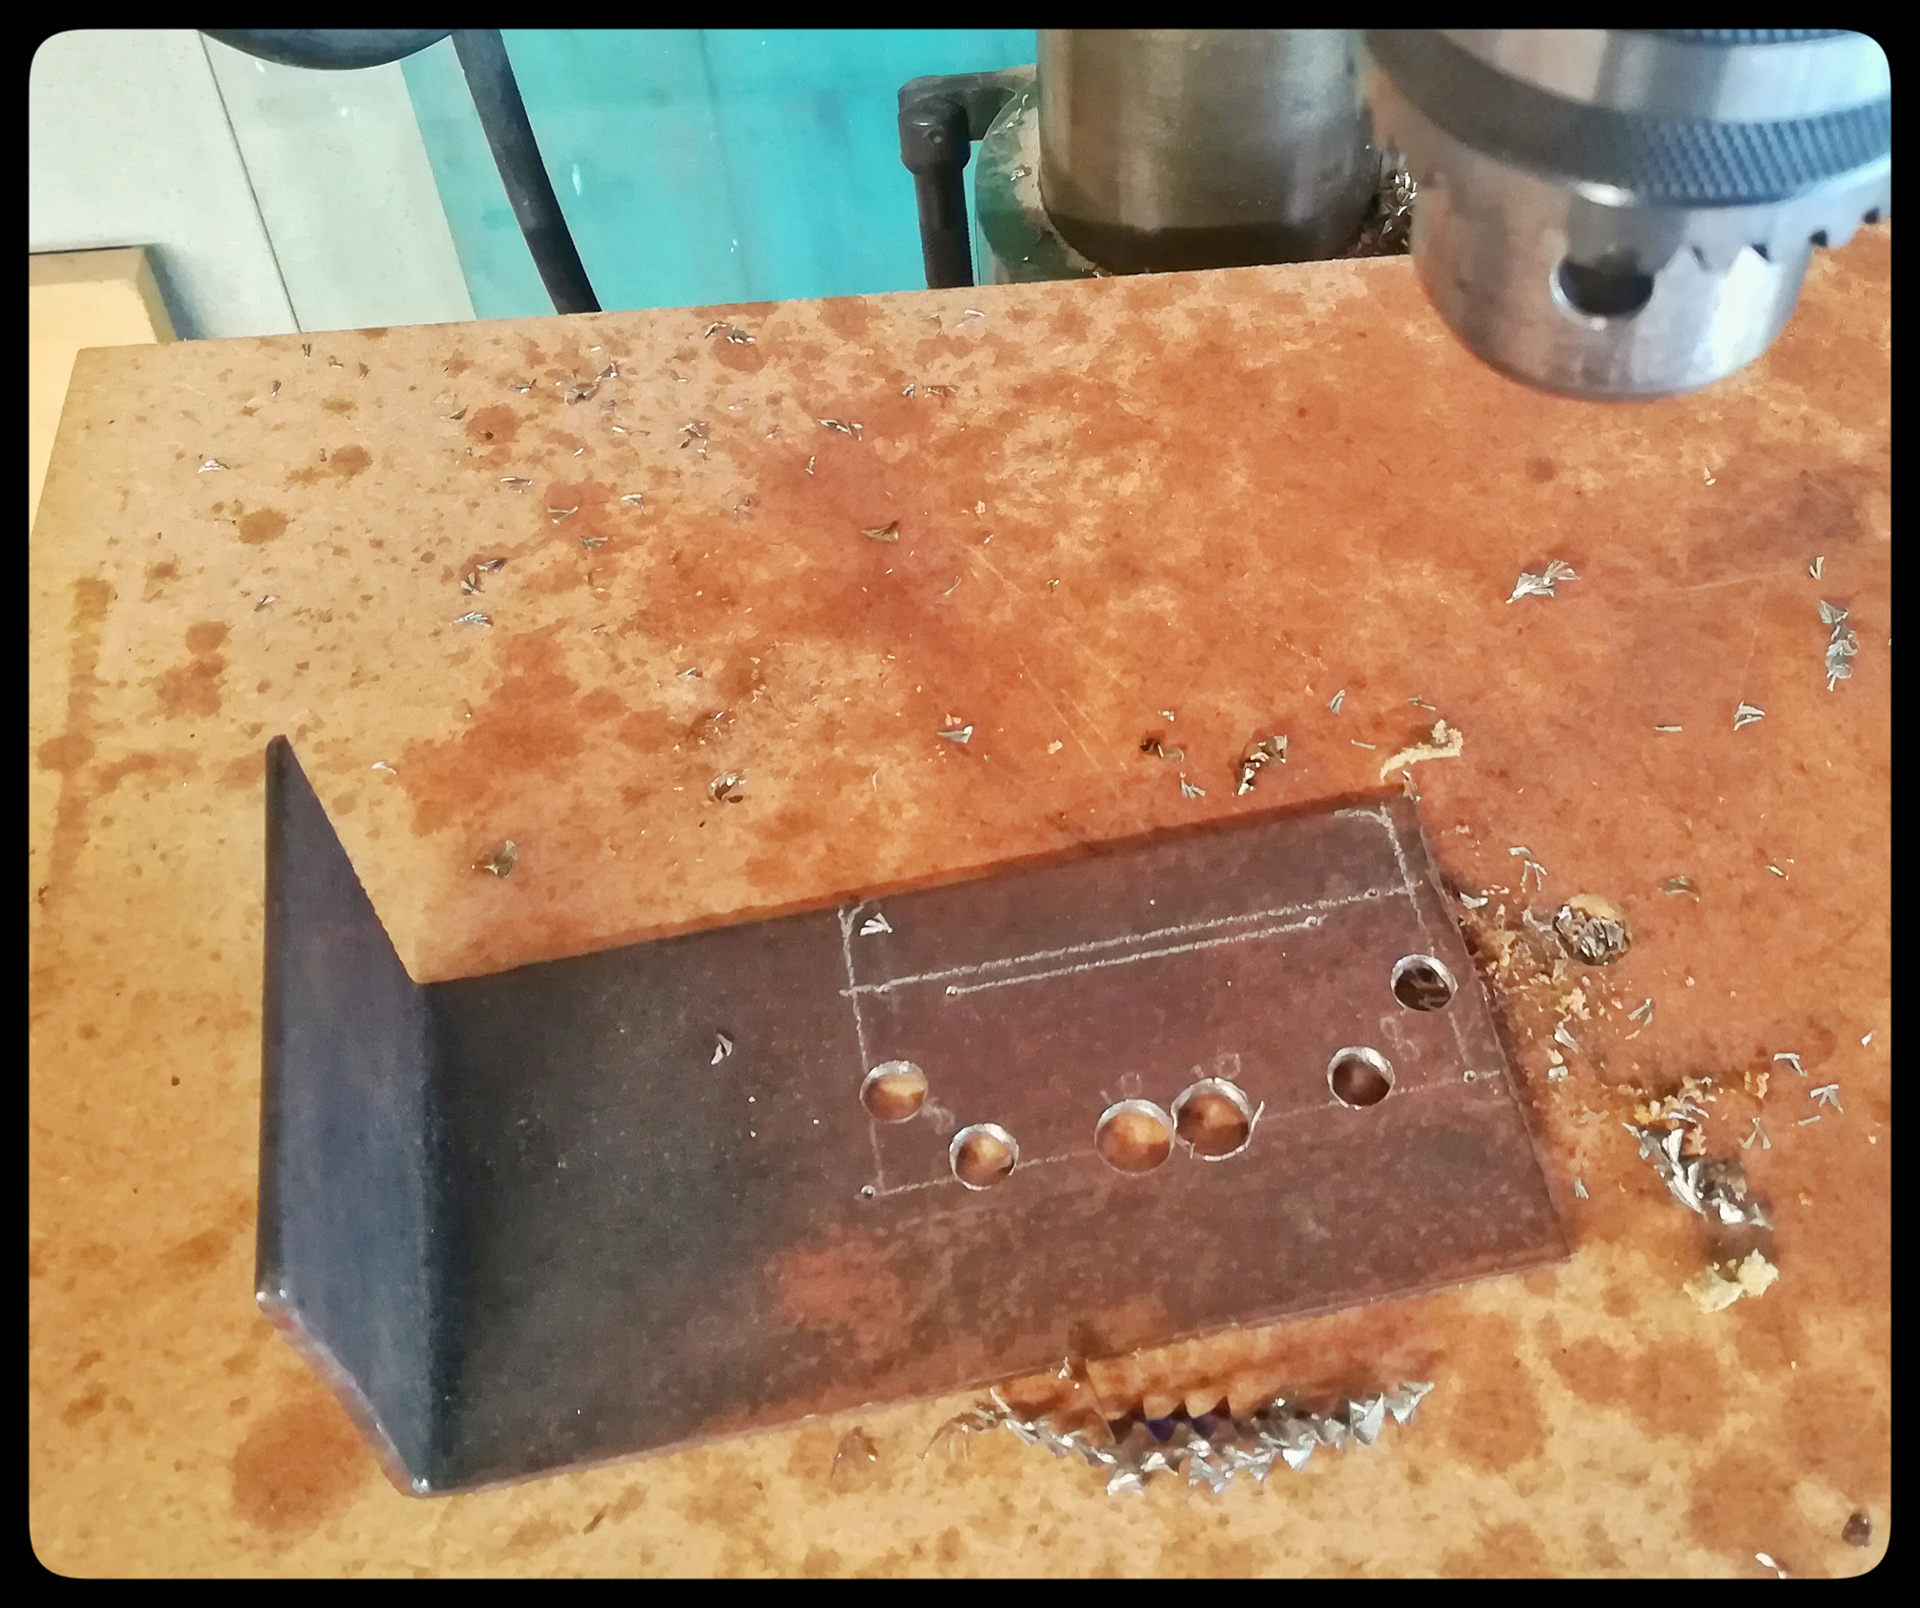
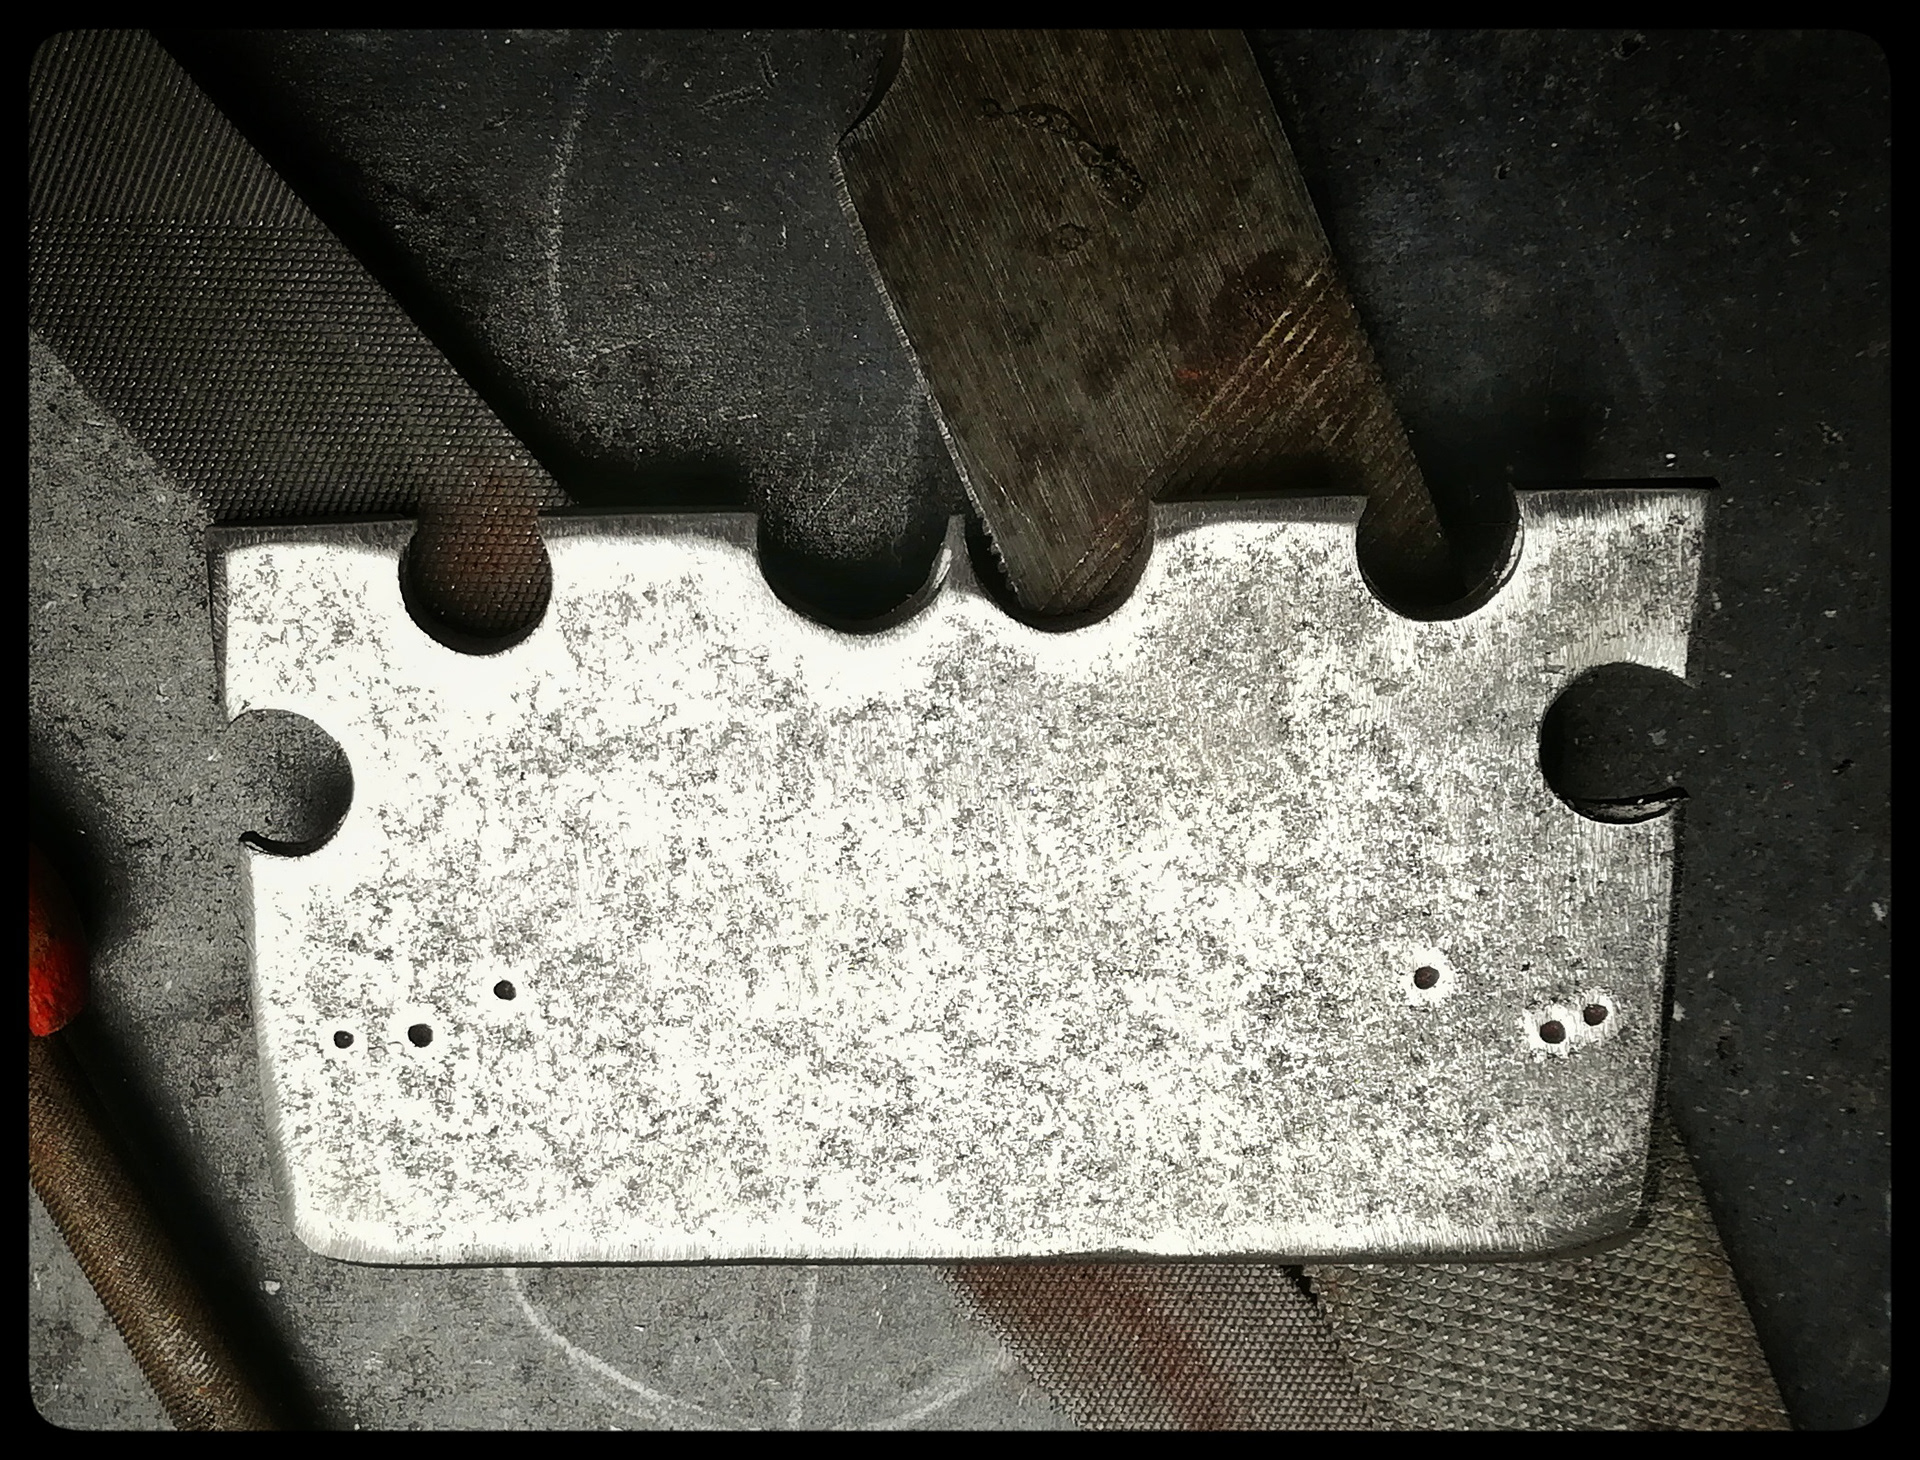
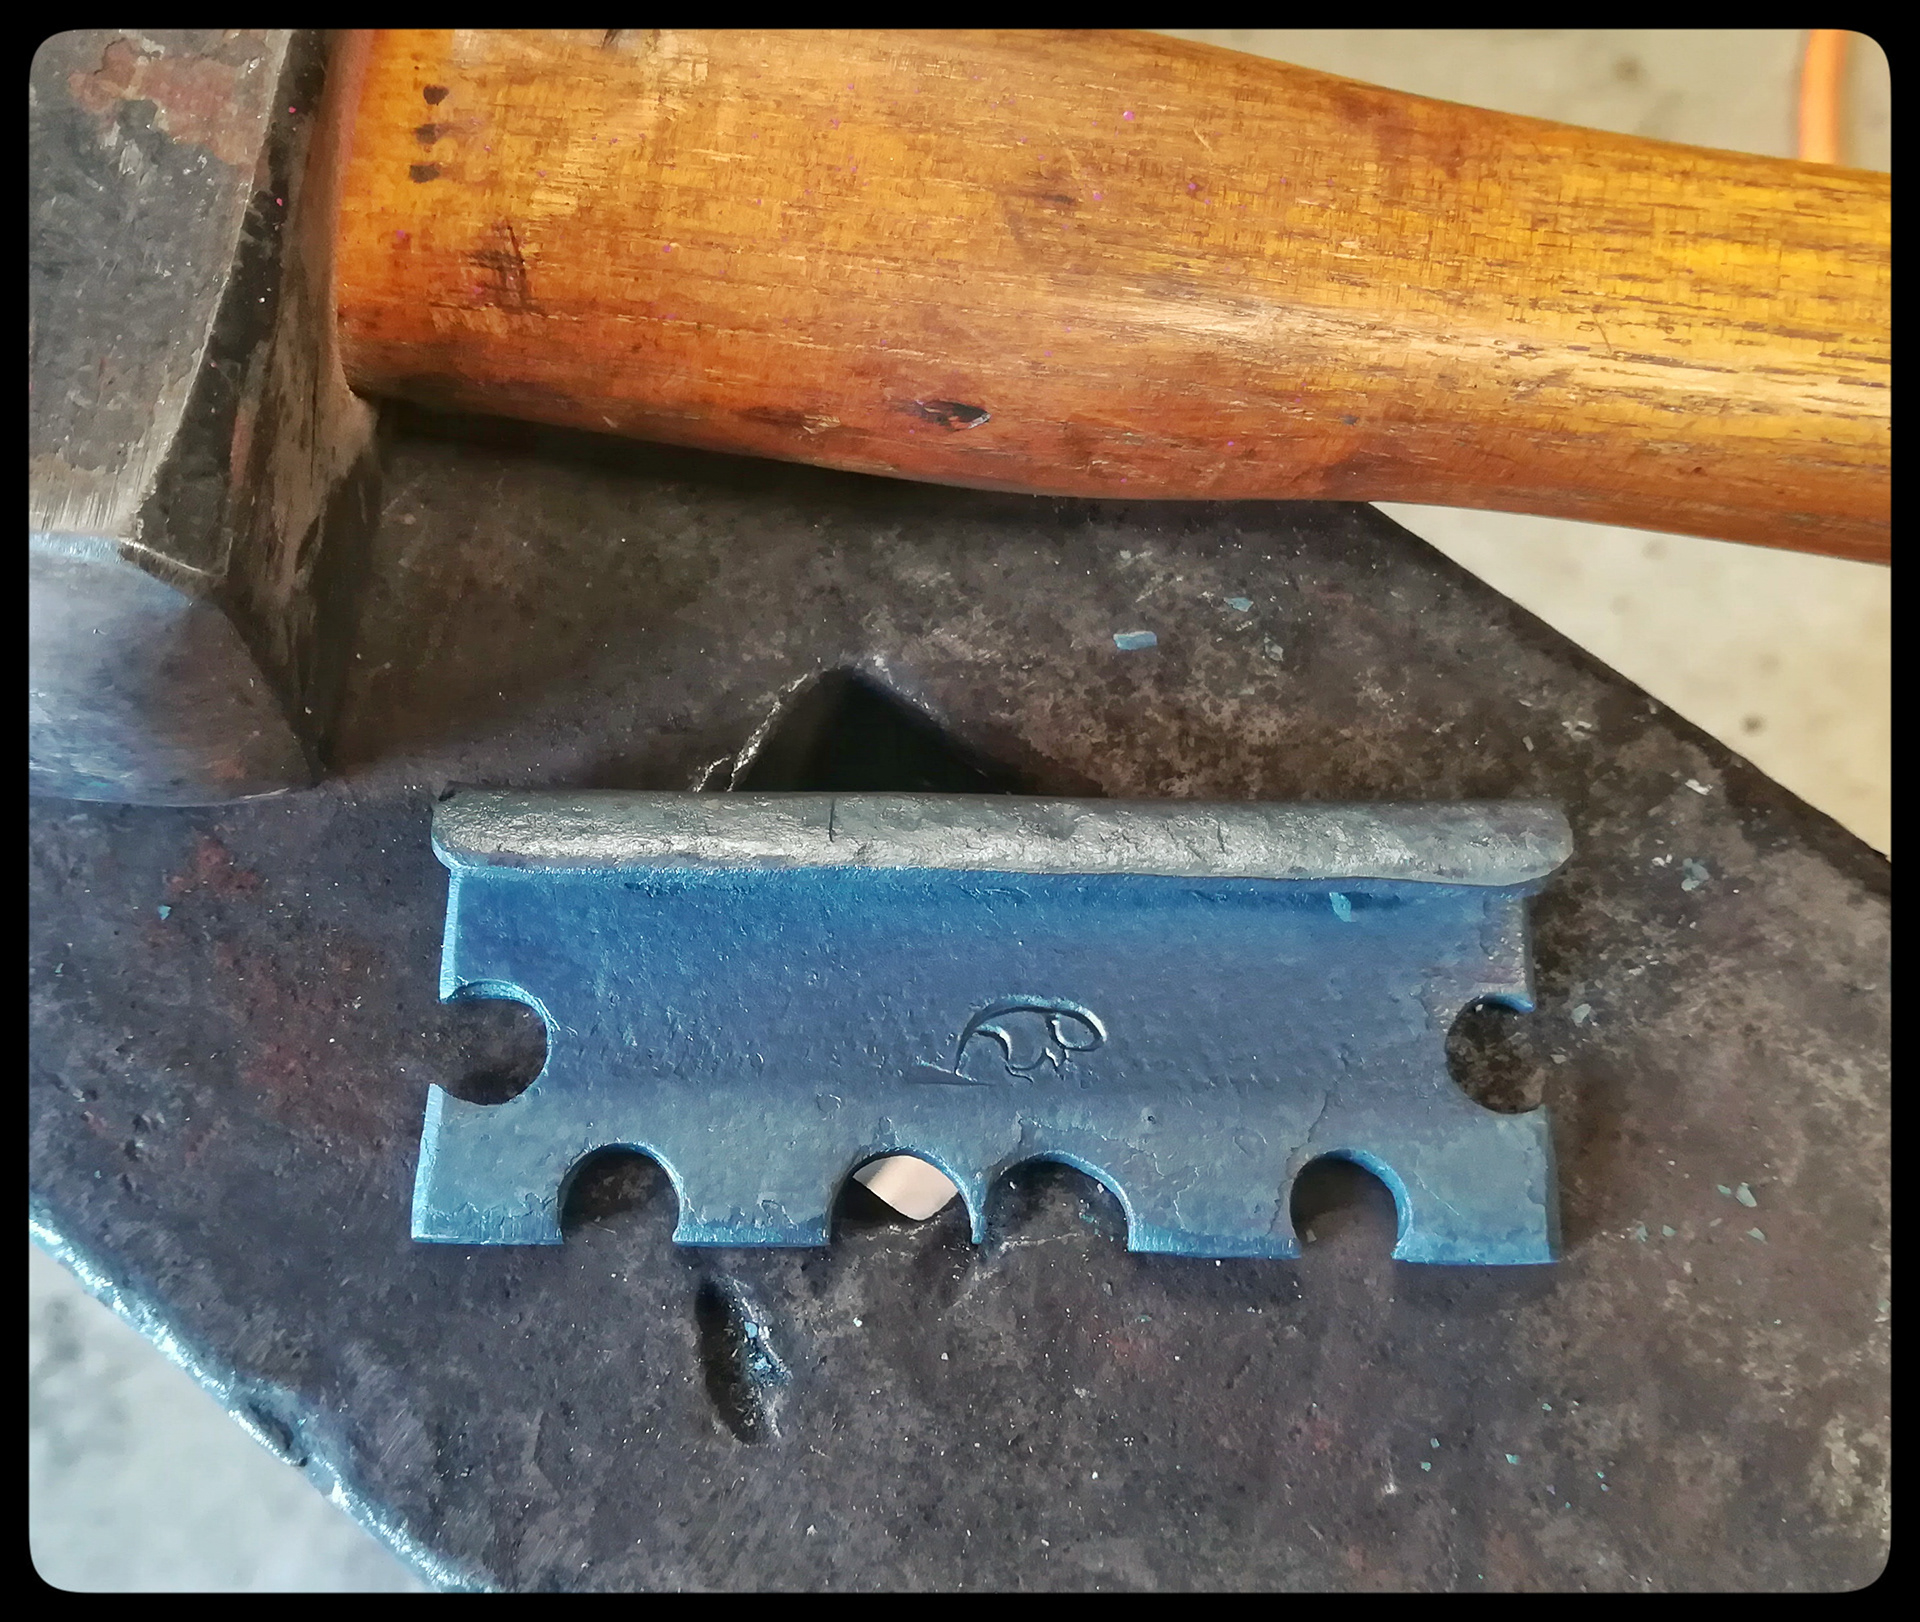
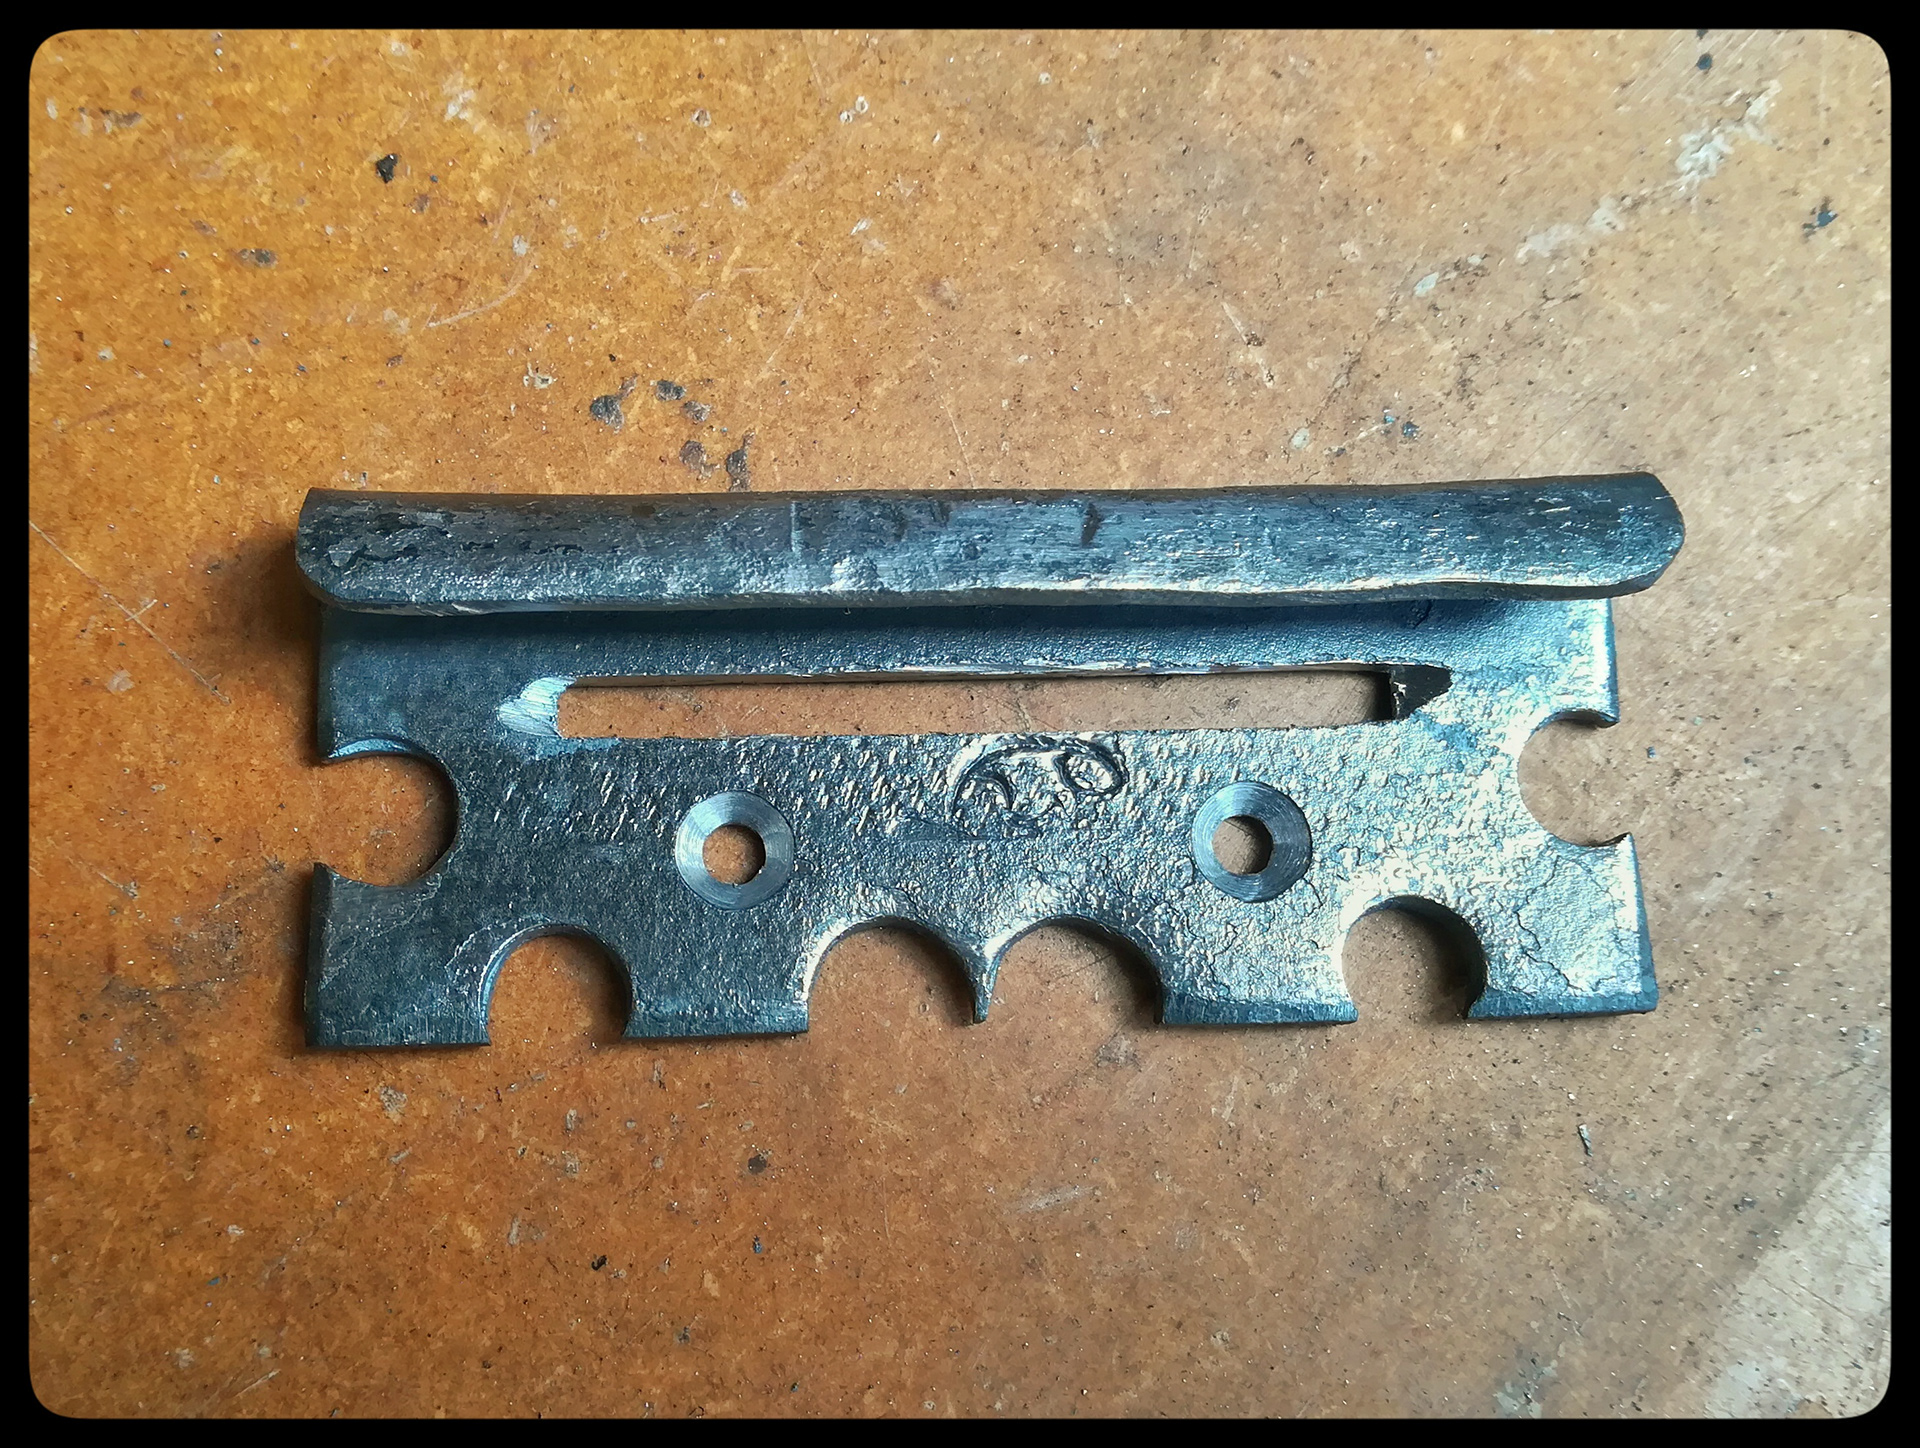
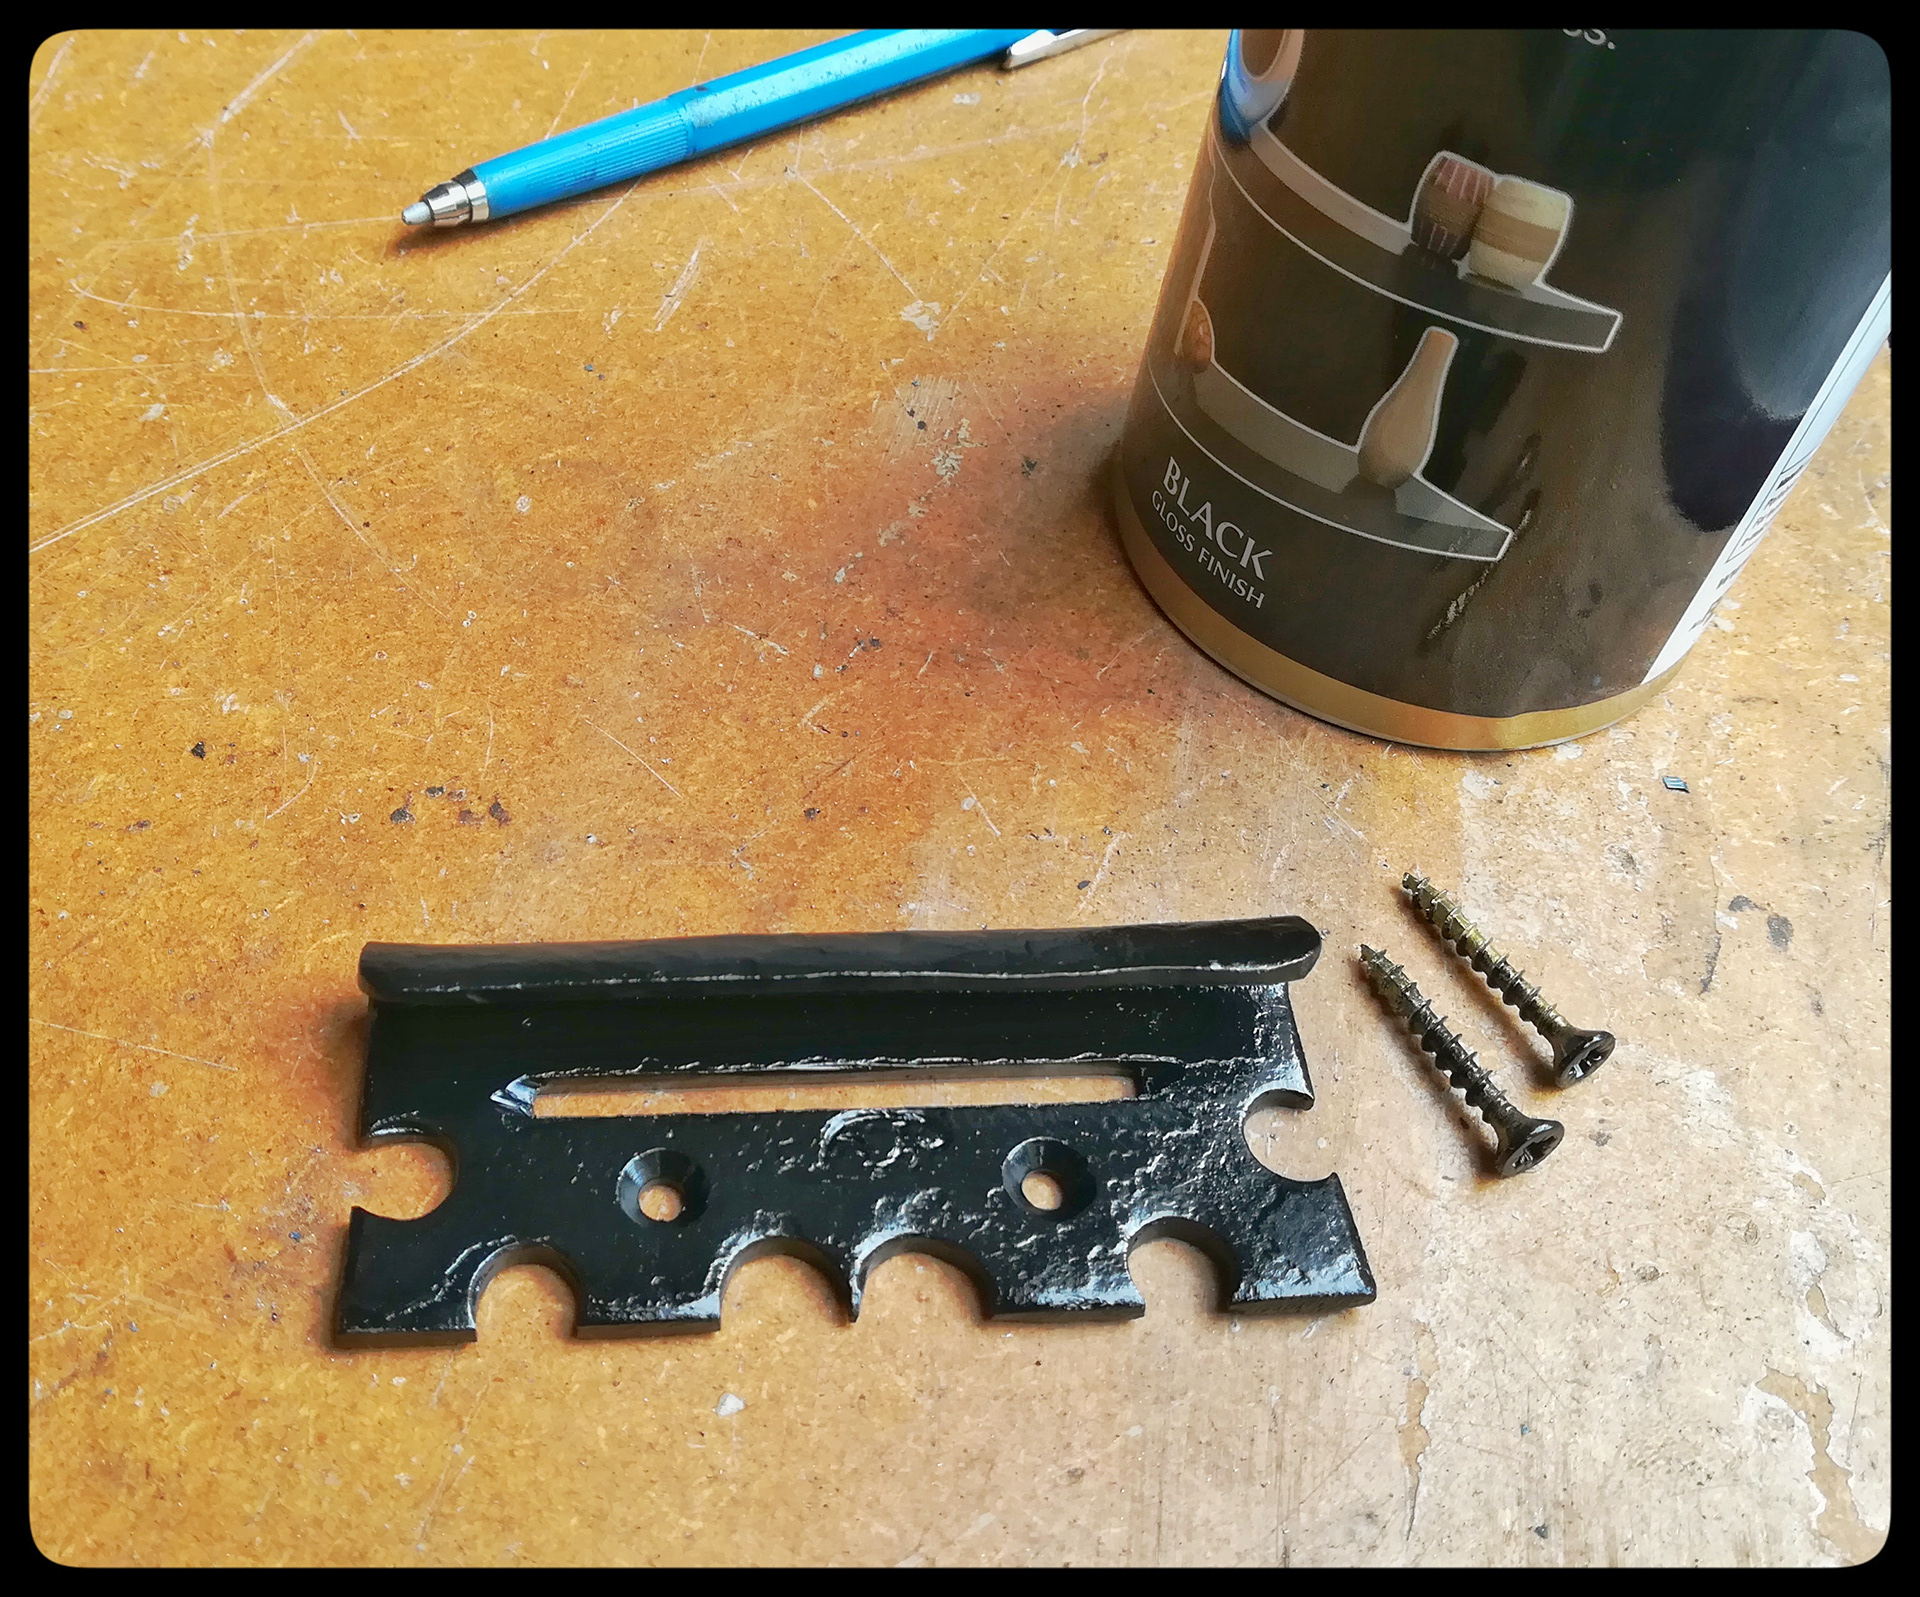
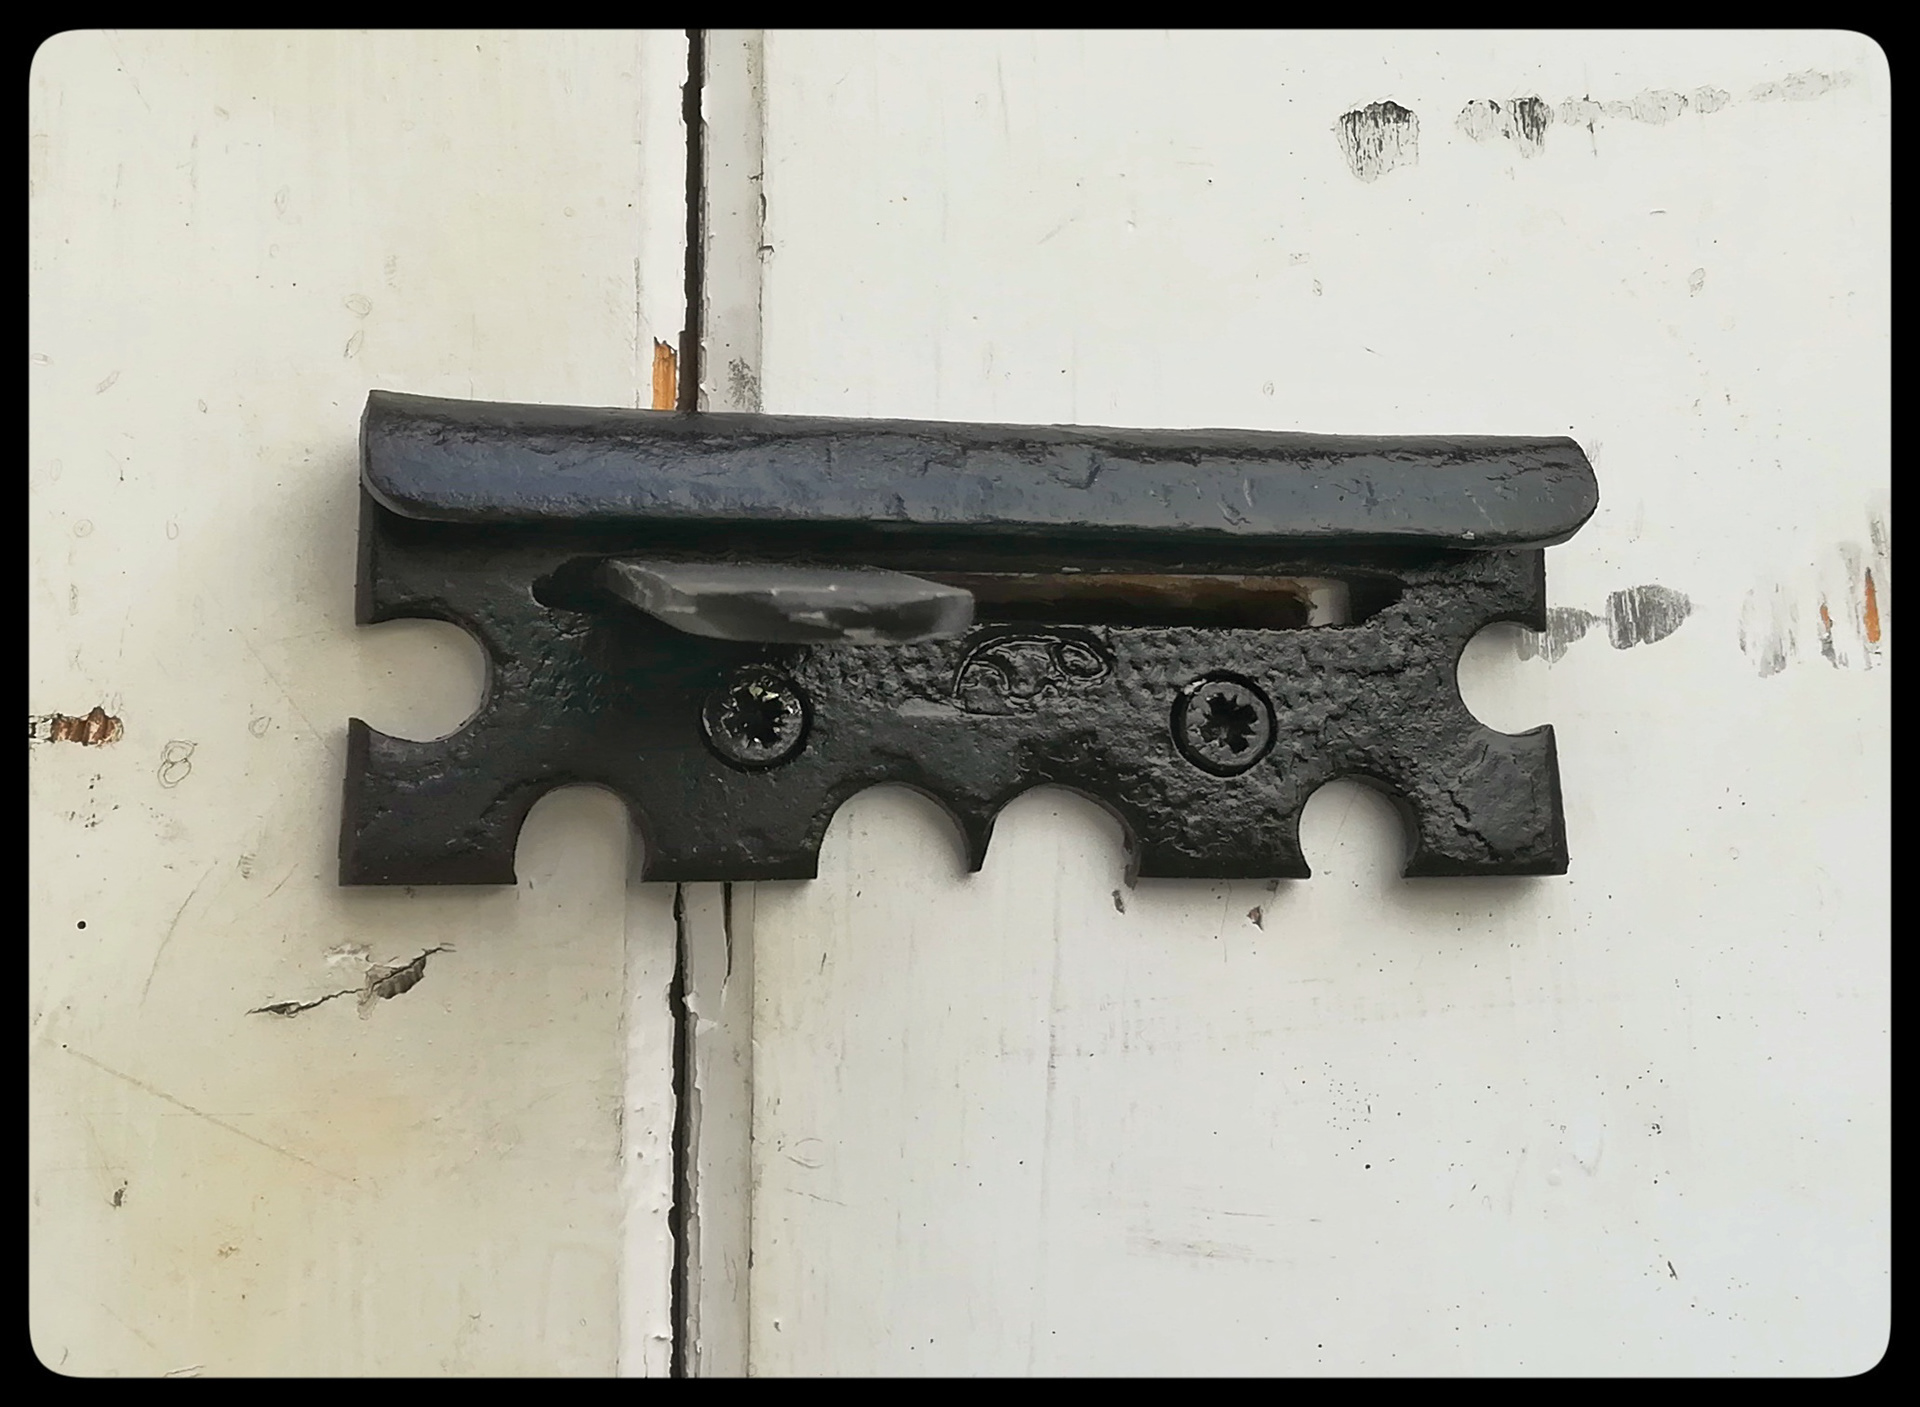
Finished this little door sliding bolt. It works great from either side of the door so I no longer need to go open the door when people want in. I felt it was a bit bare or unfinished looking so I made a wee bracket for the outside that covers the hole in the door, weatherproofs it and gives it a nicer finish. I was going to keep it more natural, just out of the forge, but decided to spray paint it to give it a chance against the weather. The process was plan, design, mark out, punch, drill, cut & file, logo, forge and shape, spray, fit, photo, enjoy LOL.